Image, Text & Shape Frame Options
In this article, learn about features and effects applied to image, text and shape frames. Frame basics (adding, selecting, moving, and resizing) are covered in the Frame Basics article.
Image Frames
Image frames hold photos, background textures, and clipart. To add an image to your page, simply choose an image within a folder on the Photo tab, the Backgrounds tab or the Elements tab, and drag it to your page. Photos and backgrounds may be dragged into empty frames.
Replacing, Swapping, Removing & Layering Images
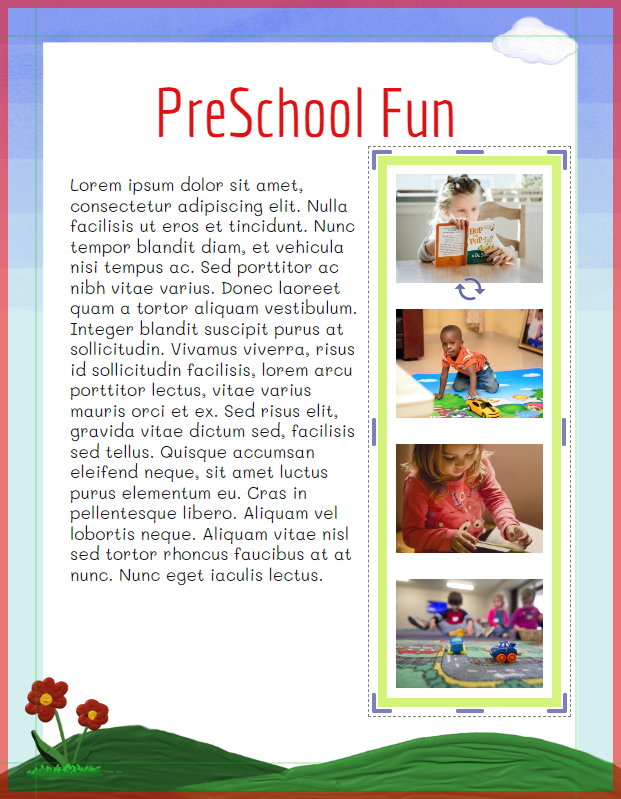
To replace an image:
- Drag a New Image from an album towards the frame with the image to be replaced
- Drop the new image when the Target Frame displays a red border
To layer an image directly on top of another image frame:
- Hold the Shift Key.
- Drag the image to the page.
The image will drop into its own frame, rather than replacing an image already on the page.
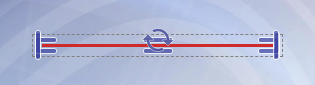
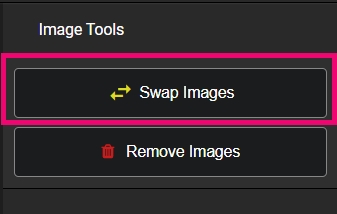
To swap two images already on your page:
- Select both image frames
- Click Image Tools in the top canvas menu
- Click Swap Images
To remove an image on your page:
- Select the image frame.
- Click Image Tools in the top canvas menu.
- Click Remove Image. The empty frame will remain.
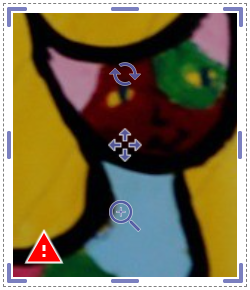
Zooming and Panning
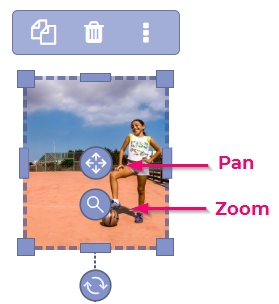
Adjust the frame shape, size, and zoom/pan to expose as little or as much of the image inside the frame. Image frames display positioning handles for panning and a magnifier handle for zooming in and out.
To zoom in/out on an image within it’s frame:
- Select the image
- Click the Magnifier Handle
- Drag your mouse up/down to adjust the zoom in or out
To reset the zoom to maximum visibility, double-click on the handle.
To pan an image within its frame:
- Select the image
- Click the Pan handle
- Drag the image to change its position inside the frame
Note: An image will always fill the frame to the edge, so the image cannot be panned past it’s edge.
To zoom an image within its frame:
- Select the image
- Click the zoom handle
- Drag the image to change its position inside the frame
Note: Resolution warnings may appear as you zoom in if your image size/resolution is not sufficiently high quality.
To adjust the zoom or pan on your canvas background image:
- Double-click the canvas itself (the handles will appear)
- Click the Magnifying or Positioning Handle and follow the instructions above
Frame Shape Options
To change the frame shape:
- Select one or more frames
- Click Shape on the top canvas menu, and finally
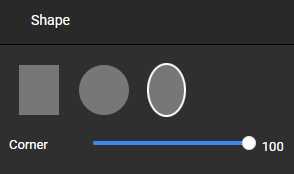
- Choose Rectangle, Circular, or Oval
- Adjust the Corner Width as desired
Tip: A circular frame locks the aspect ratio (width to height) of the frame to create a perfect circle. Set the corner to 0 to make a perfect square.
Adding a Border or a Shadow
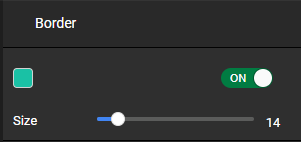
To add a border to an image:
- Select one or more image frames
- Click Border on the top canvas menu
- Turn the Border Toggle on
- Click the Color Chip to change the color
- Note: The color editor includes an opacity slider under the rainbow gradient
- Drag the Size Slider to change the width of the border
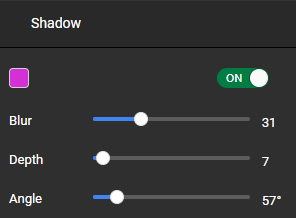
To turn on a shadow effect:
- Select one or more frames
- Click Shadow on the top canvas menu
- Turn on the Shadow Toggle
- Click the Color Chip to change the color
- Adjust the sliders to change the Blur, Depth, and the Angle
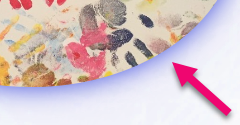
Shadows may be used to create a variety of effects:

- Increase the blur while reducing the depth to create a diffused glow effect (shown above)
- Decrease the blur, increase the depth, and adjust the angle to create a modern hard edge effect
- Use the default settings for a classic stacked image look
Tip: Double-click on any slider to reset it to the default value.
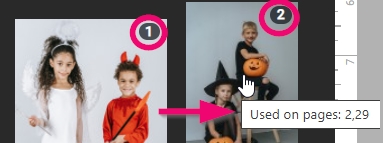
Tracking Used Images
When an image is used in the book, a used image indicator will appear on the image preview in its folder. Hover over the image to see what page(s) it appears on.
For added convenience, all used images are also displayed in a Used Image folder at the top of the Photos, Backgrounds and Elements tab. Quickly review what images have been added to the book, and/or access favorite backgrounds or clip art from this folder.
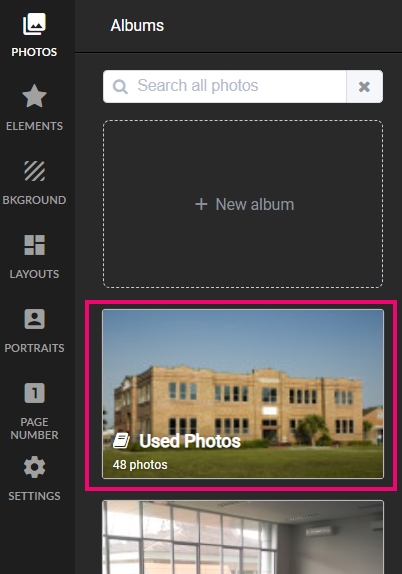
Image Effects
Apply effects to your images using the options under Image FX.
To begin:
- Select the image you want to adjust
- Click ImageFX
- Choose any of the many options described below
Note: The Reset Filters button restores the selected image(s) to their default levels.
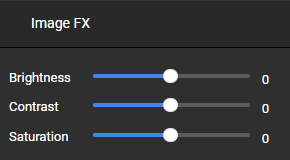
Brightness, Contrast, & Saturation
Brightness, contrast and saturation controls are generally used for image correction.
Brightness changes the overall amount of light in your image.
Contrast changes the amount of difference between light and dark areas in your image.
Saturation changes the intensity of color in your image.
Note: Be very careful when using these on your photos – your monitor is most likely not professionally color balanced, so the end effects on your printed book may be more dramatic than intended.
Grayscale & Sepia
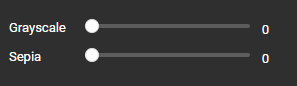
Grayscale and sepia alter the all-over color of your image.
Grayscale removes the color from your image, making it black & white.
Sepia replaces the color with brown/golden tones, for an antique look.
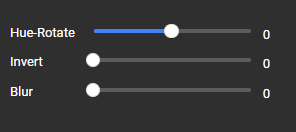
Hue-Rotate, Invert, & Blur
Hue-rotate, invert, and blur apply special effects to transform your images.
Hue-rotation transforms the colors in your image. It does not tint your image, but shift the color on the color gamut. Use this effect on backgrounds & clipart to match your page’s color scheme.
Invert reverses the color in your images.
This option is best when applied to backgrounds more than your photos.
Blur defocuses your image. Apply this to soften images and textures for a diffused background effect.
Opacity & Flipping Image Direction

Reducing opacity makes your image more transparent. Content underneath an image with reduced opacity will be seen through the image.
Images may be flipped horizontally or vertically within the frame. Use Flip on the canvas background to create mirror-image double spreads from a single background texture.
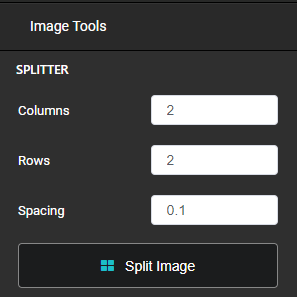
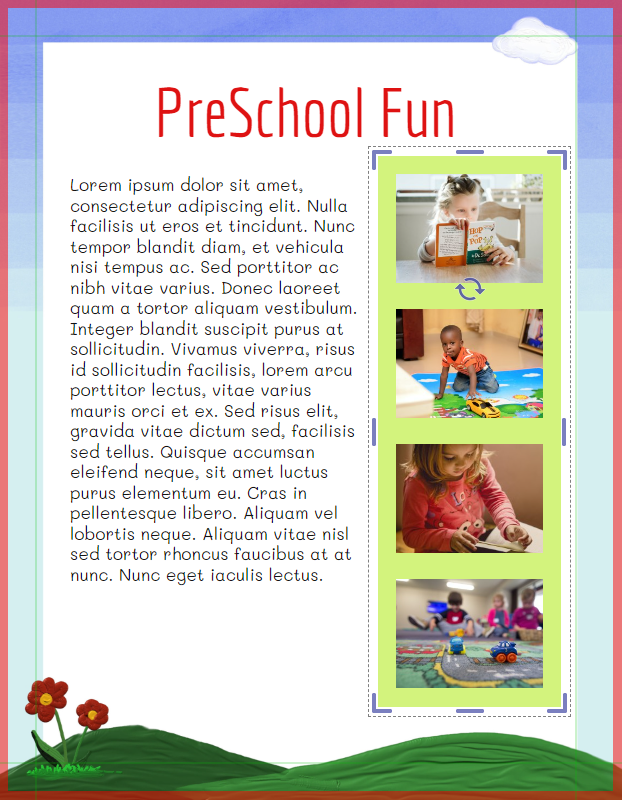
Creating an Image Grid
Split a single image frame to create a grid of equal-sized, evenly spaced frames. This tool is particularly useful for creating a template, particularly for senior class dedications or business advertisements.
The splitter may be applied to an image frame containing an image or an empty frame.
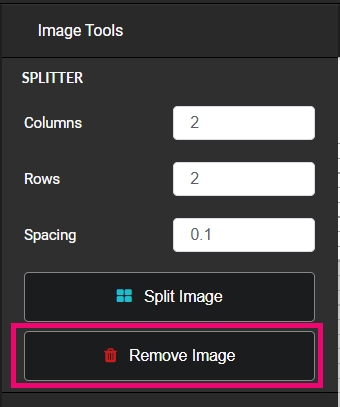
To Create a Grid:
- Select one or more image frames
- Click Image Tools in the top canvas menu
- Choose the number of columns and rows
- Set the spacing between the image frames
- The 0.1″ default spacing leaves a small gap between the frames
- A 0 gap results in touching frames
- A negative value will overlap the frames
- Click Apply Split
- Add/replace images in those frames as desired
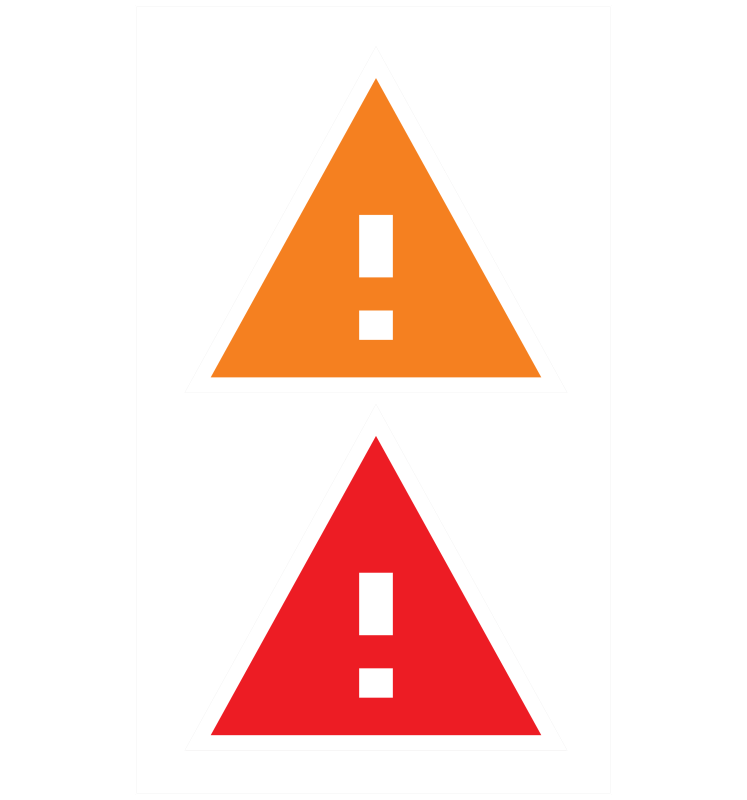
Low Resolution Warnings
A triangle warning sign will appear on images that are set below a preset quality, letting you know they will print with visible pixelation.
The warning will appear as:
- An Orange Triangle indicating a potential quality issue
- A Red Triangle indicating a very low resolution image
Low Resolution Warnings appear due to:
- Poor quality clipart or backgrounds downloaded from the random web searches
- Resizing clipart or portrait images to a very outscaled size (eg, using a logo at full page size
- Photos supplied as screenshots from phones rather than full-resolution images from the camera reel.
- Overzooming an image
- Images being stretched to a larger size than intended (i.e. clipart used on the canvas background)
- Note: Double-check your backgrounds with orange warnings for quality issues. Background canvas images do not need to be as laser-sharp as photos on your page, as they are more textural/atmospheric than precise. Red warnings should be respected and a new background should be chosen.
The Studio Source Support team strongly recommends only uploading original photography or from the Studio Source Catalog. This will also avoid copyright issues in the process. Check out the Candid Photo Management article to learn about uploading photos.
Tip: To resolve the warning, try making the image frame smaller.
Text Frames
Using Text Frames allows you to type any text you want and change it’s style.
Formatting Text
To customize your text:
- Select the text frame
- Click Text in the top canvas menu
- Type your text in the top box
- Choose any of the Attributes described below
- All text within a frame will have the same attributes (font, size, color, etc.)
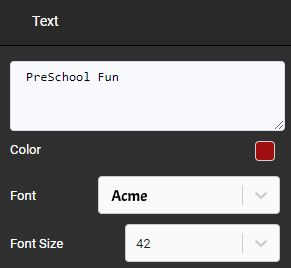
Font Style, Size, & Color
Use the Font Dropdown to change styles. Choose from over 100 different fonts!
Use a Font Size preset or type a custom value – hit return on your keyboard to finalize.
Click on the Color Chip to select a new color from the color editor.
Note: Memento does not yet have a stroke / edge effect for text.
Text Alignment
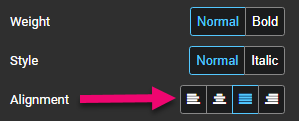
Choose among Left-aligned, Centered, Justified or Right-aligned text.
Tip: For best legibility, choose left or full-justified text for photo captions and paragraph text. Only use centered text for short titles.
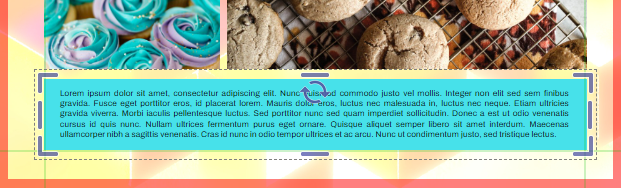
Text Shadow
To turn on a shadow effect:
- Select one or more text frames
- Click Shadow in the top canvas menu
- Turn on the Shadow Toggle
- Click on the Color Chip to change the color
- Adjust sliders to change the Blur level, the Depth, or the Angle

Troubleshooting and Design Alternatives
The Studio Source Catalog contains many decorative alphabets and numbers. Each character is saved as a separate png image file to drag & drop onto your canvas.
Look in the Search Filters on the left for Decorations > Alphabets and Numbers to find them.
Under the Elements tab in the page editor, Memento includes several collections of Header graphics, suitable for portrait pages and other uses.
The collections include standard grades plus Staff, High School alternative titles (eg. Sophomores), and other variations.
Note: These graphics may not be customized as they are image files.
Check out the Additional Design Elements article to learn about a suggested online tool to generate custom png word art.
Online editing applications may display text differently depending on what browser you are using. Text in the Editor may differ from rendered pdf version – for example, line breaks and shadow offset are commonly affected.
To check your text outside of the Editor for spill-over or exaggerated shadow effects, switch to Book Preview mode on the book ladder. This view will show a more accurate view of your final printed page. To learn about different view modes, go to the Book Management article.
Shape Frames
Shape frames display color, and can be bordered and shadowed.
Changing Color & Adding a Border
To change the color:
- Select the shape
- Click Fill in the top canvas menu
- Click the Color Chip to access the color editor
- Choose a shade on the Rainbow Slider
- Pick a shade from the Gradient
- Adjust the Opacity Slider if desired
To add a border to a shape:
- Select one or more shape frames
- Click Border on the top canvas menu
- Turn the Border Toggle on
- Click the Color Chip to change the color
- Note: The color editor includes an opacity slider under the rainbow gradient
- Drag the Size Slider to change the width of the border
Changing Shape & Adding a Shadow
To change the frame shape:
- Select one or more frames
- Click Shape on the top canvas menu, and finally
- Choose Rectangle, Circular, or Oval
- Adjust the Corner Width as desired
Note: A rectangle transitions into an oval, and vice-versa, as the corner slider moves between 0 and 100.
To turn on a shadow:
- Select one or more frames
- Click Shadow on the top canvas menu
- Turn on the Shadow Toggle
- Click the Color Chip to change the color
- Adjust the sliders to change the Blur, Depth, and the Angle
Using Shapes Effectively
Use shapes to Color Block your page.
Text Frames will snap tidily inside a shape frame, or may be overlaid creatively.
Create Bounding Boxes by applying a shape with a border and 0% fill opacity.
Tip: Add a shadow to create a neon-glow effect.

Create a Caption Box to connect text to images.
Adjust the height of a rectangular frame to Create a Line.