Book Management
When your yearbook is set up, it will be assigned a cover type and a maximum number of pages. The Editor-in-Chief of your yearbook project should consult with your studio to know the exact number of pages as specified in your yearbook contract as it may be less than the maximum allowed in your assigned book product.
Note: Exceeding the number of pages allowed under your contract may incur additional charges.
The Book Manager Overview
The Book Manager allows you to easily navigate and edit your book. Check out this video for an Overview of the Book Manager.
Sections vs Pages
Sections are used to organize pages into different groups, topics, or themes.
A new yearbook project will include two Sections:
- The Cover Section
- The Intro Section
The sections can be opened and closed using the arrows next to the section name.
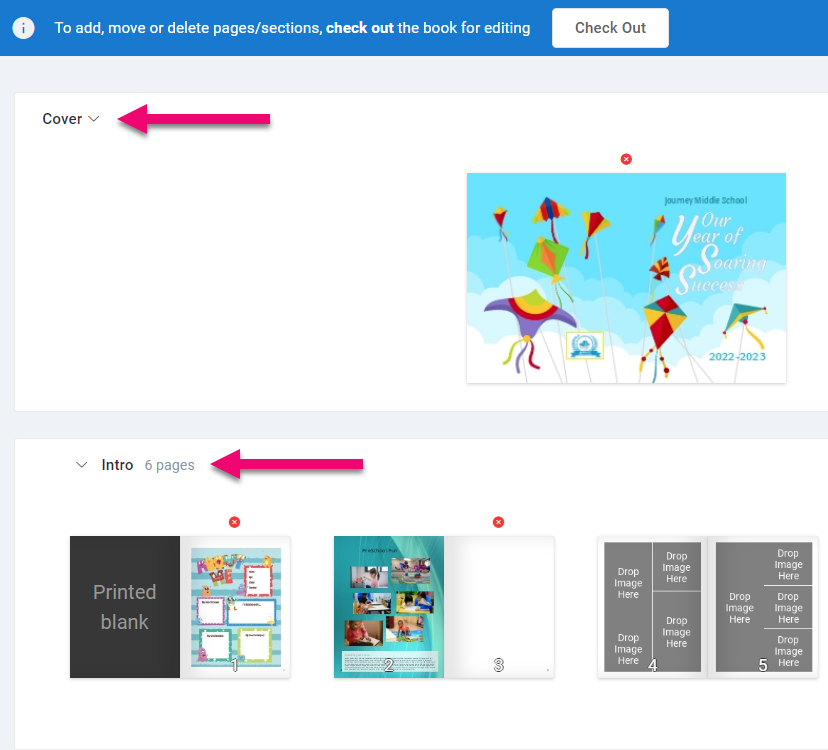
Pages are where you will add photos and design your book. The page previews are displayed within each section.
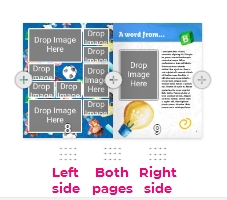
Adjoining pages are displayed with a left and right side together called a Double-Page Spread.
When a double-page spread is divided into separate sections, you will see a “ghost” of the left-side page at the front of the section as a preview, to help you set styling choices. Only one side of a page can be edited at a time.
Note: The first page in your book is always a right-side page with no matching left-side. This is labeled “Printed Blank” on the book ladder.
The Page Numbers displayed at the bottom of each page are used to assist navigation throughout your book. These numbers are not printed.
Tip: For adding printed page numbers to your book, please refer to Additional Design Elements.
Organizing by Sections
Adding all pages into one section can make editing difficult. We recommend organizing your pages into different sections, such as sports, clubs, and activities in Memento’s Book Manager.
The Benefits:
- Improves workflow by helping you plan
- View pages in smaller groupings to easily see progress.
- Easily distinguish each section with different styling choices.
- Editing the flow of portraits is easier when dividing each grade into its own section.
- Assign specific Team Members to different sections.
- Easily change the order of the sections.
The size of your yearbook can help you determine how many sections you will need. Small yearbooks traditionally include standard sections such as Intro Pages, Staff Pages, Student Portraits, Graduates, Sports, Clubs & Activities, and Autographs. Larger yearbooks may add more sections to group their activity pages together efficiently.
Ladder planning tools
- For help deciding which sections to include in your yearbook, download our PDF topic checklist.
- If you would like to plan your ladder on paper, feel free to download this printable PDF form.
Section Management
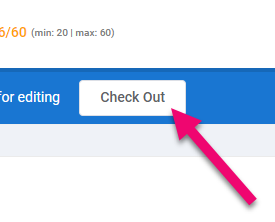
Click the Check Out Button to begin managing your Sections. Only Editors-in-Chief and Editors may check out the book.
Adding a Section
To add a new section:
- Click on the + sign above or below an existing section
- Give the new section a name
- Click Add Section

Moving a Section
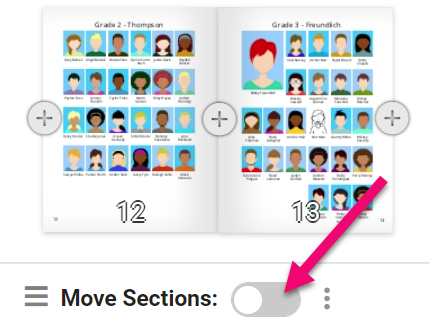
To move a section:
- Turn On the Move Section Button at the bottom of the screen
- This will collapse the sections to a flat list
- Drag your selected section into a new position on the ladder.
- Turn Off the Move Section Button to re-open the section drawers
Renaming a Section
To rename a section:
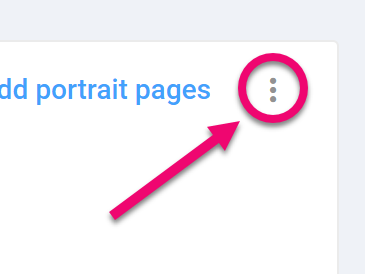
- Click the Kebab Menu for the section
- Choose Rename from the options
- Type in the new section name
- Click Rename Section
Deleting a Section
To delete a section:
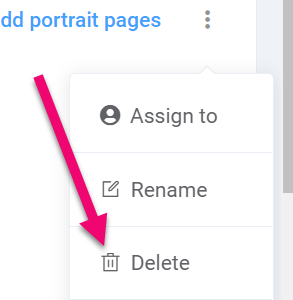
- Click on the Kebab Menu for the section
- Choose Delete from the options
- Deleting a section and all pages within it cannot be reversed
- Confirm the deletion of the section
Tip: Move pages you want to keep to another section to avoid permanent loss.
Page Management
To begin managing your pages within a section, click the Check Out Button. Only Editors-in-Chief and Editors can check out the book.
Adding a Page
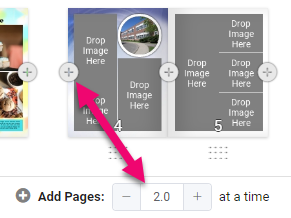
To add a candid page:
- Select how many pages you want to add at one time at the bottom of the book ladder
- Click the + icon located to the left or right of the page preview
Duplicating a Page
To duplicate a candid page:
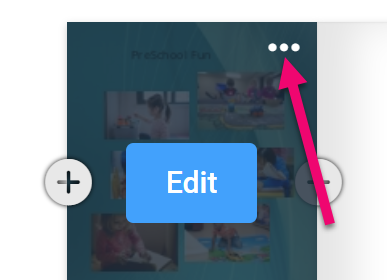
- Hover over the page
- Click on the page’s Meatball Menu
- Choose Duplicate from the menu options
Tip: Set up a page as the master layout, then duplicate it as many times as you need to get uniform formatting on multiple pages.
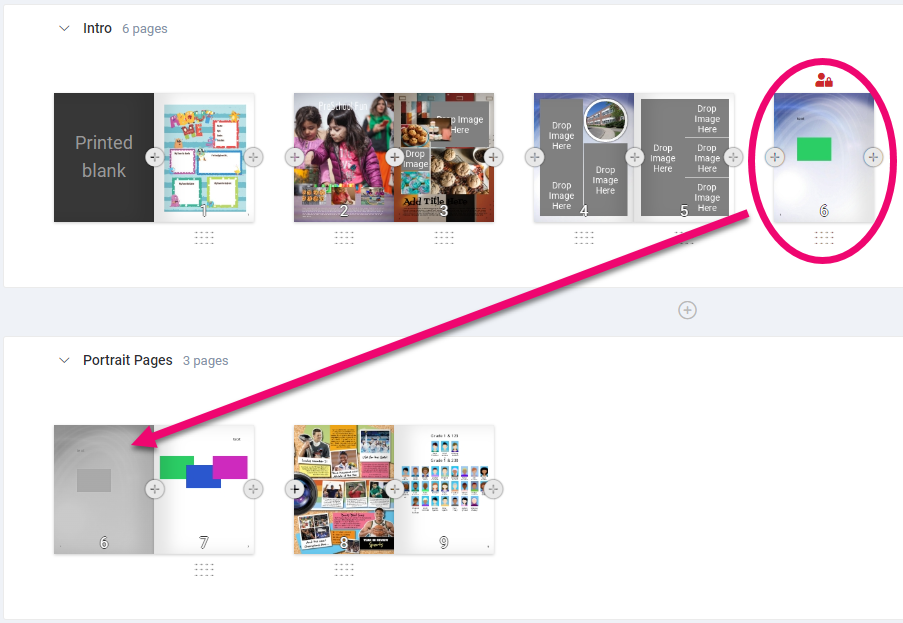
Moving a Page
Candid pages may be moved freely around the book.
To move a candid page:
- Locate the page you want to move
- Click and drag a Dot Handle Icon located under the page – choosing to move either the left or right side page independently, or choosing the center handle to move the entire two-page spread.
- Release the page once it is in the desired location
Portrait pages may not be moved, because their order is determined by the portrait wizard and other formatting choices. Move candid pages around and between portrait pages.
Tip: Check out Portrait Page Design to learn how to change the order of portrait pages.
Deleting a Page
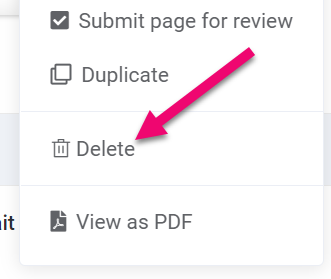
To delete a candid page:
- Hover over the page
- Click on the Meatball Menu
- Choose Delete from the menu options
Note: Deleted pages cannot be restored.
Page Quantity Limits
The maximum number of pages allowable in your book and the current number of pages is displayed above the Book Ladder.
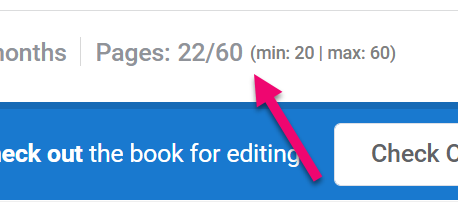
Note: Your school’s contract with the studio will stipulate an exact number of pages for the completed yearbook, which may be less than the maximum number displayed in Memento.
Primary account contacts who have access to the Studio Source Dashboard may check on their project’s contracted number of pages under their book profile information.
Tip: Contact your Studio to learn more about your maximum number of pages and cover type, or to request a change to either setting.
Additional Views on the Book Ladder
Book Preview

To see larger views of your pages, toggle the Book Preview button at the bottom of the page.
Note: Your pages can not be edited in this view, but you can see it in detail.
PDF Previews
PDF previews may be generated for a single page, a single section or the entire book.
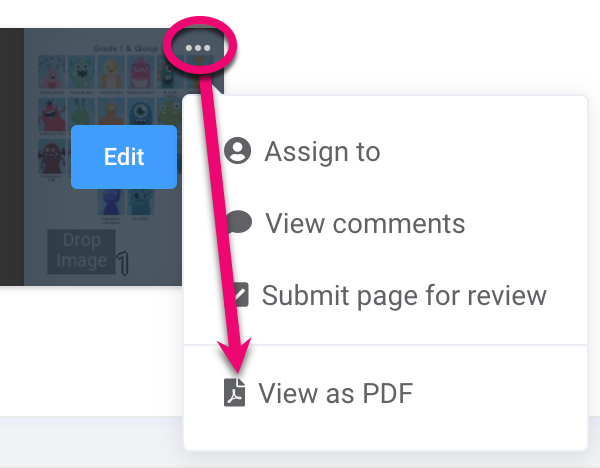
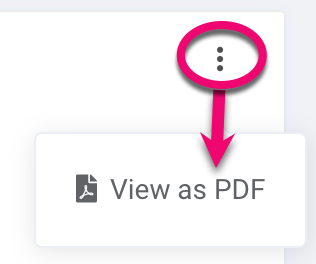
To generate a single page PDF:
- Hover over the page
- Click the Meatball Menu
- Select View as PDF
To generate a PDF of a single section:
- Click the section Kebab Menu
- Select View as PDF
To generate a PDF of the entire book:
- Click the Kebab Menu at the bottom of book ladder
- Select View as PDF

Tip: Learn more about reviewing your work in the Submitting & Proofing article of this knowledge base.