Layouts, Backgrounds and Decorations
Customize your yearbook design by incorporating layouts, backgrounds, clipart, and page numbers. Download royalty-free content from the Studio Source Content Catalog to decorate your pages or send us a request to generate a custom word search puzzle.
Layouts
Layouts are predesigned pages composed of empty image frames, shapes, backgrounds, and text.
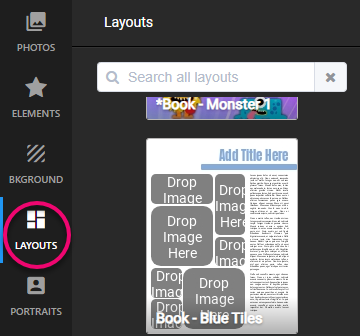
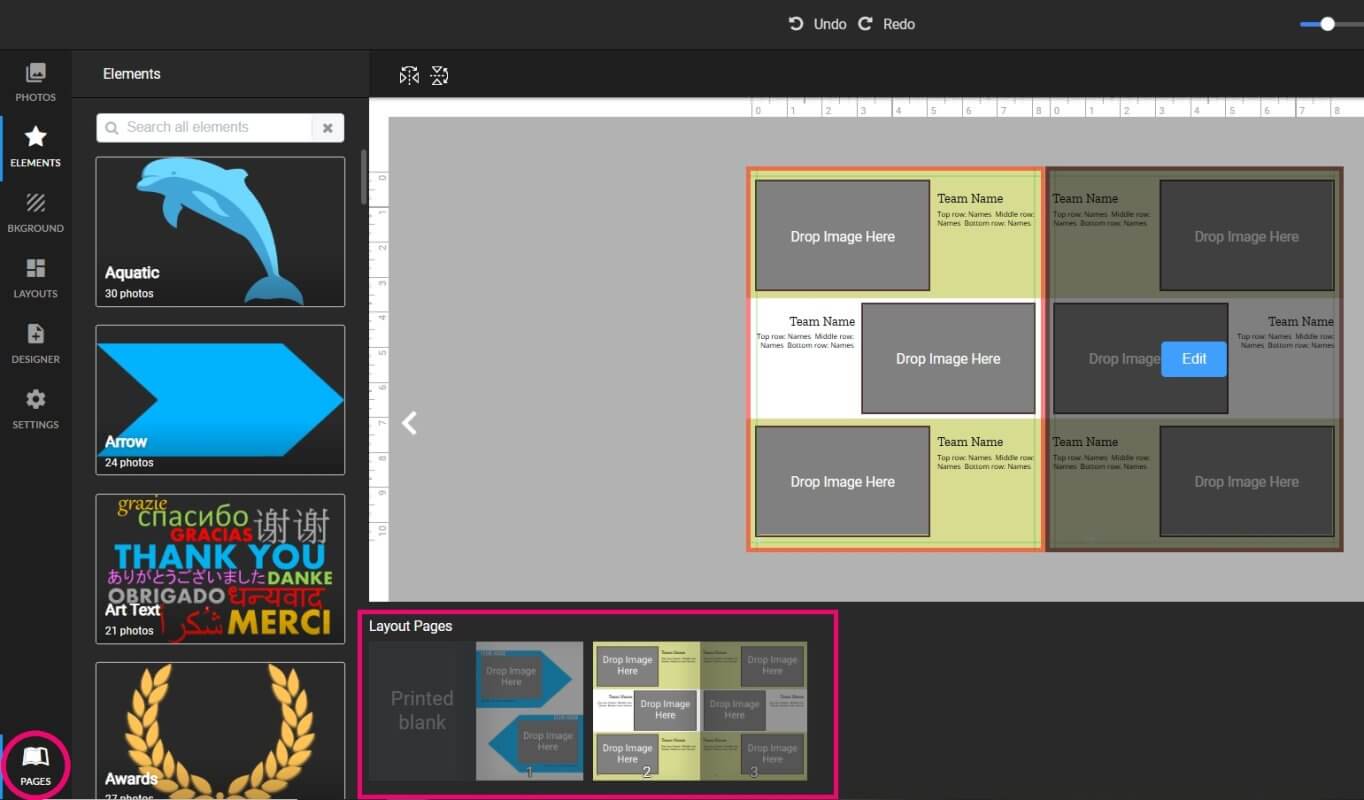
Predesigned layouts can be found on the Layouts tab in the page editor, organized into thematic page collections.
The layout collections include a variety of styles: coordinated designer themes (eg. Chalk Doodles, Comic Heros, Jeans, Varsity), general collage grids, sports by type, and activities & events (holidays, clubs, etc.).
Note: Cover Layouts – When the cover page is opened in the editor, the Layouts tab will only display collections of cover templates. These layouts are designed to cover both sides of the page.
Applying & Removing a Layout
To apply a layout to a page:
- Add or Select an existing page in the book ladder
- Hover over the page
- Click Edit
- Click Layouts tab
- Click the layout of your choice
- If the page is blank, the layout will be added exactly as shown in the preview, sized to fit your page.
- If the page has photos and text on it, this content will transfer to the applied layout.
Note: A warning will appear if any existing content could not be applied to the layout for lack of available frames.
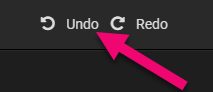
To remove a layout just applied:
Click the Undo button at the top of the page (or use Ctrl-Z on Windows / Cmd-Z on Mac)
Tip: Each layout collection contains a style guide on the last page of the collection. Apply this to a blank page in your book, to copy/paste backgrounds, colors, and font options to other pages.
Creating Your Own Layouts
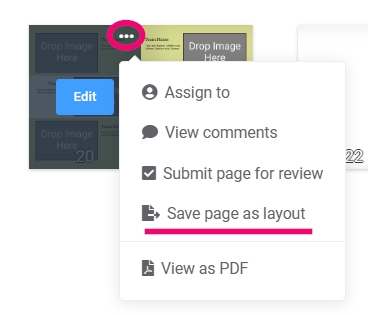
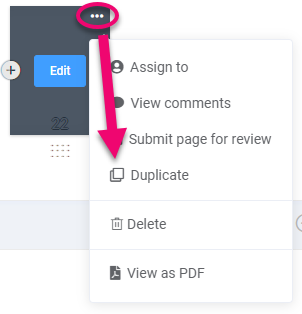
Editors-in-chief can create custom layout collections, add layouts to the collections, and edit these layouts. After designing a page in the editor, click on the corner menu to choose Save Page as Layout.
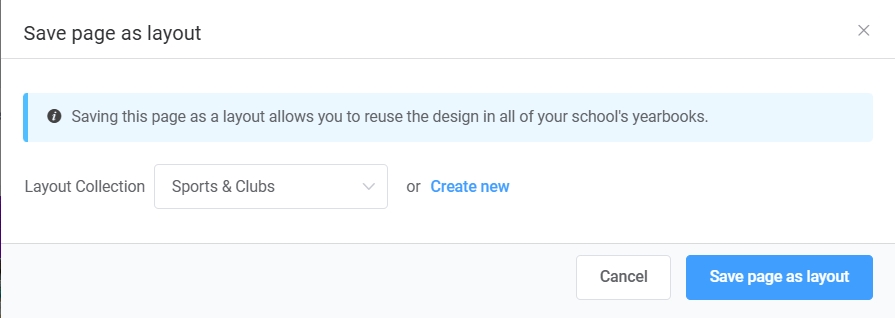
Create a new folder or, if applicable, choose one of the existing folders. Note that each yearbook may create up to five folders with up to 100 layouts in each.
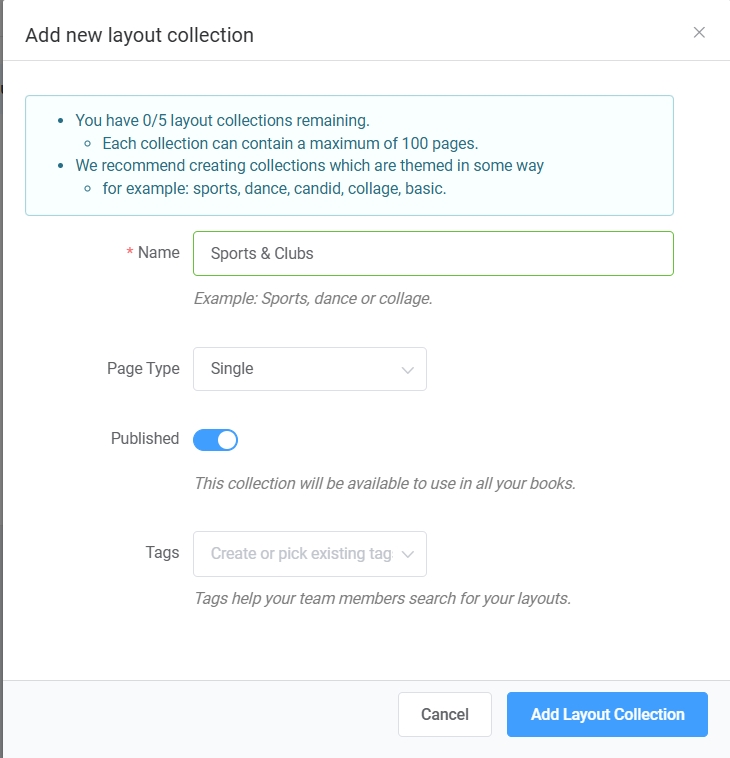
To set up a new folder, provide a name and the type of page (single page or cover). Toggle the Published switch to make the collection visible, and tag it if desired to make the layout collection searchable. Click Add Layout Collection to complete the new collection setup.
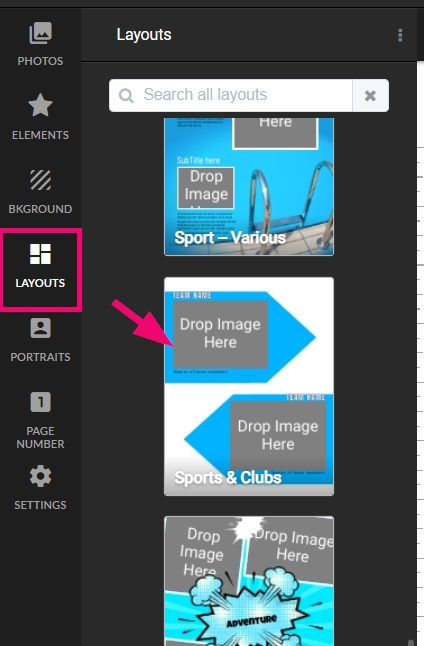
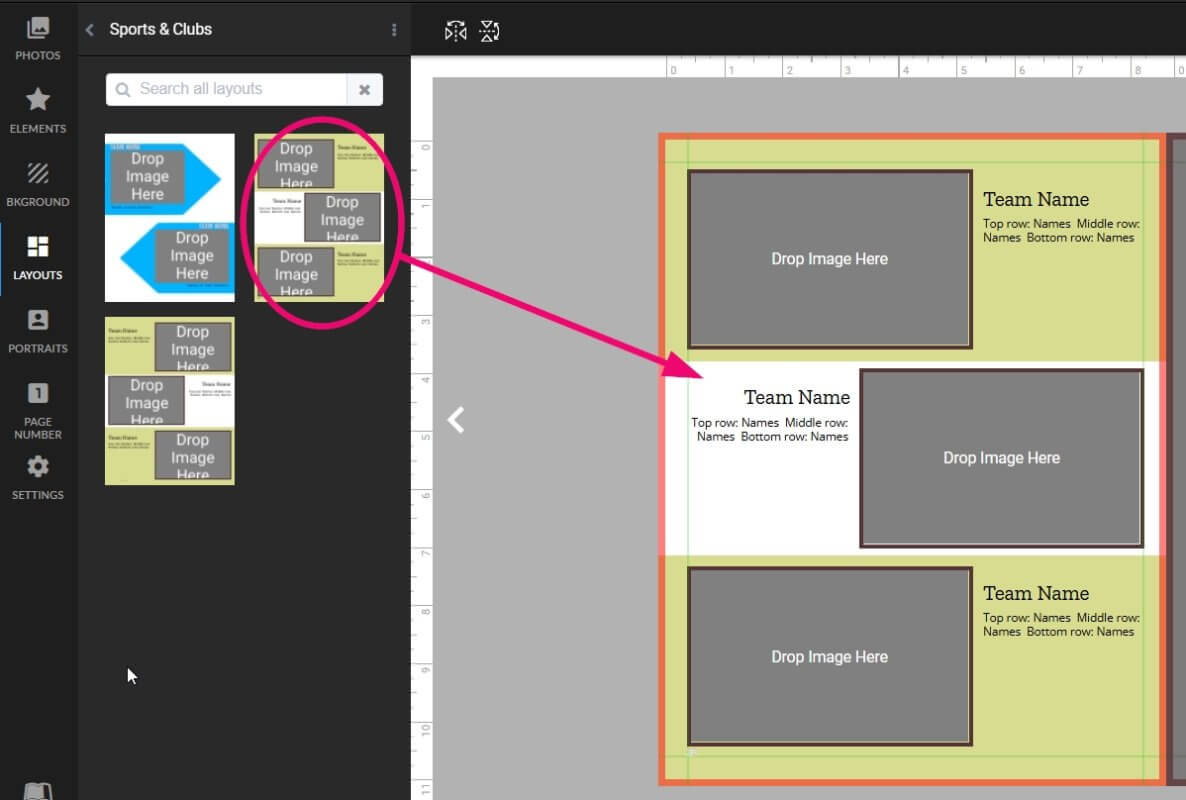
To apply a custom layout to a page, open the page in the editor. Click on the Layouts tab, then locate the layout collection. Click on the collection to access the individual layouts, then click on the layout to apply to the current page.
Note that pages using the layout will not auto-update; apply the corrected version of the layout to the page(s) in your book using it.
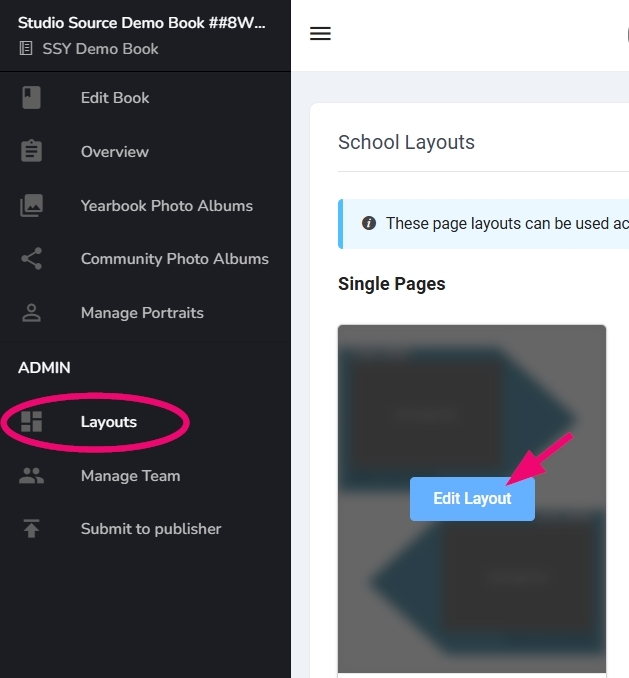
To edit a custom layout, click on the Layouts tab under the Admin menu (available to Editors-in-Chief). Hover over the collection containing the layout you want to change, then click Edit Layout. Open the Pages preview to view the collection, click on the layout that needs to be updated, then make changes. The layout will auto-save.
Tip: If you only need a second copy of a layout, check out the book then access the page menu to duplicate the page. A new copy of the page will appear following the origina, which you can move them to a new location if desirable. Open the page to swap out photos and add new text.
Clipart
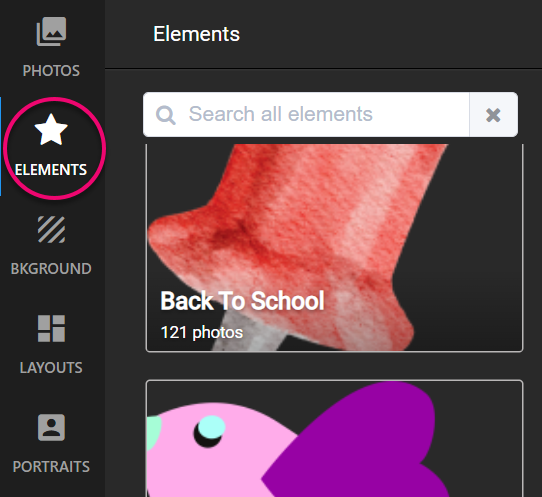
Clipart is found on the Elements tab in the page editor. The search box can be used to locate a specific kind of clipart.
To use clipart on your page:
Drag and Drop the clipart from the Elements tab onto the page.
Note: For detailed instructions, check out Adding a Frame to a Page in the Frame Basics article.
To use clipart on your page:
Drag and Drop the clipart from the Elements tab onto the page.
Note: For detailed instructions, check out Adding a Frame to a Page in the Frame Basics article.
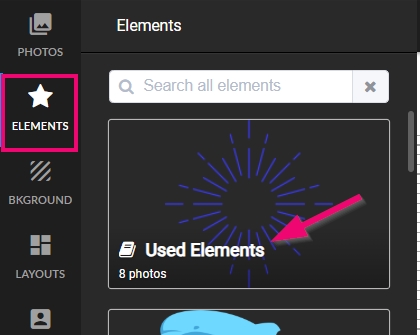
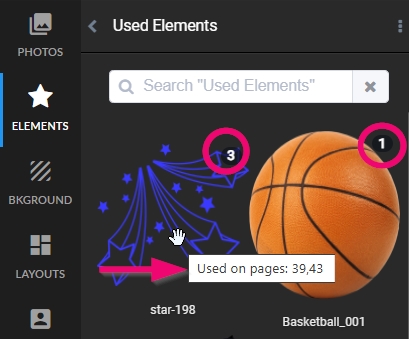
When a clipart is added any page in the book, a used image indicator appears on the clipart preview in its folder. Hover over the clipart to see the pages number references. For convenience, a Used Elements folder is available at top of the Elements area, providing instant access to any clipart hat has been used on the book and making it easy to access favorite items again.
Tip: Clip art decorations have all the same options available as any other image. Additionally, some elements in the collection are solid colored, specifically to allow color shifting under the Image FX tab. Check out the Image Frames and Image Effects sections of the Shape, Text, & Image Frame article to learn more.
Clipart can be used in many different ways:
- Use as small-scale decorations to fill empty spaces
- Use as decorative highlights
- Use it to create a theme for your page, section, or entire book
- Use as bold, large-scale elements on a page
- Combine clipart and shapes to block out your page into regions
Things to keep in mind:
- The school photos should be the star of the page
- Too many decorations may be distracting
- Theming your book with fewer larger elements will give it a professional look
Resizing clipart can be a little tricky. Be mindful of clipped edges caused by resizing out of proportion.
To resize proportionately:
- Adjust the height or width of the frame to expose the entire graphic
- Hold the Shift key down while dragging on a corner handle
To design custom clipart, follow these recommendations:
Resolution:
- Standard clipart: 900 pixels wide/tall (whichever is largest).
- Clipart spanning the width of your page: 2625 pixels on its width.
- Clipart spanning the height of your page: 3375 pixels on its height.
File Type: PNG with a transparent background
- Be sure to crop the image within a few pixels of the image content on all sides, as it will be hard to select other items on your canvas if your clipart has large transparent areas bordering it.
Note: JPG files cannot display transparency. If you save clipart as a JPG, it will display a white background around the image content.
Backgrounds
Solid Color Backgrounds
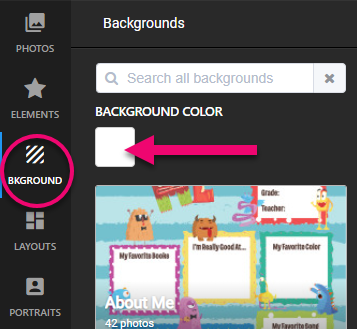
To add a solid color as your background:
- Click the Background tab in the editor
- Click the Color Chip
- Select a color, shade, and level of transparency
Note: Check out the Color Picker section below to learn more about altering colors.
Adding an Image to the Background
Any JPG image can be used on the canvas background. A variety of backgrounds can be found on the Backgrounds tab in the page editor.
To add an image to the background:
- Locate an Image in the Yearbook Photo Album or in the Background tab
- Click the image to cover the entire canvas
Note: To reset the canvas to white, use the Background tab’s color chip to remove the image.
Tip: Backgrounds can also be dragged and dropped on to the page to be used as decorations.
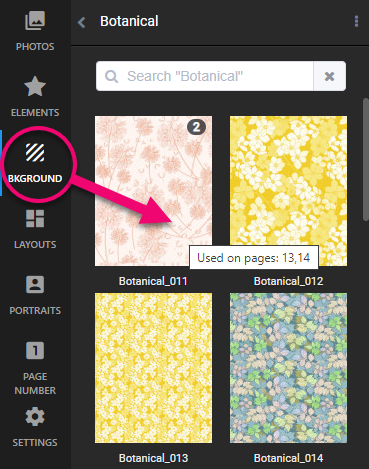
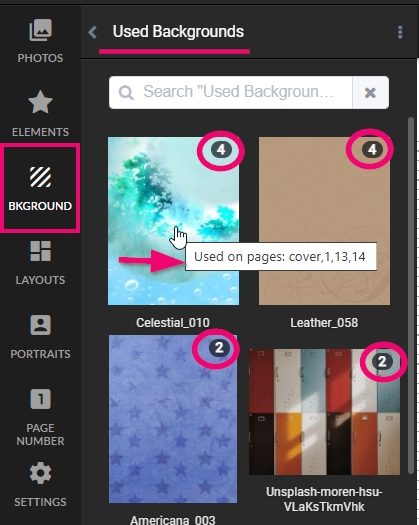
When a background is added any page in the book, a used image indicator appears on the background preview in its folder. Hover over the background to see the pages number references. For convenience, a Used Backgrounds folder is available at top of the Backgrounds area, providing instant access favorites for use on other pages. Candid images used as backgrounds also are featured in this folder. Note that the used indicator shows the number of times the image appears in the book, regardless if it is used as a background or in a regular image frame.
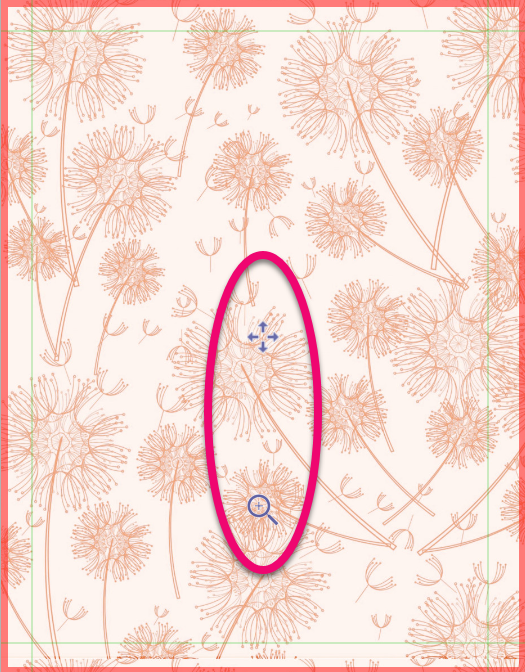
Repositioning the Background Image
The background is clamped automatically to fill the entire canvas to its maximum capacity. However, the image can be repositioned or zoomed in on.
To reposition or zoom in on the background:
Double-click on the background to make the pan & zoom handles appear.
Note: To learn more about the pan and zoom handles, check out the Zooming, Panning, and Changing Frame Shape section in the Shape, Text, & Image Frames article.
Retinting a Background Image
To color-tint a background image:
- Apply an all-over color to the background (see Solid Color Backgrounds)
- Add an image to the background (The color will seem to have vanished.)
- Select the background
- Click the Image FX tab
- Move the Opacity slider down to reveal the color through the image
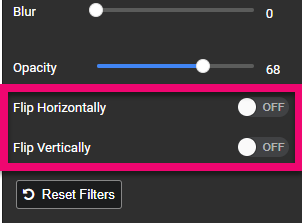
Flipping a Background Image
The background image may also be flipped horizontally and vertically. This is useful to create a mirror image effect on adjacent pages.
To flip the background image:
- Click on the background
- Click the Image FX tab
- Toggle on Flip Horizontally or Flip Vertically
The Hue-Rotate slider enables multiple color variations to be created from a single background image:
- Add the same image to multiple pages
- Select the background
- Adjust the Hue-Rotate slider
The overall color gamut will shift, giving variations of a common theme.
Note: Check out the Image Effects section of the Shape, Text, and Image Frames article to learn about more effects.
To create a custom background image, we recommend:
- File size of 2625 x 3375 pixels (8.75 x 11.25 @ 300 dpi)
- Save file as a JPG
- Uploaded to a Yearbook Photo Album
Note: Do Not create full-page flattened layouts in an editing software using these settings. These are the dimensions for a background set to full-bleed edge and do not account for inset margins.
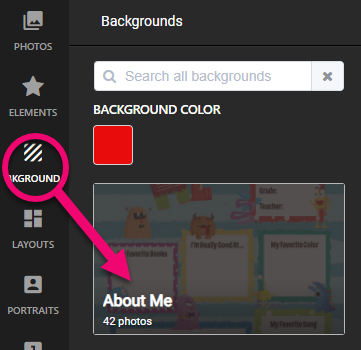
About Me Pages
Add a page or two in the yearbook that may be personalized by the book’s owner. They can write in their name and interests to capture their year.
To add About Me pages:
- Add one or two blank pages to the book ladder
- Open the page in the editor
- Click the Background tab
- Select the About Me album
- Click the image of your choice
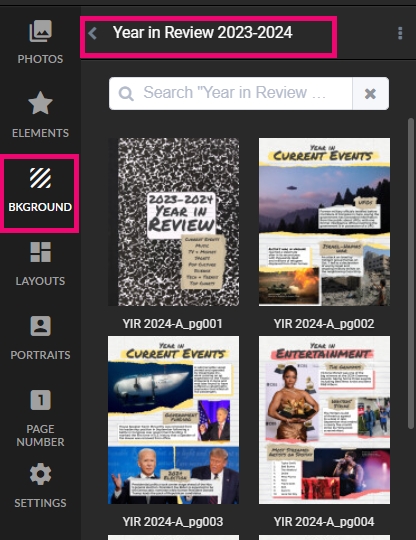
Year in Review Pages
Studio Source offers all schools a selection of premade Year in Review pages to add to your yearbook. News, sports, entertainment and other topics are covered with copyright-cleared images.
Year in Review pages are offered in two different ways:
- Fully designed pages with a background
- Pre-designed content that you can add to the background of your choice
To add fully designed pages with a background:
- Check Out book
- Create a New Section on the book ladder
- Add the number of pages you want to dedicate to Year in Review
- Open the first page in the editor
- Click the Background tab
- Scroll to the bottom
- Click the Year in Review album
- Click on any image to add to the page
- Move to the Next Page in the section
- Repeat Steps 7 & 8 to finish this section
To add pre-designed Year in Review content to any background:
- Check Out book
- Create a New Section on the book ladder
- Add the number of pages you want to dedicate to Year in Review
- Click the Background tab
- Add any Background of your choice
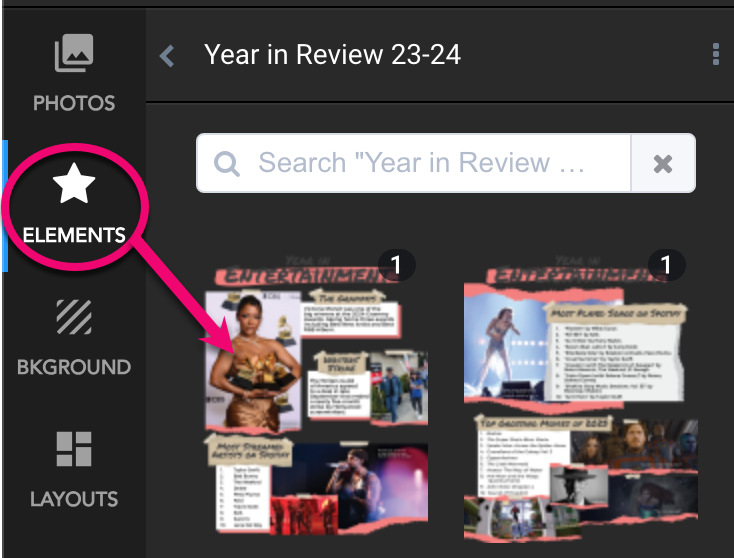
- Click the Elements tab
- Scroll to the bottom to locate the Year in Review folder
- Drag and drop any design to your page
- Resize the element to fill your page over the background
The Studio Source Free Graphics Library
Access thousands of backgrounds and clipart for free using the Studio Source Graphics Library! Search for particular styles, themes, and colors to create a stylish yearbook, with no fear of copyright or resolution issues.
Important: The library requires a login to the Studio Source Dashboard to download content. If you are a student/volunteer, you can browse the collection without a login, just make a note of the product ID numbers to pass to your advisor so they can download the content.
To download from the library:
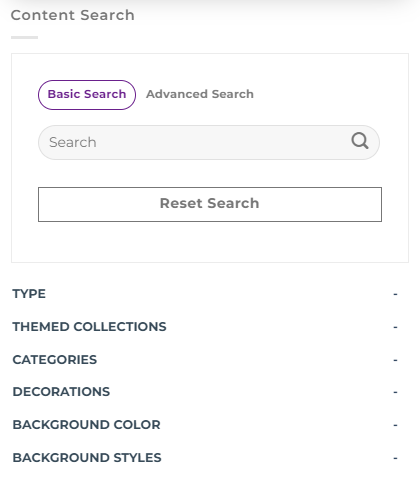
- Use the Search feature to look for content by keyword, or
- Use the Filters in the left menu
- Locate one image or multiple images you want to download
- Click Add to Cart under each image preview
- Click Checkout
- Login with your Studio Source Dashboard Account (If you do not have one, ask your advisor to assist.)
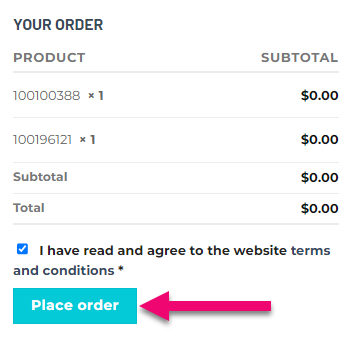
- Check the Terms and Conditions checkbox
- Click Place order (Don’t worry, no charges will be made to you personally or your yearbook account.)
- Download Links for your ordered items will appear and an email will arrive in the inbox of the person associated with the Dashboard account used to checkout. The items will be bundled into one or more larger zip files, so you won’t need to download each item separately.
- Unzip the Files on your computer before uploading them to a Memento Yearbook Photo Album
Title/Word Art Tool
Create custom page titles, grade headers, and word art using Flamingtext.com.
To use the word art generator:
- Type your text (keep it short for best results)
- Click Get Started
- Select the Style you prefer
- Click Edit Logo
- On the Text Tab, change the Font Size to 200
- On the Background Tab, select Transparent
- On the Image Tab, select PNG File Type
- Customize the font, color, & shadow options as you like
- Click Next
- Click Download
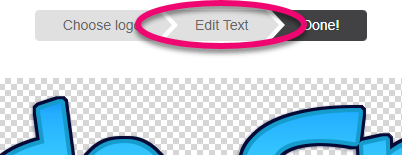
To generate a new file using the exact same settings, but different text:
- Click Edit Text move back a step
- Type the new text in the Logo Text field
- Repeat Steps 8 & 9 above
Word Search Generator
For a creative word search puzzle, we can help!
To request a word search puzzle:
- Click the button above
- Fill Out the Form to specify your words, puzzle shape, colors, and fonts
- Your puzzle will be emailed back to you as a PNG File to add to your book as if it were a piece of clipart

QR-Code Generator
Go to QRCode-Monkey.com to generate a QR Code to link content posted on a website to your printed yearbook. QR Code Monkey allows for customization and creates a PNG file to upload to your yearbook just like clipart.
To use the QR-Code Generator:
- Type in the website address you wish to link
- Customize the Color Scheme
- Customize the Style of Pixels and the Shape of Elements in the code
- Leave the Quality Slider at 1000×1000
- Click Create QR Code
- Click Download PNG file
- Do not click the Free Sign Up button – there’s no service to sign up for
- Upload the PNG file to a Yearbook Photo Album