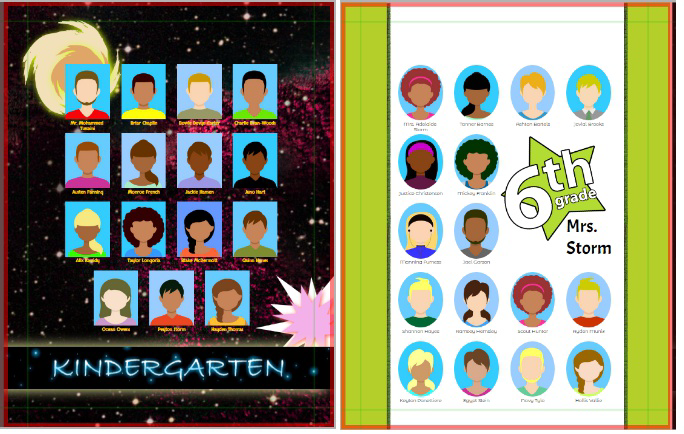
Portrait Page Design
Portrait pages feature labeled photo grids organized by grade, homeroom, or staff groups. Use the portrait wizard to flow portrait groups onto pages. then customize your grids in the page editor using specific tools to keep the grid aligned, styling consistent and the portraits organized.
Note: Only Editors/Editors-in-Chief can change a portrait page layout and appearance, as making changes to portrait page grid settings can affect the number of pages in the book.
Portrait Page Workflow
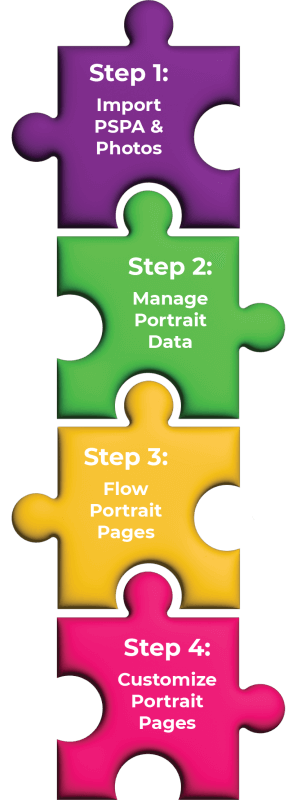
Follow these steps to design your portrait pages:
- Import your portrait package into Memento by following the steps in the Importing a PSPA & Photos section of the Importing Portraits & Managing Data article
- Review, correct, and add information to your portrait database by following the steps in the Managing Portrait Data section of the Importing Portraits & Managing Data article
- Flow your portraits using the Portrait Wizard
- Customize your portrait pages in the editor
Note: Portrait pages are not designed by moving images and text frames manually onto the canvas in the editor. Portrait images and their associated data are imported and managed in Memento, then added to pages using specific tools that automate placement, image order, and styling. Please follow the 4 steps above.
Portrait Page Structure
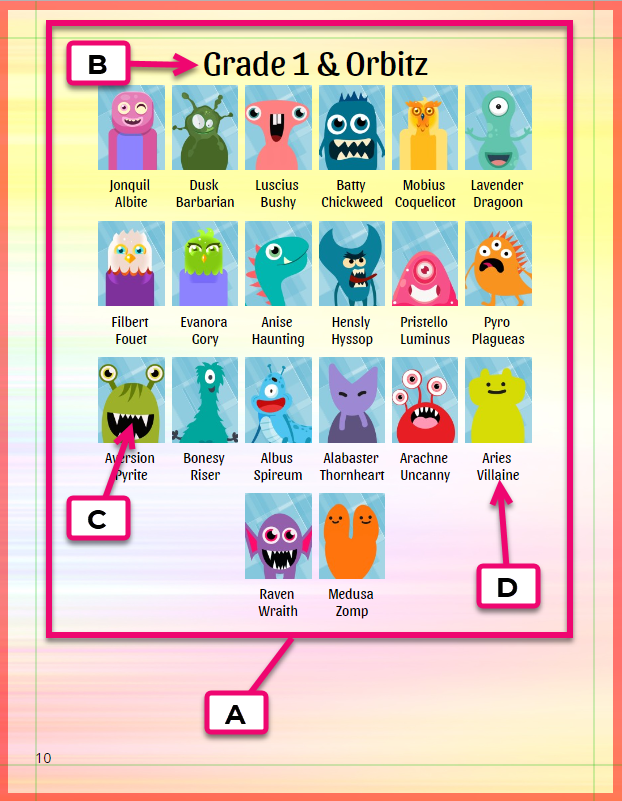
- A. Portrait Grid – the arrangement of all elements on the page
- B. Page Title – can contain auto-generated text or custom text
- C. Portrait Images – added to the grid using the Portrait Wizard
- D. Labels – display the name, salutation or job role of a person and are placed below the portraits or to the side of the grid
Flowing Portraits
After importing your portraits and managing the data as described above in Steps 1 & 2, use the Portrait Wizard to change the portrait page order or customize which groups are included in the portrait pages. For example, you may add a series of classroom pages, flow a single large grade, make a staff section organized by department, or create a special section for the graduating class.
To begin flowing portraits:
- Check Out the book
- Create a Section for each portrait page group on your book ladder. Learn more about Sections in the Book Management article
- Note: Do NOT add blank pages to your book intended for portrait pages. The portrait wizard generates these pages automatically. Add blank pages only for candid pages, which may be placed in-between portrait pages.
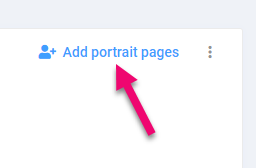
- Click Add Portrait Pages at the top right of your selected section to open the portrait wizard
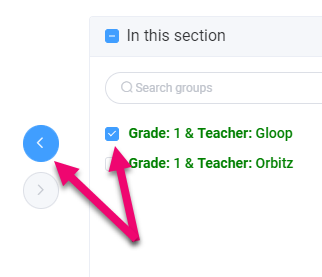
- Select the Portrait Group(s) created based on the portrait database
- Checkmark one or more groups in the left-side column
- Click the arrow button to move the selected groups to the right side
- All groups included in the right-side column will flow onto pages within the section
- Click Next Step at the bottom of the page
- Re-Order Portrait Group(s) into a preferred order
- Click and drag the group up or down the list
- Release the mouse when the group is correctly positioned in the list
- The groups will be placed onto individual pages in the order they appear in the portrait wizard
- Click Next Step
- Choose a Template
- These options can be customized in the page editor. Learn more about templates in Layout Tab Options below.
- Click Next Step
- Click Add to Book
Tip: To find particular groups and its sub-groups, use the search filter over the left-side column in the Portrait Wizard.
Re-Flowing Portrait Pages
Unlike candid pages, portrait pages cannot be dragged to a new position within or between sections on the book ladder, nor can they be deleted in their section. Changes to portrait groups are made in the portrait wizard.
Adding or Removing a Portrait Group
To begin adding or removing a group:
- Check Out the book
- Click Edit Portrait Pages at the top right of the section to reopen the portrait wizard
- To Add a Group
- Select the group in the left column
- Click the Arrow to move it to the right column
- To Remove a Group
- Select the group from the right column
- Click the Arrow to move it to the left column
- Click Next Step three times to bypass review order and choose template
- Click Add to Book
Your portrait pages will be reflowed with the selected groups.
Note: New groups will not inherit customization from existing groups (i.e. backgrounds, clipart, portrait grid styling, etc.)
Changing Group Order
To change the order of portrait groups within an existing section:
- Check Out the book
- Click Edit Portrait Pages at the top right of the section to reopen the portrait wizard
- Click Next Step to move past Select portraits
- Click and Drag the groups to the desired order
- Click Next Step twice to bypass the template selection
- Click Add to book.
Note: Changing group order will not remove customization from the pages.
Flowing Multiple Groups on a Single Page
All groups within a single portrait flow may be condensed to a single page. Be sure to create a separate section on your book ladder to flow just the groups that need to be condensed to a single page.
For example, if there are four small Pre-K classes to condense two-classes-to-a-page, create two sections on the ladder. Flow the first two Pre-K classes in the first section, and the second two Pre-K classes in the second section. Open one of the sections in the editor then follow the steps below to condense both groups to a single page.
- Create a section for the portrait page with multiple groups
- Use the portrait wizard as described above
- Open the first page of this new section in the editor
Hover over the page then click the Edit button - Click the Portrait Tab on the left menu
- Click Check Out
- Turn on the Fit to Page toggle
- Click Update Layout
All portrait groups within the section will be compressed to a single page. When working on the page, avoid changing settings for rows & columns. Be mindful of label & page title sizes to ensure all elements are visible. Learn about customizing your portrait pages in the section Portraits Tab Overview.
Portraits Tab Overview
The Portraits Tab in the Page Editor allows you to change the configuration and styling of your portrait pages.
To view the portrait tab options:
- Hover over the portrait page in the book ladder
- Click the Edit button
- Click the Portraits Tab in the left menu
- Click Check Out the book

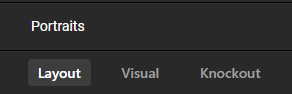
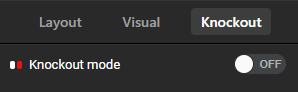
There are three tabs at the top of the Portraits area: Layout, Visual, and Knockout.
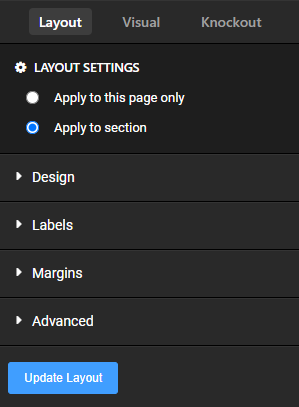
Use the Layout tab to make changes to the position of images in the portrait grid and the content that is displayed. Layout tools are nested into four drawers, which may be opened/closed by clicking on their title bar:
- Design – change the general properties of the portrait grid (rows, columns, portrait alignment, page title position and size)
- Labels – configure label contents and positioning
- Margins – change the inset of your portrait grid from the page edge on any of its four sides
- Advanced – change row & column spacing
Use the Visual tab before editing style properties – such font styling for labels and titles, and portrait frame border, color and shadow effects. Limit the scope of changes to a single frame, the current page, or all like-type items in the section.
Use the Knockout tab to make empty spaces in the grid.
Layout Tab: Grid Configuration Options
Under the Layout tab, choose the relative size and positioning of portrait grid elements, as well as what content appears in these areas.
Customization to your portrait page layout can be extended to every page in a portrait section or limited to a single page.
To apply any changes, remember to scroll to the bottom of the menu to click Update Layout.
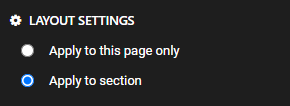
In Layout Settings:
- Select Apply to this page only to make changes to the current page
- Select Apply to section to make changes to every page in the current portrait section
Portrait Template Style (Image + Label)
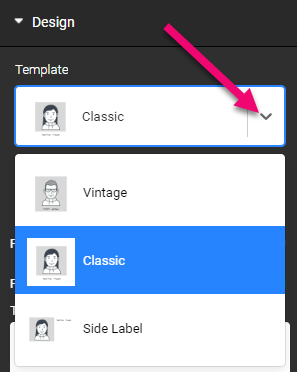
To change the portrait template:
- Click the drop-down arrow for the template menu in the design tool drawer
- Select one of three options:
- Classic – Labels appear under the portraits
- Vintage – Portrait and label are placed inside a box
- Side Label – Labels appear at the end of the portrait rows
- Click Update Layout
Adjusting Columns & Rows
The basic grid configuration is set by the number of columns and rows. This choice determines the size of your portrait images, which fit into the available spaces created in the grid.
Note: If less portraits are available in the group than spaces in the grid, the bottom of the page will be empty. If more portraits are available in the group than spaces in the grid, the portrait will overflow to the next page.
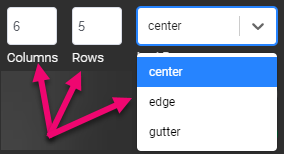
To adjust the number of columns and rows:
- Click in the colomns or rows box
- Change the number
- Choose the alignment for the last row of portraits in the grid
- Centered
- Aligned to the page edge
- Aligned to the page gutter
- Click Update Layout
Featured Staff Portraits
Larger portrait frames may be created on the portrait grid, usually to feature homeroom teachers on their classroom pages, or to give prominence to senior administrative people on the Staff page.
To add a Feature Frame:
- Click the toggle button to turn the feature frame on in the design tool drawer
- Click the drop-down arrow for the Featured Roles menu
- Select which portraits to feature according to their role
- Click Update Layout
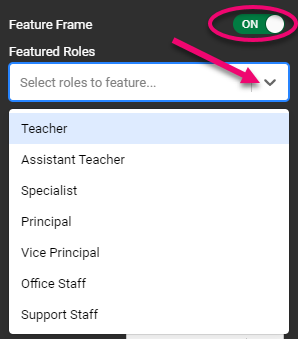
The available roles are set in the portrait manager, using the Assign Role option. Learn more about assigning roles in the Managing Portrait Data article.
Tip: Featured images do not need to appear as the first image in the portrait grid – they can appear in any position.
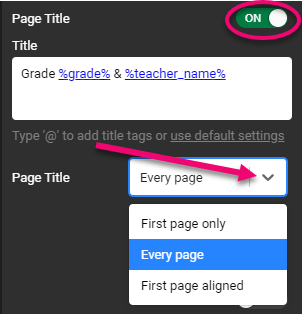
Portrait Page Titles
The contents of the page title are set using the group names used to build the portrait pages in the portrait wizard.
To add a Page Title:
- Click the toggle button to turn the page title on
- Customize by adding, removing, and rearranging text inside the title box
- Choose Apply to this page only or Apply to section at the top of the Layout Options
- Type “@” and select which group in the database to pull the title information from (shown as blue text surrounded by percentage signs) or type the title you want
- Choose among three options for page titles across your portrait section
- First Page Only – titles will appear on the first page of every group
- Every Page – title will appear on all pages in the section
- First Page Aligned – titles will appear on the first page of every group and grid spacing will be even on all pages

- Choose the Page Title Height
- Full portrait row
- 1/2 of a portrait row
- 1/3 of a portrait row
- 1/4 of a portrait row
- Click Update Layout
Portrait Label Options
Options for portrait labels are available in the Labels tool drawer. These options let you change the position of the labels and the content displayed in the label.
- Label Text – Choose to display the person’s full name (first & last), first name only, last name only, or no content
- Salutation – Click the toggle button to display Mr., Mrs., Dr., etc.
- Job Title – Click the toggle button to display the person’s job title
- Split Name on Two Lines – Click the toggle button to force a line break between the first and last names

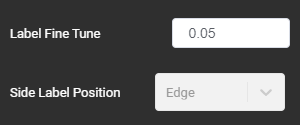
- Label Fine Tune – Use to slightly adjust the label position spacing
- Labels placed under the portrait will move higher or lower in the frame
- Labels placed on the side will move closer or farther apart
- Side Label Position – labels may be positioned either on the page edge or on the page gutter when the Side label portrait template has been selected
Note: Information for the Label Text, Salutation, and Job Title must be added to the portrait database in order for the information to appear on the portrait page itself.
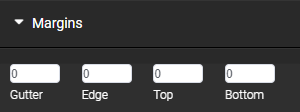
Custom Margins
Set custom margins under the Margins tool drawer. Choose the amount (in inches) to inset your portrait grid from the Gutter, Edge, Top, or Bottom of a page.
Tip: Adjust margins to compress the portraits into a smaller area of your page, creating space for photos and decorations at the page edges.
Row Spacing & Column Spacing
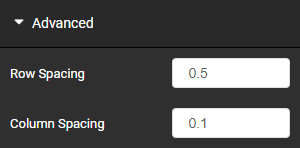
Adjust the amount of space between the rows or columns under the Advanced tool drawer. The default spacing is 0.1″. Click the arrows to adjust the setting up or down. Setting it to 0 will cause the portraits to touch.
Note: The portrait images may become smaller as the spacing amount increases.
Visual Tab: Styling Options
Customization of your portrait page styling options can be extended to every page in a portrait section, limited to a single page, or applied to a single frame on the page.
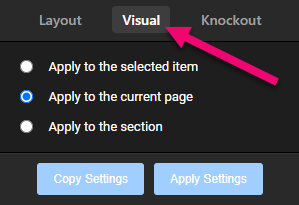
To customize where to apply the styling changes:
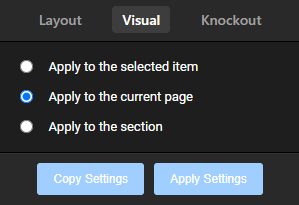
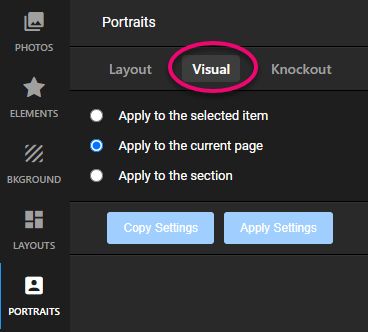
- Click on the Visual tab
- Select where to apply the styling changes:
- Apply to the section – Updates will apply to all pages in the section
- Apply to the current page – Updates will apply only on the selected page
- Apply to the selected item – Updates will apply to only the item that is selected
- Select a portrait grid element (the page title, name label, or portrait frame)
- Change any attribute of the selected item
Note: Only visual styling changes may be applied to a single portrait element on the page. (Layout options always apply at a full-page level.)
To apply styling options:
- Follow the instructions for the visual tab above
- Select any portrait image, label text, or title text frame
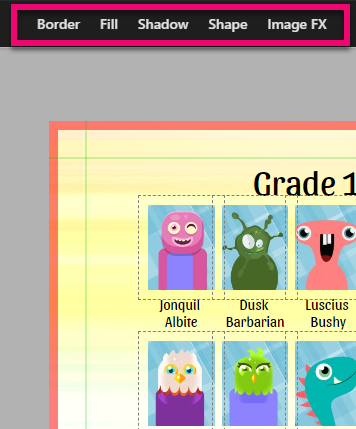
- All frame styling options will be available in the top menu – choose one and make changes:
- Apply a shadow to the image or text
- Update the font and text color
- Change the image frame border width and color
- Change the shape of the portrait image frame
- Apply the changes. Depending on the Visual tab scoping, the change will affect a single frame, all like-type frames on the page, or all like-type frames in the section.
Tip: To learn more about the different styling options, check out the article on Shape, Text & Image Frames.
Copying Styling Options
Styling options can be copied from one portrait page element to another selected element, another page, or every page in a section.
To copy styling options:
- Choose where to apply the styling changes on the Visuals tab
- Select the element on the page to copy
- Click Copy Settings on the Visual tab.
- Move to another page where the style will be applied
- Select the same element in the portrait grid
- Verify the same choice is selected on the Visual tab as in Step 1
- Click Apply Settings
Making Space on the Grid
Use the knockout feature to remove individual portrait frames from the grid. The knockout acts like a toggle-switch. Turn on/off portraits & their labels to clear out space on the grid, allowing you to add banners, candid images and clipart, or simply create an inventive grid. Once a frame is knocked out, the portraits will simply flow to the next available space; no one gets removed from the book.
To make space on the portrait grid:
- Click the Knockout tab
- Click the toggle button to turn knockout mode on
- Click the portrait to activate knockout mode
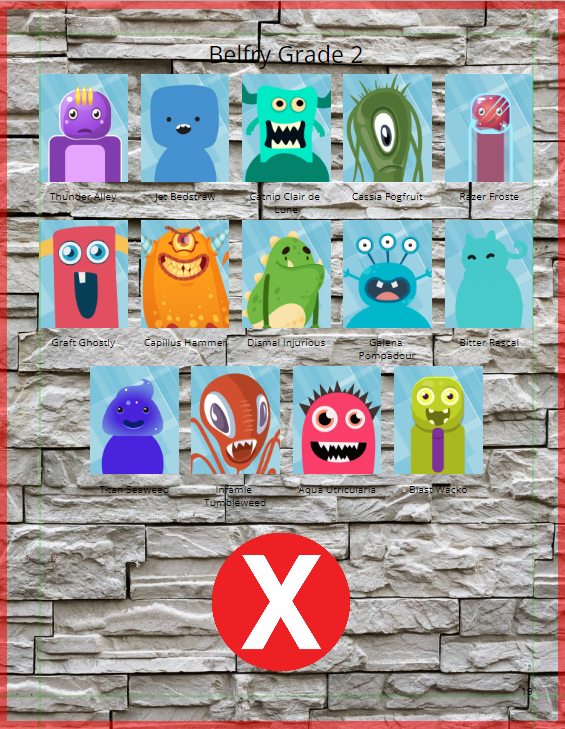
- Click the portrait again to move the portrait to the next spot in the grid, leaving a red placeholder
Note: The red placeholder is only visible when in active knockout mode – it will not print, and will not appear when on other tabs in the editor. To turn the portrait frame back on, simply click on the red placeholder.
Specialty Portrait Pages
Senior Class Pages
Senior class portrait pages may require special formatting to include space for quotes and memories, larger photos, or a special type of layout.
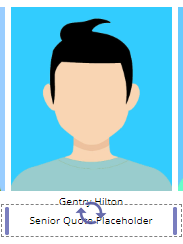
If your senior class page includes a motto or quote that is less than 100 characters long, you may be able to use the portrait database to autofill the information in the label area.
To add short quotes under portraits:
- Verify that the quotes are all within the 100 character limit
- Add the quotes in the Title field (usually reserved for job positions) in the portrait database
- Flow the portraits (as shown above) into their own section on the book ladder
- Open one of the pages in the editor to customize the page
- Set the Template style to Classic
- Set the rows & columns to limit the number of portraits on the page
- Under the Labels tool drawer, turn the Title option on (The quotes will now appear under the students’ names)
- Under the Advanced tool drawer, increase the row spacing to accommodate the extra label text
- Customize the label text as desired
Method Advantage: No extra formatting to get the quotes into the grid, quotes are linked to the portraits, so extra people may be added in at any time.
Method Disadvantage: 100-character text limit, no font customization between the name and the quote.
If the senior quotes are longer than 100 characters, or if special formatting is required to the text, then the quotes may be added manually to the portrait page.
To add large quotes under portraits:
- Flow the portraits into their own section on the book ladder
- Set the Template style to Classic
- Set the rows & columns to limit the number of portraits on the page
- Under the Advanced tool drawer, adjust the row and column spacing to create extra room between the portraits
- Customize the label text as desired
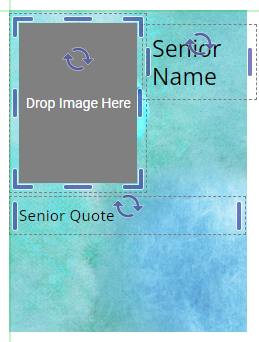
- After all the seniors are in place, add a text frame under the first portrait image on the grid
Note: The text frame will snap to the sides of the portrait frame. - Add a placeholder text frame with a readable font size and type
- Select the text frame containing the placeholder text
- Copy the text frame (Ctrl-C on Windows, Cmd-C on Mac)
- Paste the text frame (Ctrl-V on Windows, Cmd-V on Mac)
- Position the copied text frame under the next portrait image
- Repeat steps 9 – 11 to add a text frame under every portrait image
Note: You can copy a frame, then move to a new page to paste it. - Verify that the portrait order is finalized
- Add the students’ quotes to replace the placeholder text
Method Advantage: Quote can be longer and styled differently than the name.
Method Disadvantage: Manually matching quotes to students. Adding an extra person to the database (causing the panel to reflow) requires all the text frames to be moved over following the new person.
Tip: If this method is chosen, do not add quote text to your pages until every single portrait is in place in the grid. If you add extra people after quotes have been added under portrait images, the quotes will be aligned with the wrong people. If you are waiting to retake photos, add a placeholder image in the database. You can attach the portrait to their database record later, so your portrait grid will not reflow.
If your senior class page is particularly complex, requiring multiple text frames or more than one portrait per person, bypass the portrait wizard and portrait database to create your own template.
Note: To use this method, your senior portraits must be uploaded to a yearbook photo album, and all images and text will be added manually – this can be a little labor intensive!
To create a custom senior page:
- Add a single empty image frame to the canvas
- Resize the frame to cover the entire area where your portraits and text will appear
- Select the frame
- Click Image Tools in the top menu
- Select the number of rows and columns to divide the image into a grid – each section will house a senior portrait group
- Click Split Image
- Apply a background into each image frame – you may use a single background, or multiple backgrounds, as desired
- Design a portrait group within the first area a placeholder portrait.Add multiple text frames with placeholder text, pre-styled with fonts and colors
- Select all elements of the group (except the background)
- Copy all elements of the group (Ctrl-C on Windows, Cmd-C on Mac)
- Paste the group (Ctrl-V on Windows, Cmd-V on Mac)
- Move the copied portrait group into the next block
- Repeat steps 9-12 to create the entire template page
- Upon completing the template page, close the editor and return to the book ladder
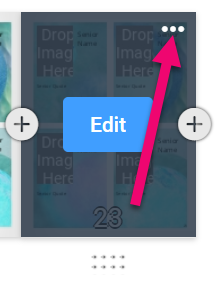
- Check out the book
- Click the Meatball Menu of the template page
- Click Duplicate
- Repeat until enough copies of the template have been created to place all the students into position
- Reopen the pages in the editor to customize each block with photo(s) and text
Method Advantage: Design freedom and creativity. Create a template that includes more than one photo and multiple text blocks of many sizes and styles.
Method Disadvantage: Completely manual, no automation tools.
Staff Pages
Staff pages may contain special features to differentiate them from standard student grids. Below are the features you may wish to include on staff pages.
The portrait grid may be configured to feature certain images. Learn more about Featured Teacher & Staff Portraits.
By default, portraits are ordered on pages by last name, then first name. To group staff into departments and break alphabetical order, use the Assign Role feature in the portrait database. Learn more about Assigning Roles to People.
To add multiple staff groups to one page, check out the section above on Flowing Multiple Groups on a Single Page.
Staff portraits may be configured to show their full names, or only their first or last names. Salutation (Mr., Dr., Ms) and job titles may be turned on in the page editor using the Layout Tab options after they are added in the portrait database.
Decorating Portrait Pages
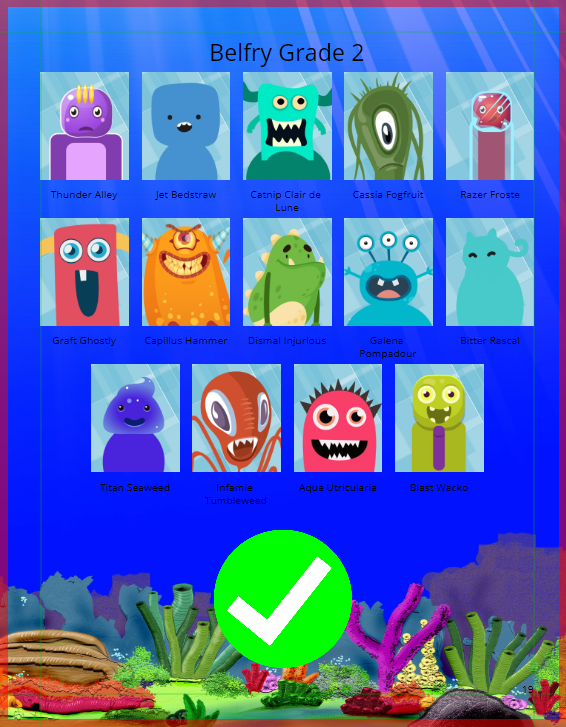
Portraits pages may be decorated with color, photos, backgrounds and shapes. When decorating your portrait pages, always keep label legibility in mind. The portrait images should be the focus of the page, and the labels should be kept free from distracting elements.
Be very mindful of the background you choose for your portrait pages, ensuring that all labels remain readable on every page.
Tips for choosing a background:
Choose matte, unshadowed textures, so that labels can stand out.
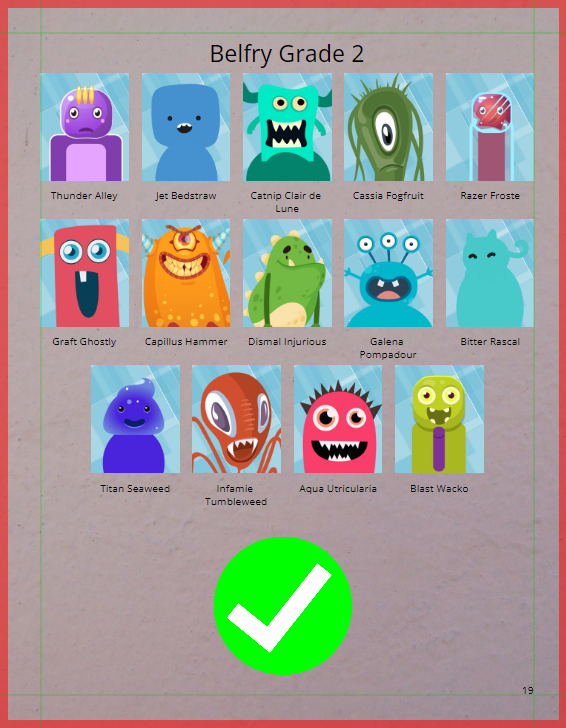

Avoid a high contrast background (If a label falls on all light, all dark, or mixed areas, getting the labels to uniformly stand out will be impossible.)
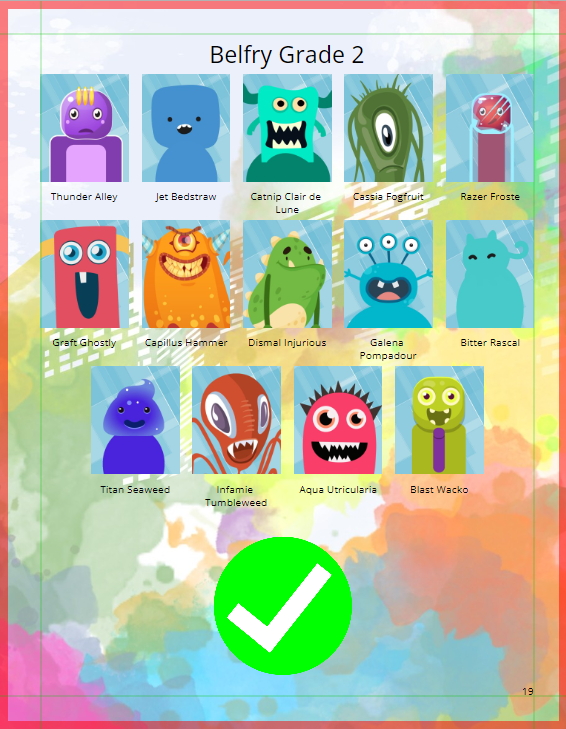
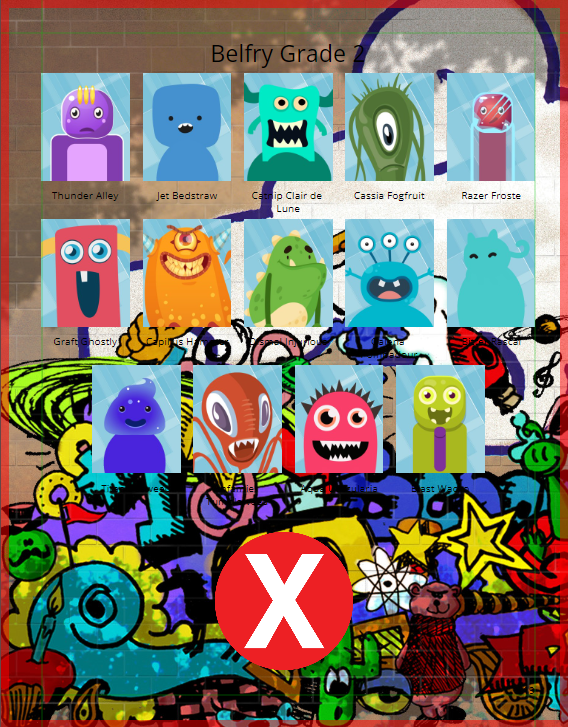
Make sure the area covered by the portrait grid is uncluttered (Images directly under the portrait grid can be distracting.)
Decorative word art graphics may be used as portrait page titles instead of being autogenerated by the portrait tab.
To clear space at the top of the page for Decorative Word Art:
- Turn on the Title Toggle in the portrait tab
- Select the text in the title contents box
- Replace the text with a space (hit your spacebar on your keyboard)
- Click Update Layout
Page Title Design Inspiration

Add a standard text frame in combination with graphic embellishments – rotated, and positioned out of direct alignment with the grid
Page title graphics may be used anywhere on the grid. Use margins and knockouts to create extra room if required.
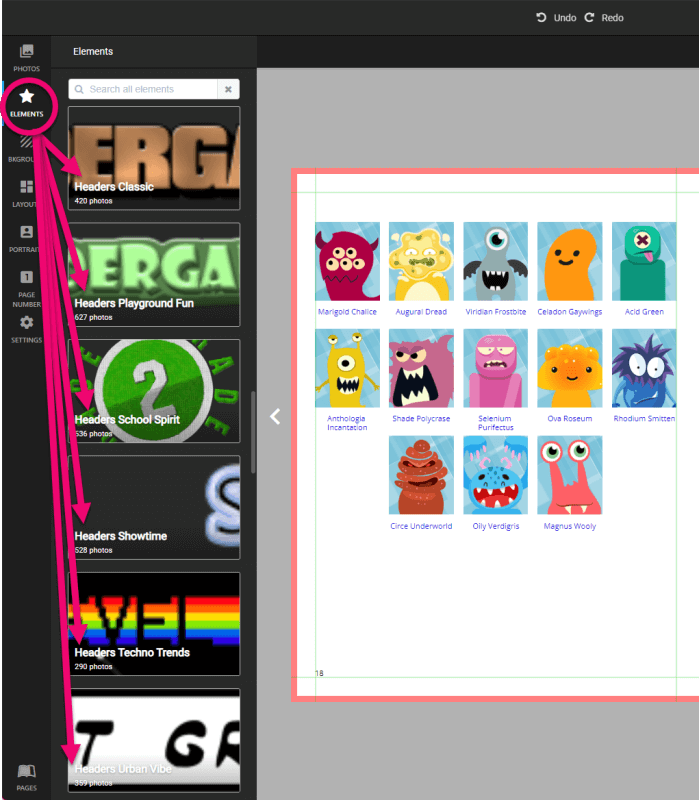
Check out the word art graphics within Memento.
- Click the Elements tab in the left menu
- Scroll down to the Headers collections
- Select one of the collections to see options
Tip: The Studio Source Catalog includes a collection of Letters & Numbers graphics under the Decorations area. Build your own title graphics one character at a time.
You may also want to check out the word art generator tool suggested on the Additional Resources & Tools page to create your own customer word art.
Tips for embellishing with shapes:
- Use a simple tinted shape frame to create color blocks on a portrait page
- Overlay a shape on to the background to define your portrait grid
- Use Memento’s Elements tab to find decorative embellishments (In addition to traditional clipart, look at Shapes and the Paint Blobs, Splats and Strokes for elements that may be custom-tinted under the Image FX tab.)
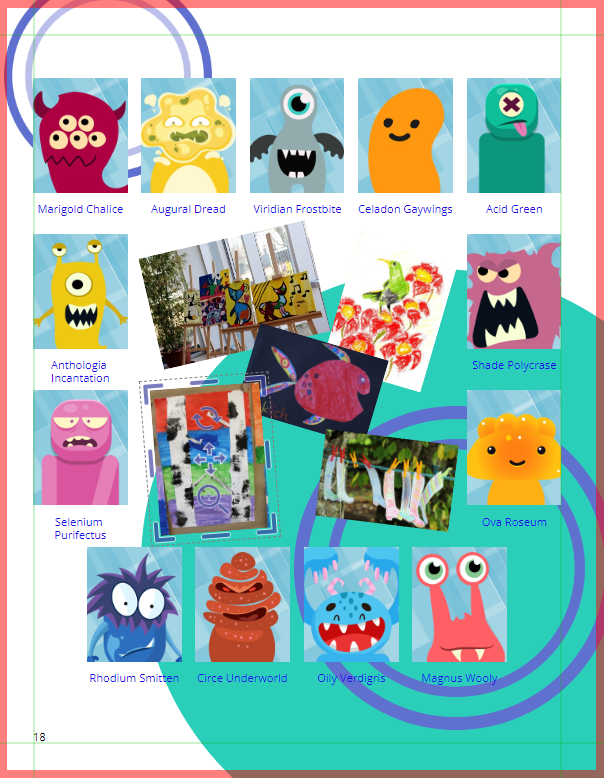
- In-the-Classroom Photos or Student Art may also be added to a portrait page, in an empty area at the bottom or in a knockout space
Tip: When adding decorative elements to your page, use the Order menu to send them to the back of the page, behind the portrait grid.
Troubleshooting Portrait Labels
Longer names or low-lying characters may fall under the portraits beneath them.
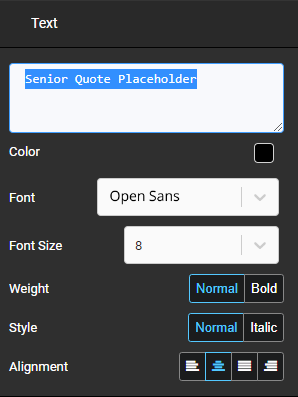
To fix this issue change the label to a compact font and/or reduce the font size:
- Use the Visual Tab to set the font size for a single selected label, all labels on a page, or all labels in a portrait section
- If there are a few exceptionally long names, only adjust these labels individually
- If there are several names on each page that need adjustment, then make the change at the page or section level for a uniform look
- Click the label that requires adjustment
- Click Text on the top menu
- Type any number to adjust the font size (eg. 7.25, 7.5, 7.75) to get exactly the right fit
Staff pages may include the job titles. The default spacing on portrait pages will not accommodate this extra information in the label.
To create extra space for job titles:
- Adjust the font size
- If more adjustment is required, increase the row spacing under the Advanced tool drawer
- If the labels still do not have enough space, adjust the number of columns and rows
- You may need to reduce the number of portraits on the page, or change the arrangement of rows to columns
To improve label legibility, try using a semi-transparent shape to tone down the background behind the portrait labels if a busy, high contrast, or shadowy background must be used.
- Add a shape to cover the entire portrait grid
- Change the shapes’ fill to a light color
- Reduce the transparency level
- Send the shape to the back behind the portrait grid
The label text will now stand out better against the light filter, but the background will still show through.