Cover Design
The cover is represented on the book preview as the first and last pages in the series. Click on either front or back cover to launch it in the editor.

Your cover dimensions are automatically preset based on the binding type and book size in Plic. You may find one or more of the following cover types on your book ladder.
- Hard Cover – The book is bound in a rigid cover with a defined spine region.
- Perfect Bound – A soft-cover binding where the cover is wrapped around the glued interior pages with a defined spine region.
- Saddle Stitched – A soft-cover binding where the cover is folded in half then stapled into the folded middle interior pages.
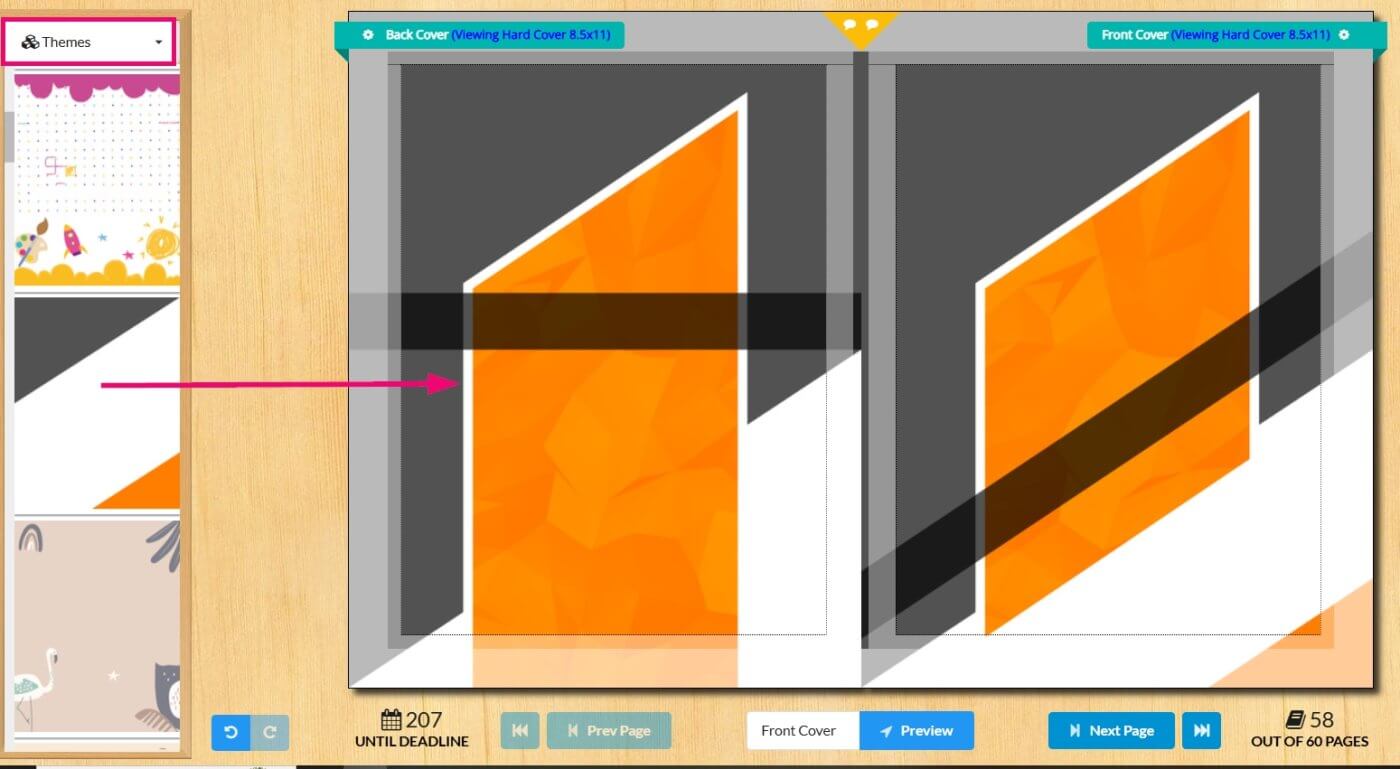
Editing your cover as a spread
To view your Plic cover in the editor as a full back-to-front spread, click on the page gear icon in the top right corner of the page.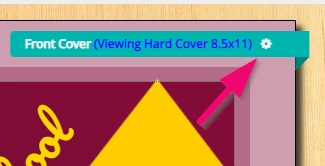
Select Edit Spread from the list of options on this menu.
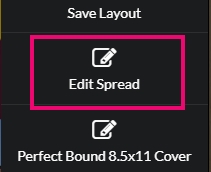
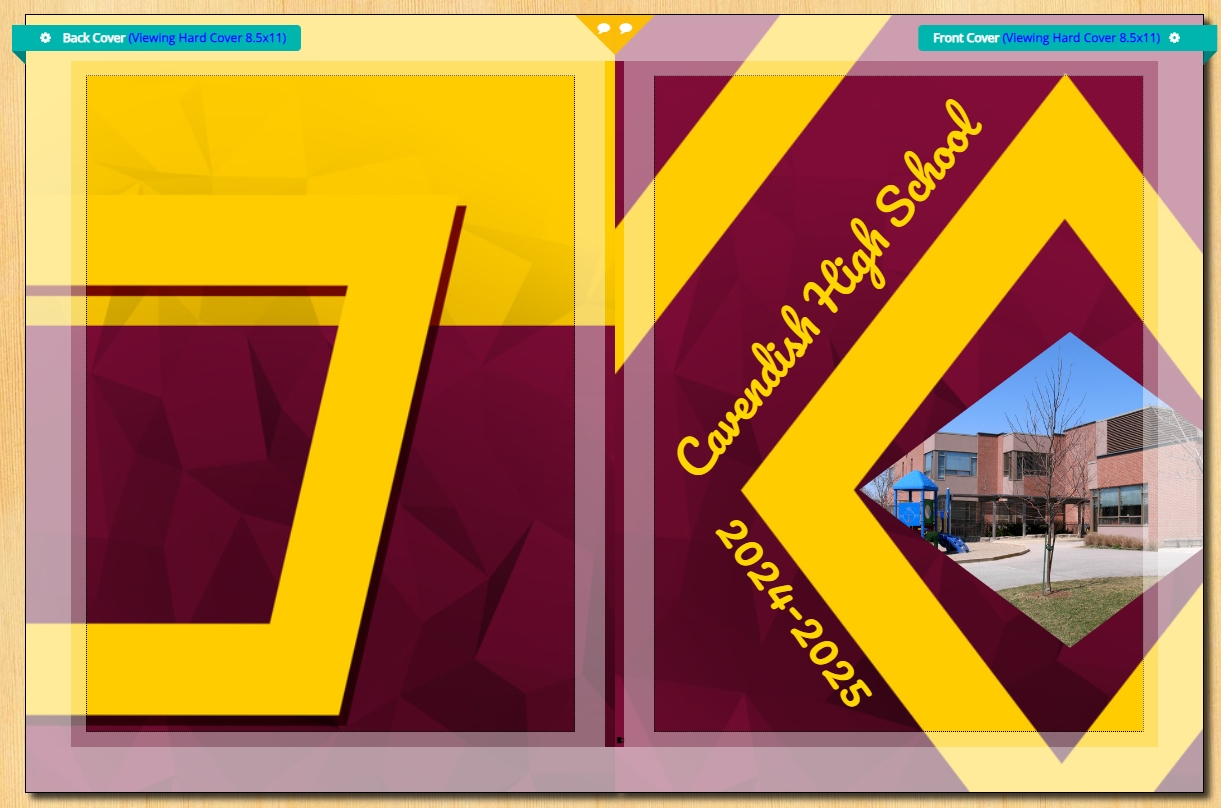
The entire cover will be available for editing, displaying the spine area in the middle of the page.
Cover Anatomy
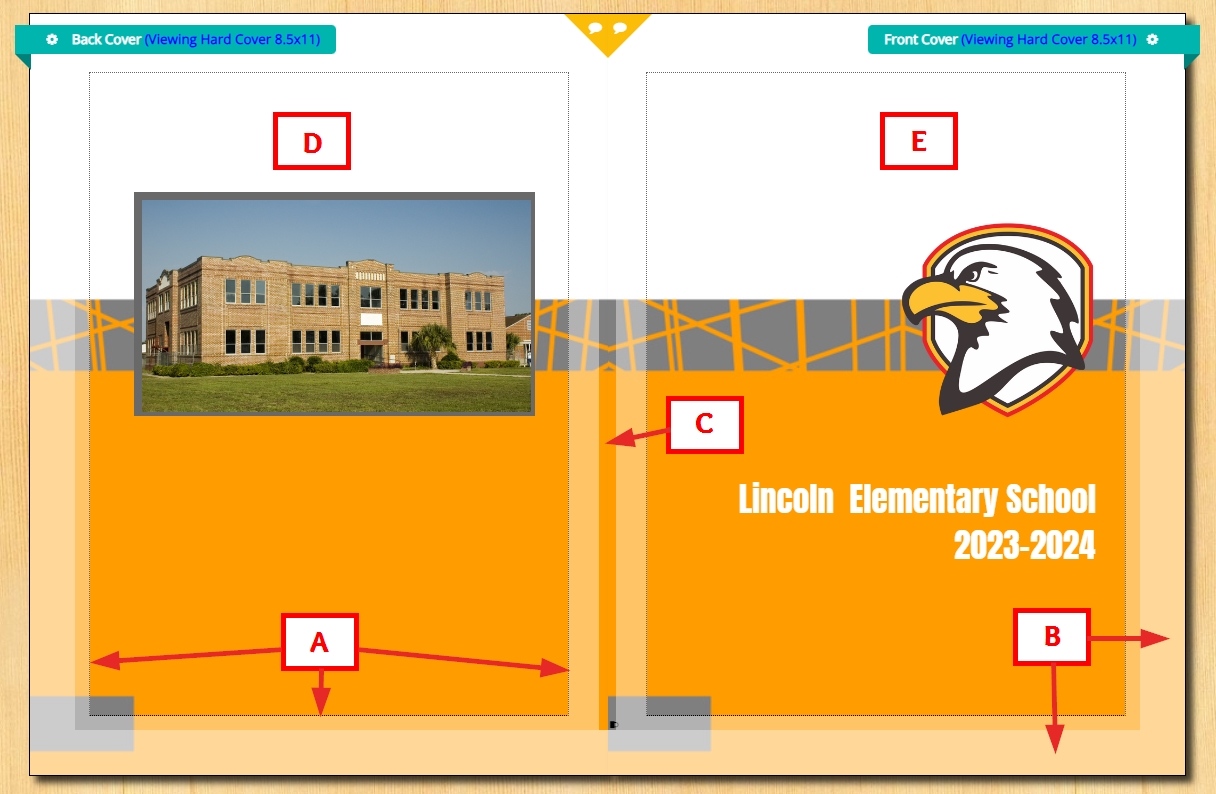
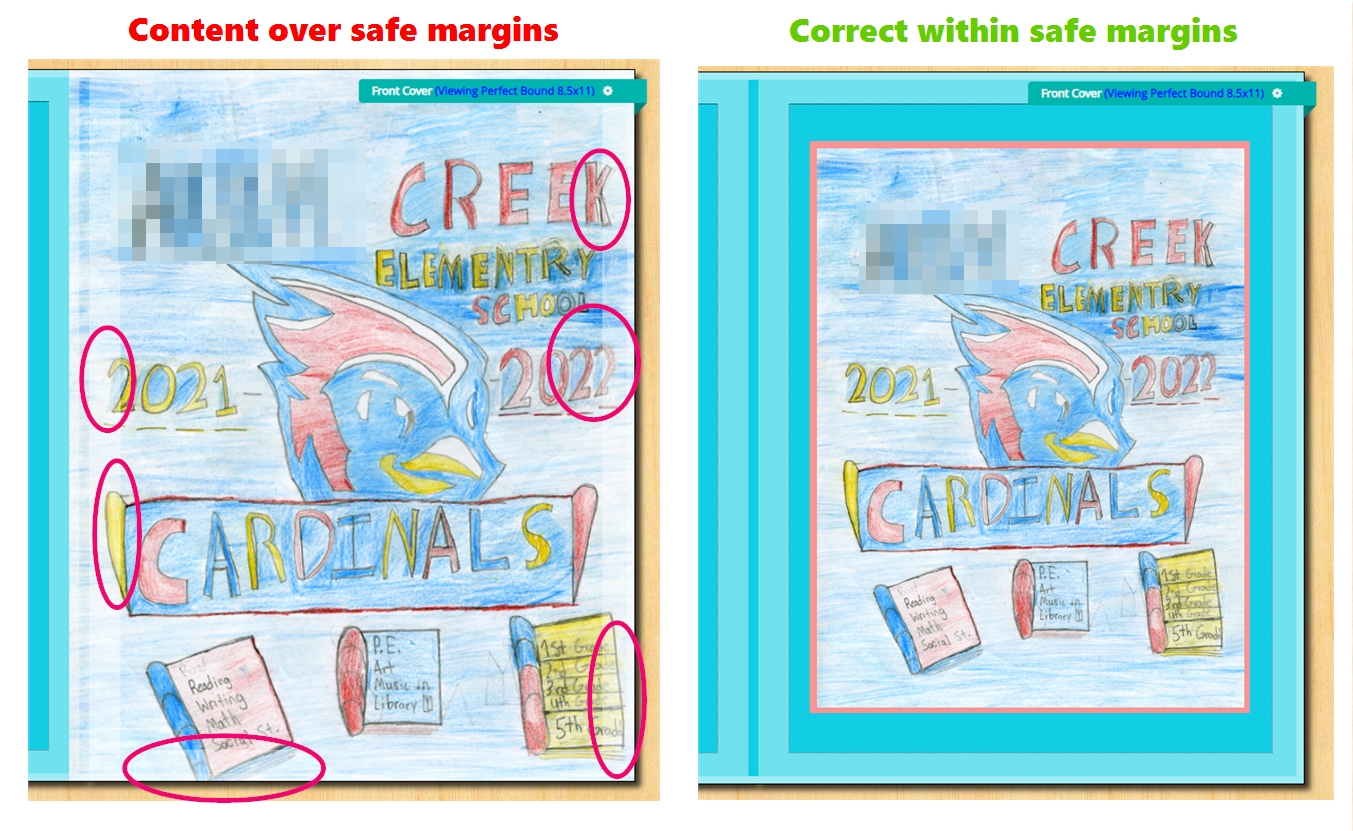
- A. Safe Margins – keep all text and featured photo content within the dotted lines.
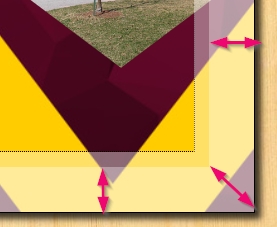
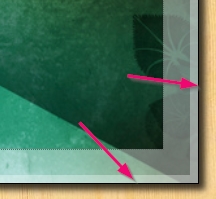
- B. Trim/Wrap area – Indicated by the more opaque area around the edge of the page. Hard covers will show a 0.75″ wrap, soft covers a thin trim area.
- C. Spine – Displayed as one or two mid-page lines.
- D. Back Cover – Designed on the left side.
- E. Front Cover – Designed on the right side.
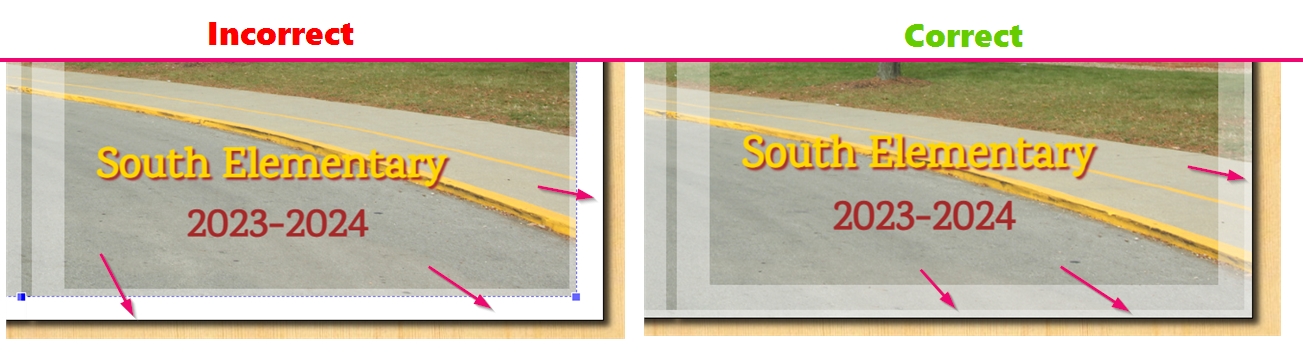
Safe Margins
Keep all featured images and text well within the safe margins. Paper can shift during printing by up to 1/8 inch, so text and images too close to the safe margins may be trimmed off or appear awkwardly bordered after printing, trimming and binding.
Trim/Wrap Area
Covers are printed on paper larger than the finished book. The extra area around the outer edges of the canvas are either trimmed off (soft cover books) or wrapped over the back edge (hard cover books).
Important: Extend background colors/textures over entire Trim/Wrap Area to the outer edges of the page to ensure there are no white unprinted edges around your cover.
Hard cover books have a 0.75″ wrap area around the entire page that wraps the back edge of the cover in the finished printed book.
Soft cover books (Perfect bound, Saddle-stitch) display a thin trim line. This is cut off after printing to ensure a clean edge.
Cover Layout Options
Use a Theme to automatically add backgrounds to both sides of your cover (also applying default backgrounds to all your interior pages), or add backgrounds from Plic’s option on the right-side pane in the editor.
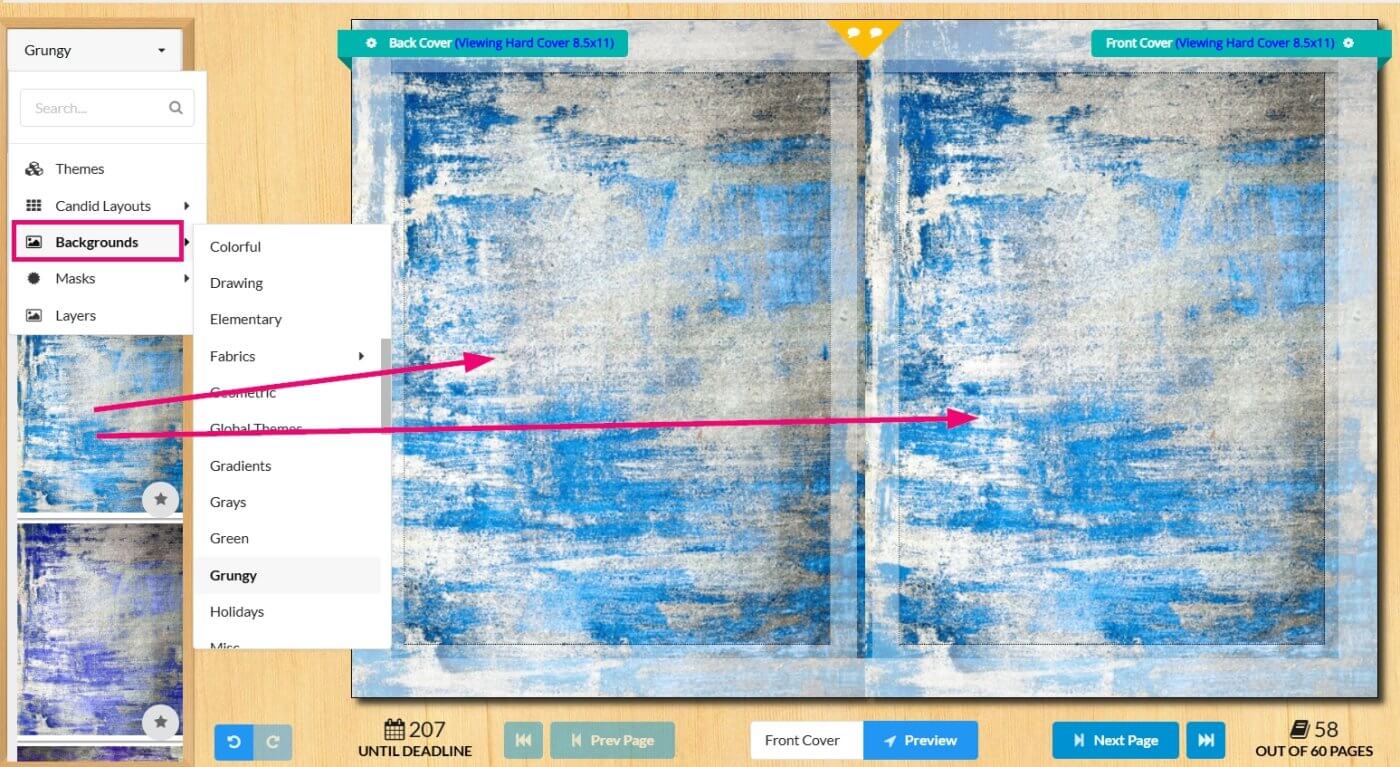
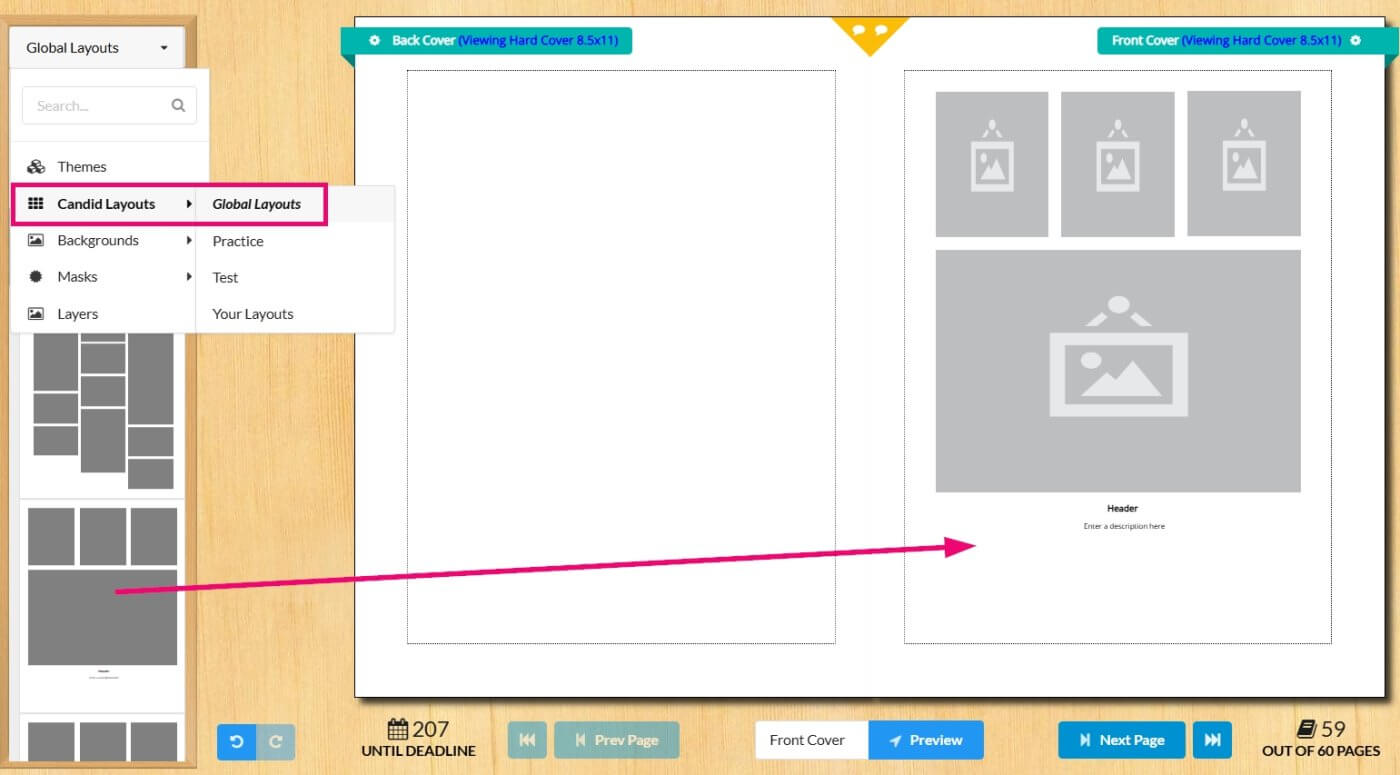
Drap layouts to the front or back covers to get your design started, or drag an image from your candid image collection to apply to one or both sides of the page. Customize your layouts as you like, applying content from any combination of these four sources with custom text frames, clip art, additional photos, etc.

Tip: Plic backgrounds automatically snap to the edge of your pages. If you choose a customer background uploaded to your Candid image collection, be sure to extend it to the outer edges of the canvas — don’t leave any small edges around the border as this area may appear on your finished cover.
After positioning the image to cover the canvas, use the lock on the image menu to ensure the image won’t be reselected/moved when you are adding other elements to the cover.
Spine Text
Spine text may only be applied to Hard Cover and Perfect Bound books with a page count over 88 pages (so the spine width is sufficiently large to accommodate text). Saddle stitch books do not have a spine area, only a fold line.
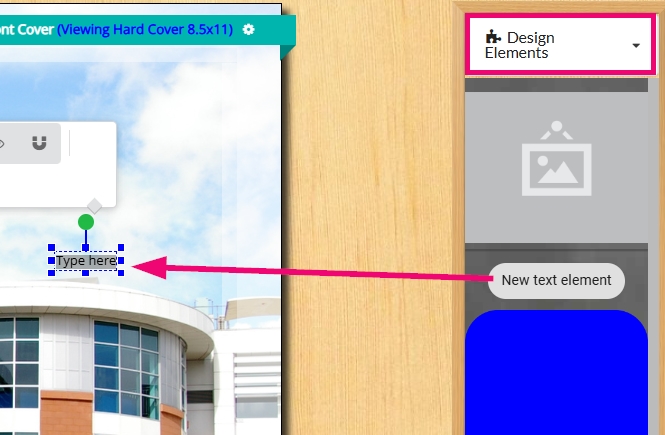
Drag a text frame to the canvas.
Start customizing the text, and rotate it to the right so it is vertical. Note that ALL-CAPS is suggested to make placement easier.
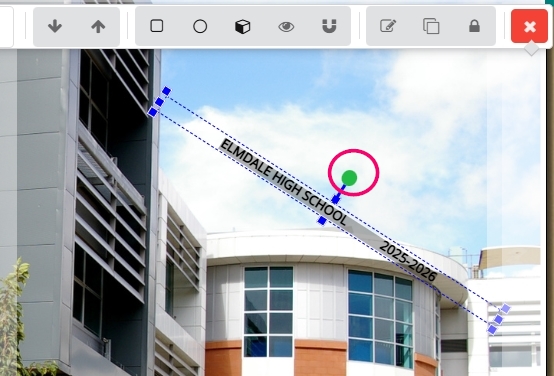
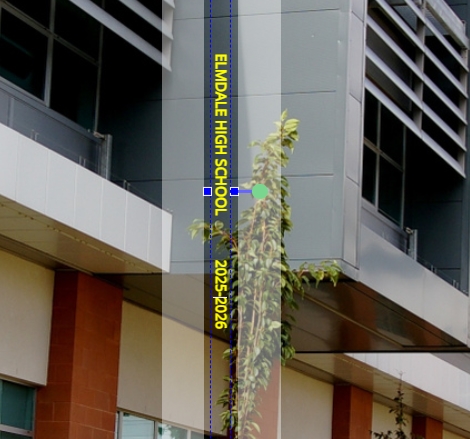
Complete the customization so that the text is perfectly centered in the spine area, covering no more than 70% of the spine width.
Accessing a second cover page
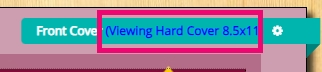
If your studio has set up a hard cover and soft cover option for your school, the format will of the current cover type will be displayed in top right corner in the page editor.
To switch to the second cover page, click on the gear icon in the top right corner, and click on the second cover type to launch it in the editor.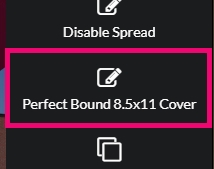
Choose Duplicate Content to copy the design to the other cover. Be sure to review both covers for placement issues! 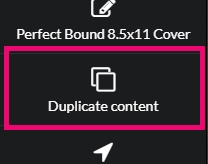
If your studio has set up a hard cover and soft cover option for your school, the format will of the current cover type will be displayed in top right corner in the page editor.
To switch to the second cover page, click on the gear icon in the top right corner, and click on the second cover type to launch it in the editor.
Choose Duplicate Content to copy the design to the other cover. Be sure to review both covers for placement issues!
Custom Student Art Covers
If your school is running a student art drawing contest or designing a fully custom digital art, click here to access a detailed design guideline article. A link to an editable cover contest poster flyers is available in this article.
Designing digital cover art outside of Plic? Do not start your design in your editing software without setting up your canvas with the appropriate dimensions and margins for your particular book. Consult the Cover & Page Dimensions article in our general knowledge base to learn the precise dimensions/resolution and margins for your cover. You will need to know your binding type (Hard Cover, Perfect Bound or Saddle Stitch), your book size (8.5×11 or 9×12) and your page count to get the info you need to set up your canvas.
Cover Layout Options
IMPORTANT: Detailed cover design tips are included in our general knowledge base’s Cover Design article. Learn about styling choices, and how to place text, images and backgrounds to avoid potential problems. Yearbook proofs are often rejected due to cover placement issues, so consulting this design guide can save a lot of hassle and stress.
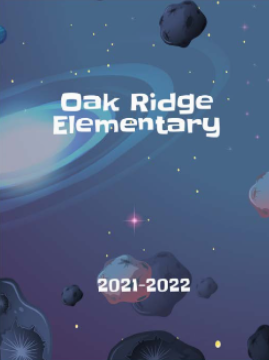
Most cover designs prominently feature:
- The School Name
- The School Year
- Any image and text of your choosing, including some of the following elements:
- Your school logo or mascot
- Your school motto or an inspirational quote
- A featured student art image (cover contest winner) on the front and/or back cover
- A photo collage of people and places around your school
- A group photo (eg. the graduating class, staff photo)
Tip: Designing on or around the spine area can be tricky. Spine text may only be added to Hard Cover and Perfect Bound books that are 72+ pages, with text perfectly centered and no more than 70% of the spine width. The spine area should never be color-blocked and images/background should never meet on the spine guideline(s). Be sure to consult the Cover Design Guide for illustrated details.
Cover Themes & Backgrounds
Plic offers themes and backgrounds to use on your covers. Consult the Themes, Layouts, Backgrounds and Clipart article to learn how to decorate your cover with these elements.
For additional cover background options, browse the extensive collection of images in the Studio Source Catalog. This collection includes thousands of double page/cover backgrounds that are copyright-cleared and appropriately formatted (6000 x 3900 pixel jpg files) to fill the entire cover background.