Portrait Import & Management
Prior to building portrait pages in your yearbook, your portrait set must be imported Subject Management area of your Dashboard. School advisers and yearbook photo companies may import portraits. Advisers who don’t have access to their portrait set should contact their school photo company directly.
Portrait import package formatting
Most photo studios use a portrait package known as the PSPA (Professional School Photographers Association) format. The package consists of one or more folders containing portrait images and a data file saved as Index.txt. This data file includes the names and grade/classroom information for each person, which is used to create groups and generate labels on your portrait pages.
The index.txt file assigns one row per person/photo, which can most easily be seen by opening the file in a spreadsheet software like Excel. Each column corresponds to a particular piece of information about the portrait.
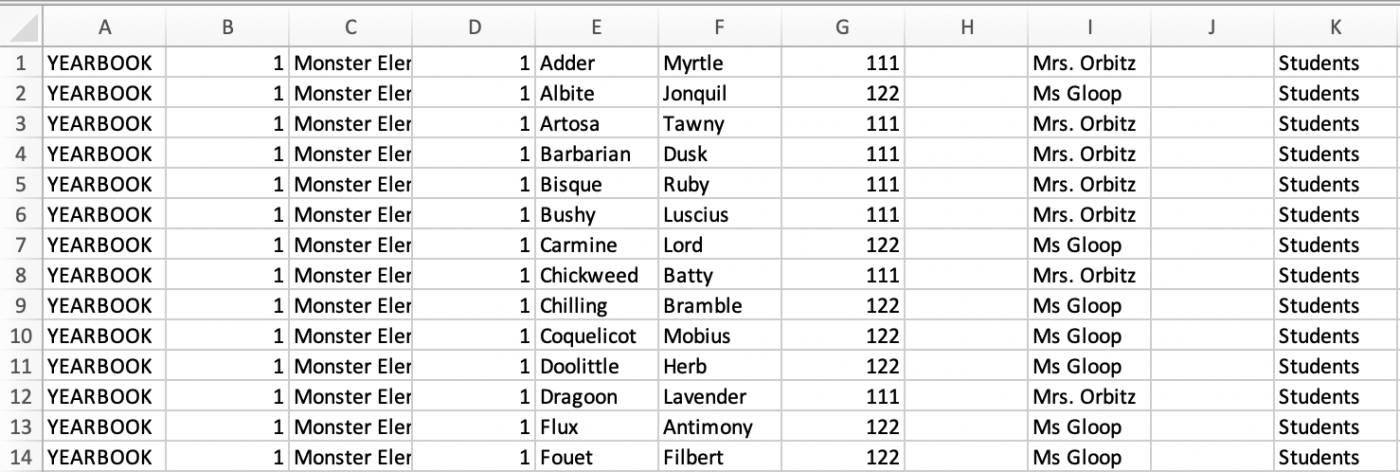
- A. Volume Name: School name or a default field, like “Yearbook”
- B. Image Folder: The name(s) of the folder(s) containing your images
- C. Image File Name (including file extension): File names given to the portrait photos, usually a .jpg
- D. Grade: Assigned to students and possibly teachers
- E. Last Name: Family name of the person in the portrait
- F. First Name: Given name of the person in the portrait
- G. Homeroom: Classroom number
- H. Period: (Usually blank)
- I. Teacher: Homeroom teacher (Last name or Lastname Initial)
Importing a Portrait Package
If your photo studio has provided you with a PSPA format package, you can easily import your images.
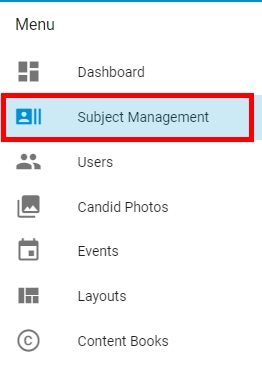
In your Plicbook Dashboard, click on the Subject Management menu option.
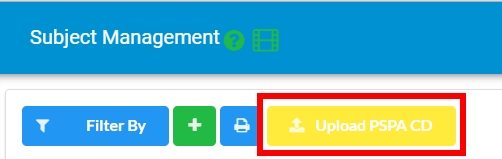
Click on the Upload PSPA CD button.
Don’t worry if you don’t have a CD – most studios will provide a USB, Google Drive or a link to a download site. If your studio provided you with a link, download the portrait package to your computer first, unzip the file, then import it into your Plicbook.
Choose either to upload your PSPA package from your local computer, or, if applicable, your Google drive.
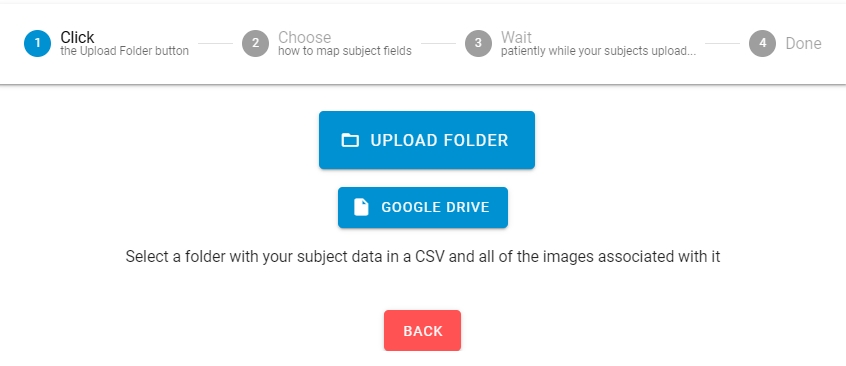
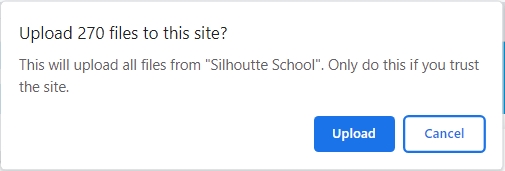
Select the folder that contains all your portraits (which may be organized in sub-folders) and the index.txt file. Confirm that you want to upload the files from this folder.
Ensure that the file folder is unzipped first.
A preview of your data will generate, displaying empty column headers at the top. Assign the relevant column headers from the preset options to each column. If the column information doesn’t match one of the categories, you can either skip it (eg. file name) or create a new header at the bottom of the list.
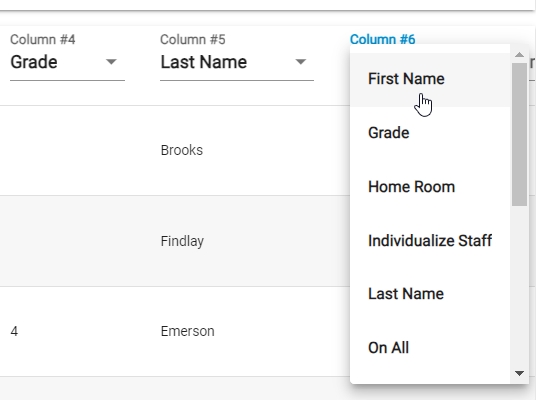
Assign first name, last name and grade columns at minimum; elementary schools may need Teacher or Homeroom assigned to break the portrait set into classroom groups.
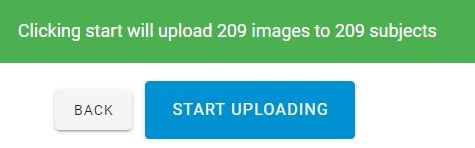
When your columns have been assigned a header, click the Start Uploading button at the bottom of the table. The photos will begin to upload to your book.
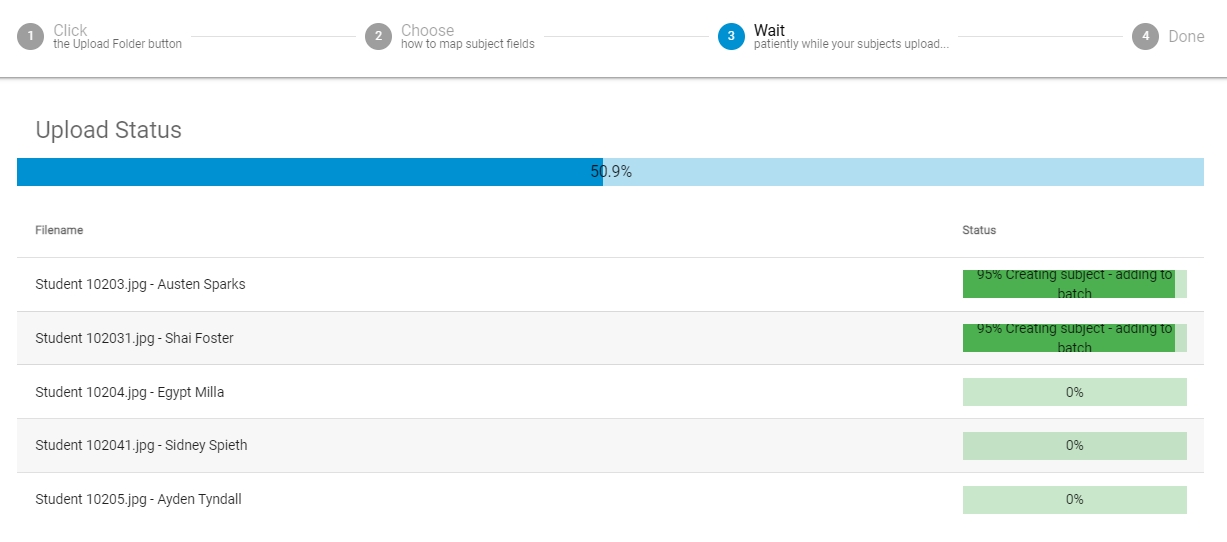
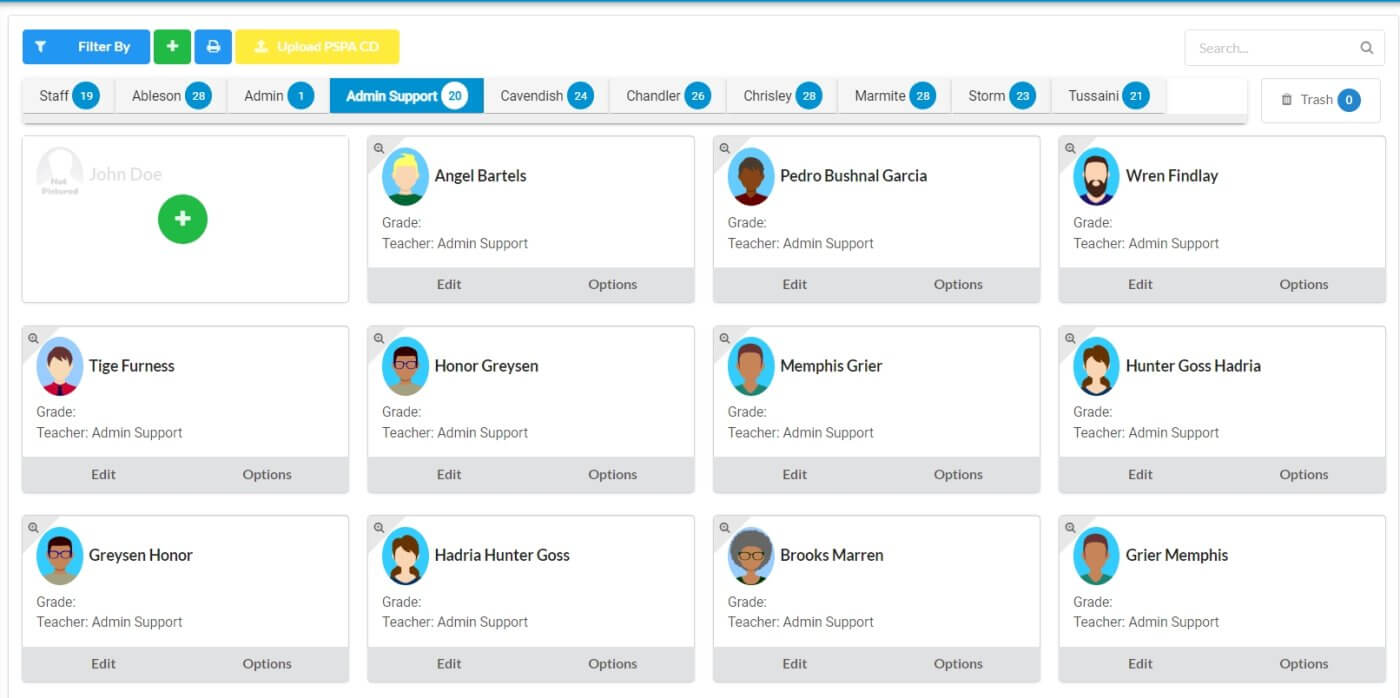
Following the upload, your Subject Management tab will display your portrait set grouped under several tabs, with each person represented by a card.
Managing Portraits
After importing your portraits, you can sort their groups, correct typos, reassign people to new groups, and add additional portraits. Portrait management may occur before or after portrait pages have been generated.
Any changes made under the Subject Management area will affect your portrait pages, updating them as the information about the people in the portraits changes.
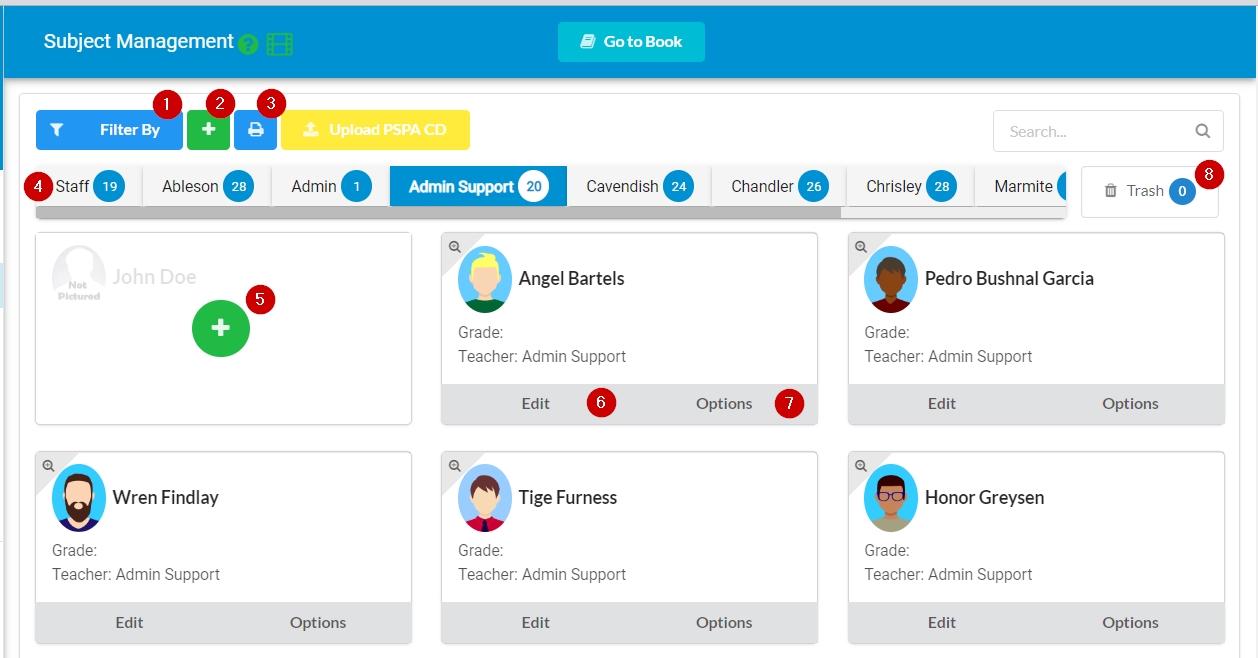
1. Batch (group) filter options
2. Create a new batch (group)
3. Create a directory for proofing
4. Batch (group) tabs
5. Add a new record (person)
6. Update portrait info and image
7. Add staff options (job titles, priority ranking, salutation)
8. Deleted records bin
View Plic’s tutorial video reviewing portrait management:
Searching for an individual portrait
To search for an individual portrait, type a name in the Search box. Matching results will appear immediately as you type.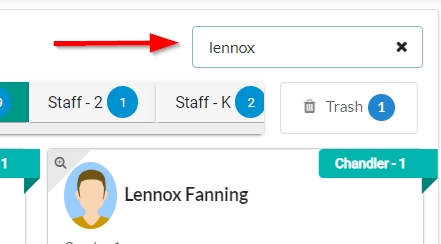
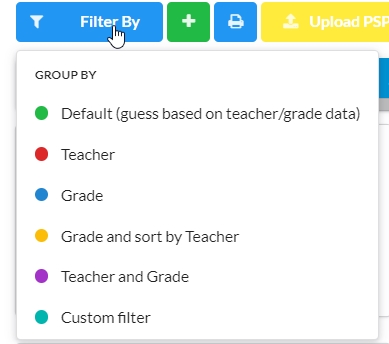
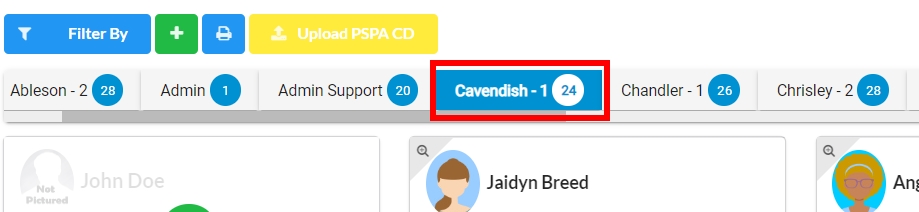
Filtering by batch (group)
Use FILTER BY to reset the way the portrait groups (batches) are presented. Elementary schools may find “Teacher and Grade” or “Homeroom and Grade” to be most useful to sort by classroom groups, where High Schools will most likely just use “Grade” alone.
Note that changing your group filters (batches) after flowing your portrait pages may remove the portraits from your pages.
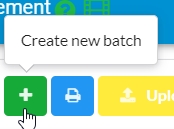
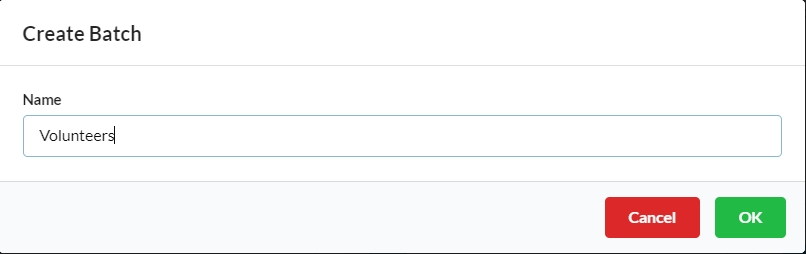
Creating a new batch (group)
Click the green plus button to create a new batch (group). Portraits may be moved from your import into a new group or create new records to add to it.
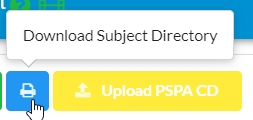
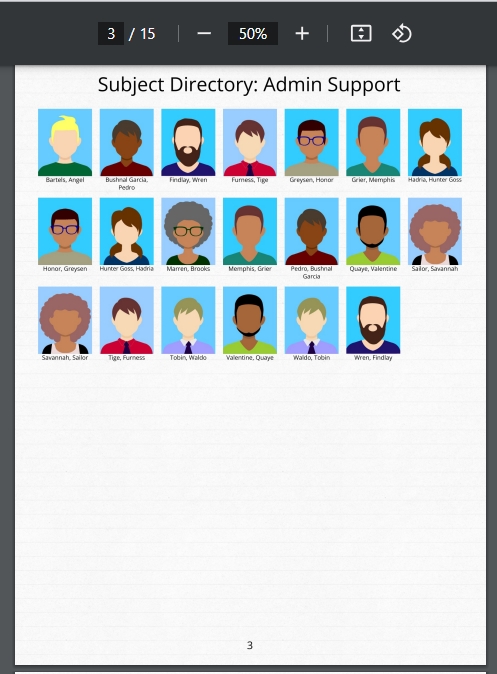
Creating a directory (for proofing)
Click on the blue printer icon to download a subject directory. This will generate a pdf booklet of your entire portrait set sorted by the current filters. This is useful for proofing your portrait labels and grouping with staff members at your school.
Reviewing your portraits by batch (group)
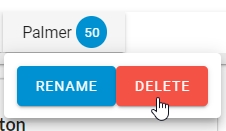
Click on the batch (group) tabs to what portraits are included under each. Hover on the tabs to rename or delete the group. Renamed groups do not change the data of the portraits assigned under them (eg. correcting a typo in a teacher’s name). Deleted groups move all the portraits under them to the trash.
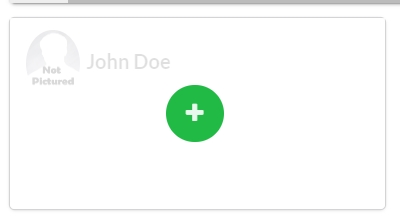
Adding a new person
If you need to add a portrait for someone who missed photo day or include them in the portrait flow without an image, click the Add button at the front of the batch (group) where they belong. Include name information, and upload a photo if one is available (eg. homemade portrait, school logo, other placeholder image). A record without a photo will display a warning and a default “not pictured” image.

Updating a portrait image & information
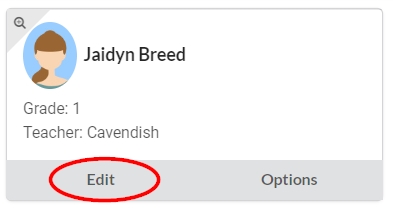
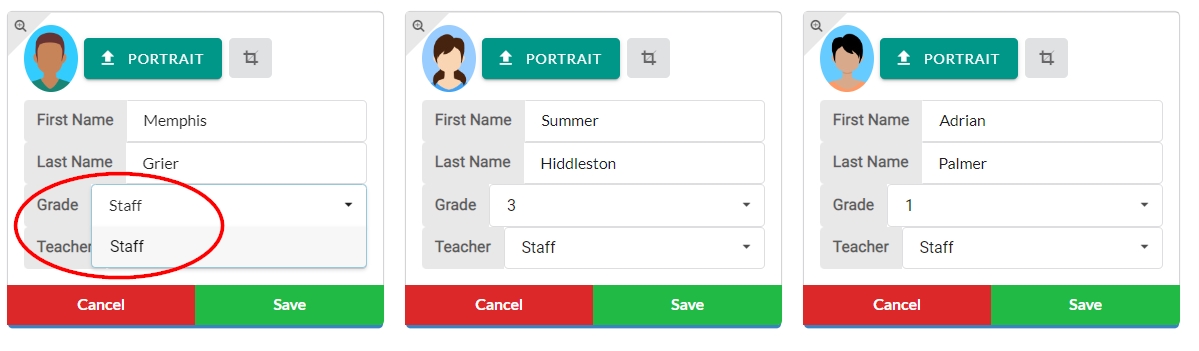
Click Edit to update name spelling, grade and teacher information, or make adjustments to the portrait photo.
- Click the Zoom magnifier to see the portrait image in detail.
- Click the portrait upload button to swap out the current photo.
- Click the crop tool to reframe the portrait image (useful for homemade portraits!).
- Correct typos to the first and last name.
- Reassign a portrait to a different grade-teacher-homeroom group. The image will immediately move to the selected group’s batch.
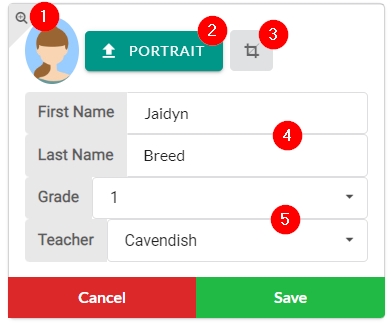
Click Save to update your portrait info.
Tag a Portrait as a Teacher/Staff
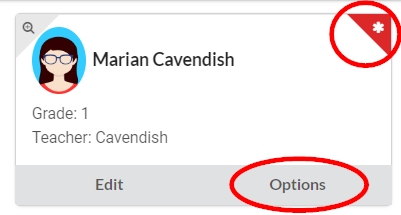
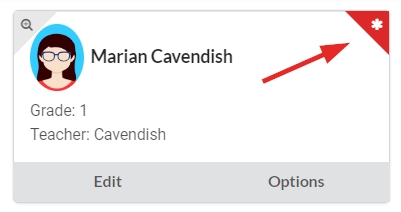
Portraits may be set to indicate homeroom teachers or senior staff, causing their portrait to appear at the front of their portrait group page. Job titles and prefixes may also be indicated. Flagged portraits display at an asterisk in the top corner.
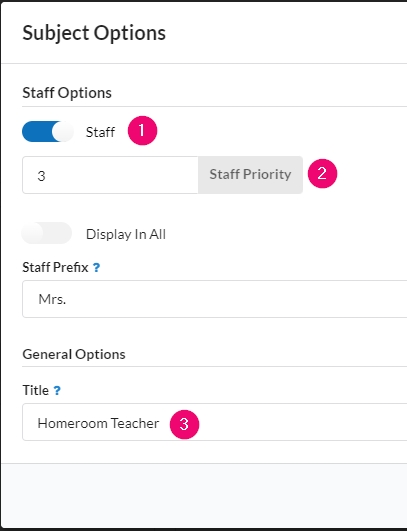
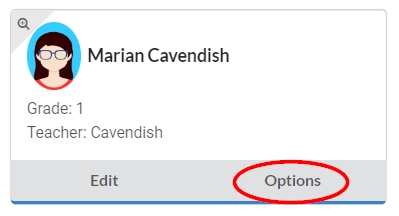
To flag a staff portrait, click on the Options button.
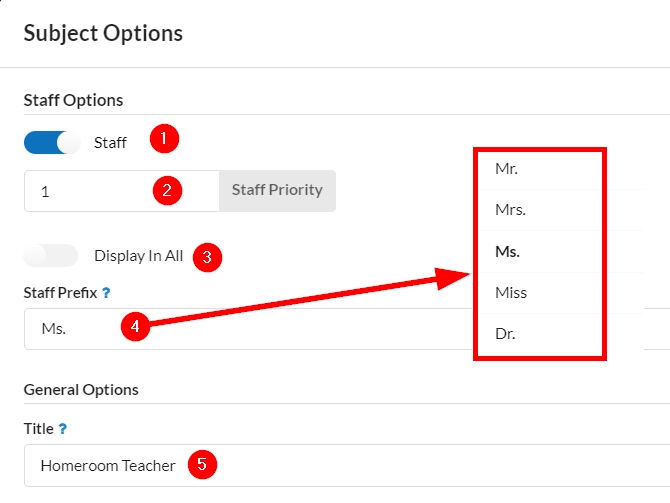
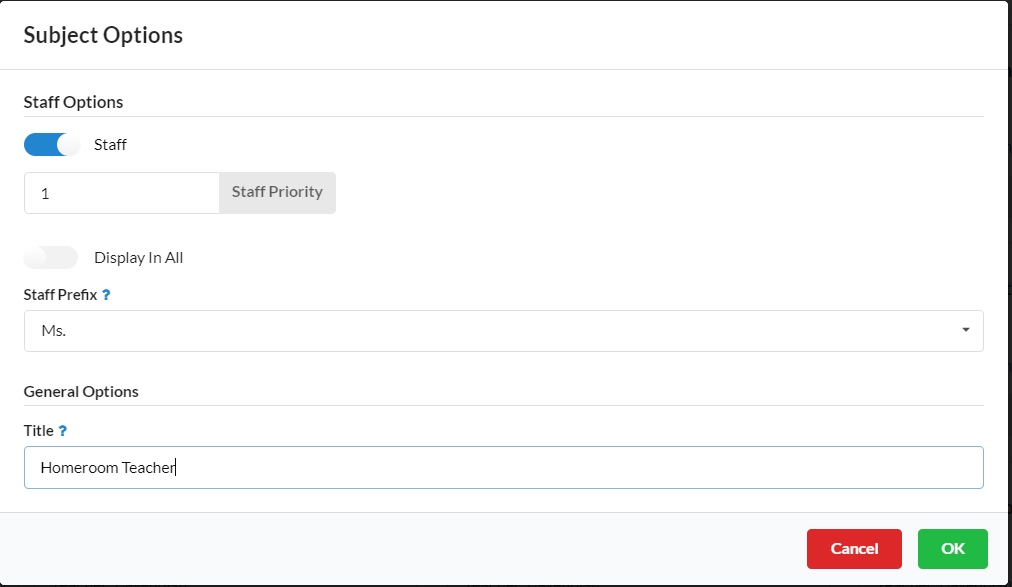
- Turn on the Staff button to set up options for the portrait.
- Set a priority ranking. Portraits marked “1” will appear at the front of their grids, “2” will appear in the second position, and so on. See below for details.
- If the portrait needs to appear in every single group, you may optionally turn on the “Display in all” option. The portrait will be copied to all batches.
- Optionally add a prefix/salutation in front of staff portraits (Mrs., Ms, Mr., Dr., etc.) Prefixes may be included in the portrait label in the editor.
- Assign a job title, which may be included in the portrait label in the editor.
Be sure to click OK to retain any options set for the portrait.
If you need to set up a staff page with people grouped by department, use the staff priority field. For each staff portrait, use the following settings.
- Turn the Staff toggle on.
- Set a priority to correspond to the group’s department, reflecting the order the groups should appear.
- Add a job title.
Note that using priorities will not split up the staff into separate sections, just group them together one following the other. Create as many groups as needed, to place staff member in the desired sequence. For example, a basic breakdown could include the following:
Priority 1: Principal
Priority 2: Vice-Principal and other admininistrative staff
Priority 3: Teaching staff
Priority 4: Support Staff
Additional priorities may be added to create more groups.
Priority 1: Principal
Priority 2: Vice-Principal and other admininistrative staff
Priority 3: Homeroom teachers
Priority 4: Assistant teachers
Priority 5: Specialists
Priority 6: Support staff
Prioirity 7: Afterschool care
Selecting & Updating Multiple Records
Hold the Ctrl-key (Windows) or the Cmd-key (Mac) to select multiple records one at a time. Once selected, the record will display a blue line under it. Click EDIT on one of the selected records.
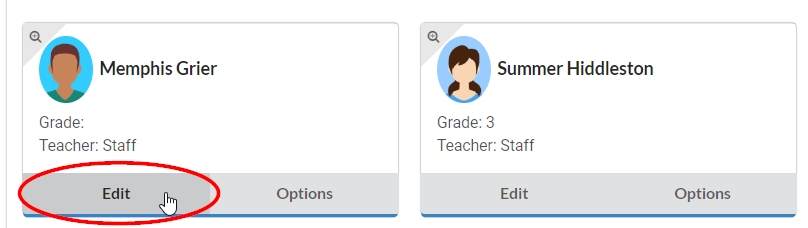
Change information that is common to all three records – usually Grade or Teacher information. In the example below, all grades will be changed to “Staff.” Be sure to hit Enter on the keyboard if you are adding a new group name, then click Save to apply the changes.

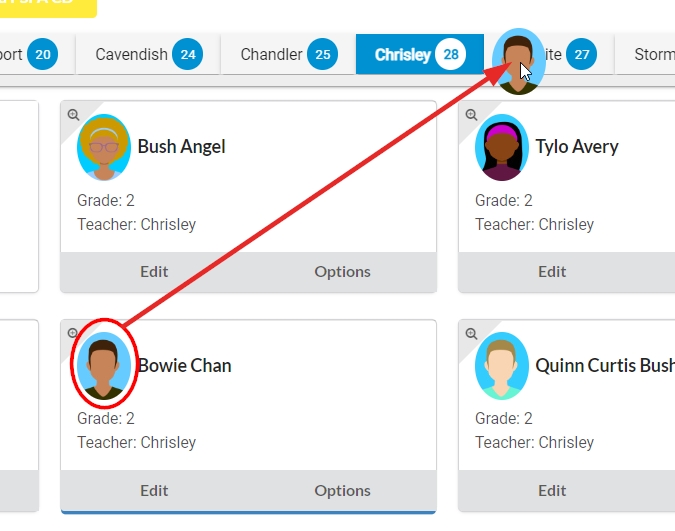
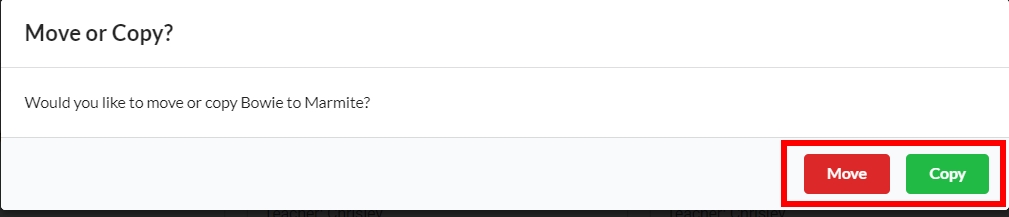
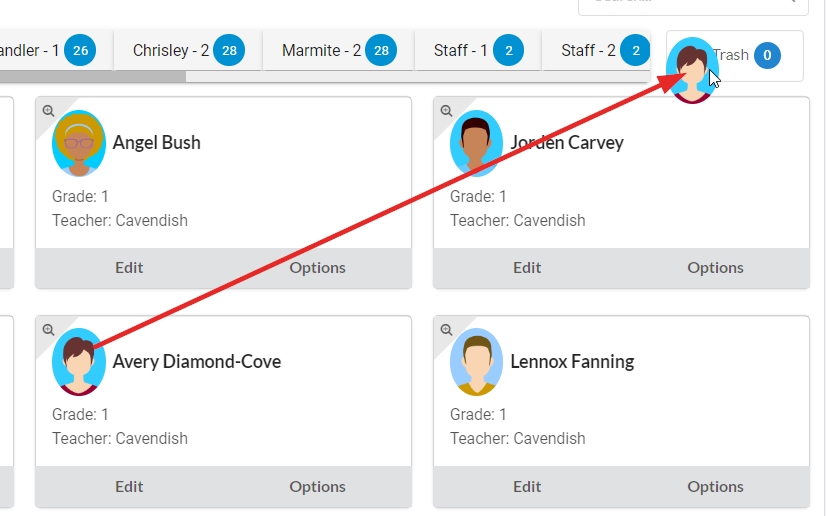
Moving or copying portraits to another batch (group)
To move or copy a portrait from one batch to another, click on the portrait image, then drag it to a different batch tab. To multi-select portraits, hold the Ctrl-key (Windows) or the Cmd-key (Mac) then drag the one of the selected portrait images to move/copy all selected items. Confirm the choice to move/copy the portrait(s) to the new group.
Tip: If you want your homeroom teachers to appear on both your staff page and in their home room, copy their portrait to their classroom batch.
Add extra information to staff records
Add additional details concerning the role of the person in the record. Click Options to set a staff member up with additional details. Turn on the “Staff” toggle to add priority rankings, prefixes (Mrs., Dr., etc.) and job titles.
Note that priority rankings override alphabetical order by last name on your portrait grid. Set the principal to “1” to push their image to the top of the staff page or place the homeroom teacher at the front of their class. Similarly, assign the vice-principal or assistant teachers a priority of “2” to move them to the second position in their grid.
Prefixes and Job Titles may be set to appear in the editor to appear in the portrait label.
Staff portraits will be flagged in the Subject Manager once updated.
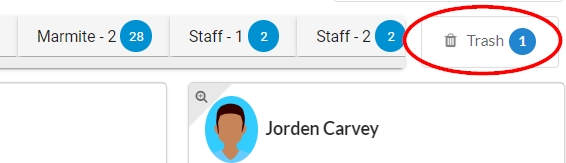
Deleting portrait records
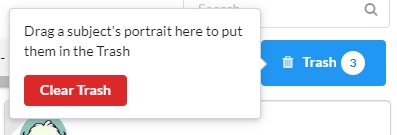
Remove a portrait by dragging it into the trash tab. Click down on the portrait image then drag it to the trash can to remove it from your set. To move multiple portraits to the trash, hold the Ctrl-key (Windows) or Cmd-key (Mac) to select the portraits, then click down on one of the portraits to drag the selection to the trash.
Click on the trash tab to see the images assigned to it. To restore a portrait, drag it back to a batch (group) tab.
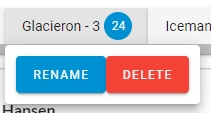
To remove an entire batch (group), click on the batch tab, then choose Delete.
If you need to reimport an entire new set of portraits, delete every batch until none remain.
Be sure to clear the Trash when you are done to avoid any confusion.
Portraits are added to your pages in the book editor. Learn more about building portrait pages.