Editing and Managing Pages
To launch the Plic editor, click on the Go to Book button at the top of the Plic Dashboard page:

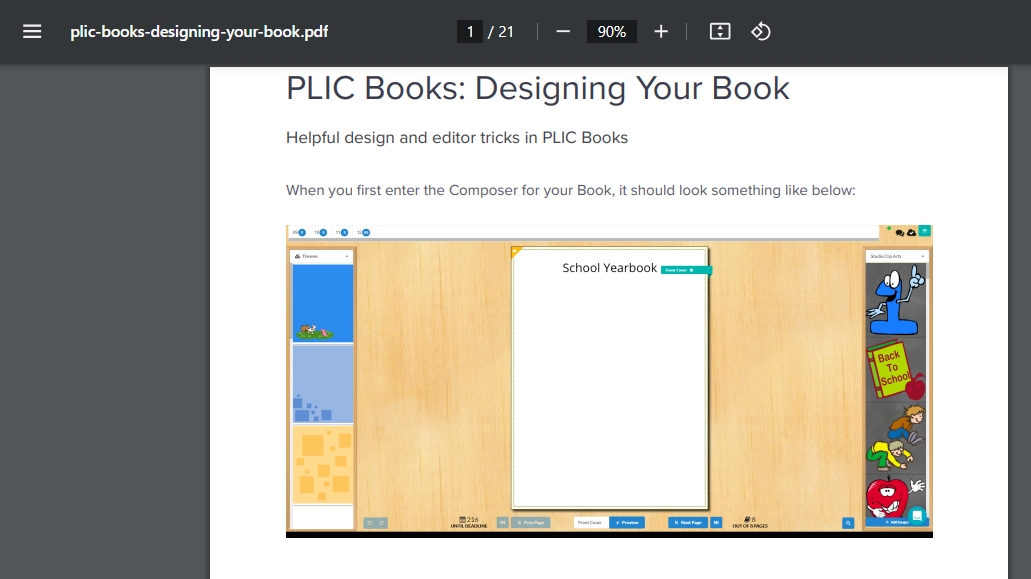
Page Editor Overview
The page editor provides access to content and tools in preset areas:
- Full page elements (themes, layouts and backgrounds) are available on the left-side pane.
- Individual elements (photo collections and decorations) are available on the right-side pane.
- Portrait collections are available on the top pane.
- Page navigation tools are available at the bottom of the screen.

Page Navigation & Management
Use the arrows options at the bottom of your screen to quickly move to the start/end of your book, or to move to the previous/next page. Type in a particular page number to get to that page immediately.

![]()
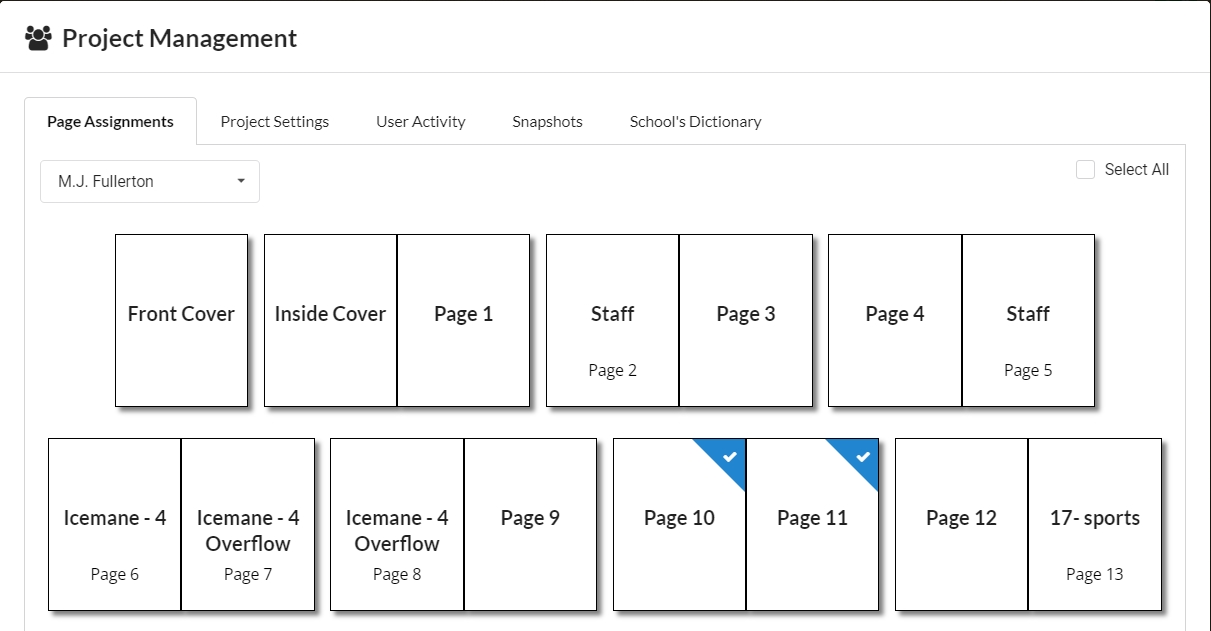
The Preview button launches a ladder view of your project where you can see your entire book structure and manage pages. Your yearbook will be submitted from the book previewer as well.
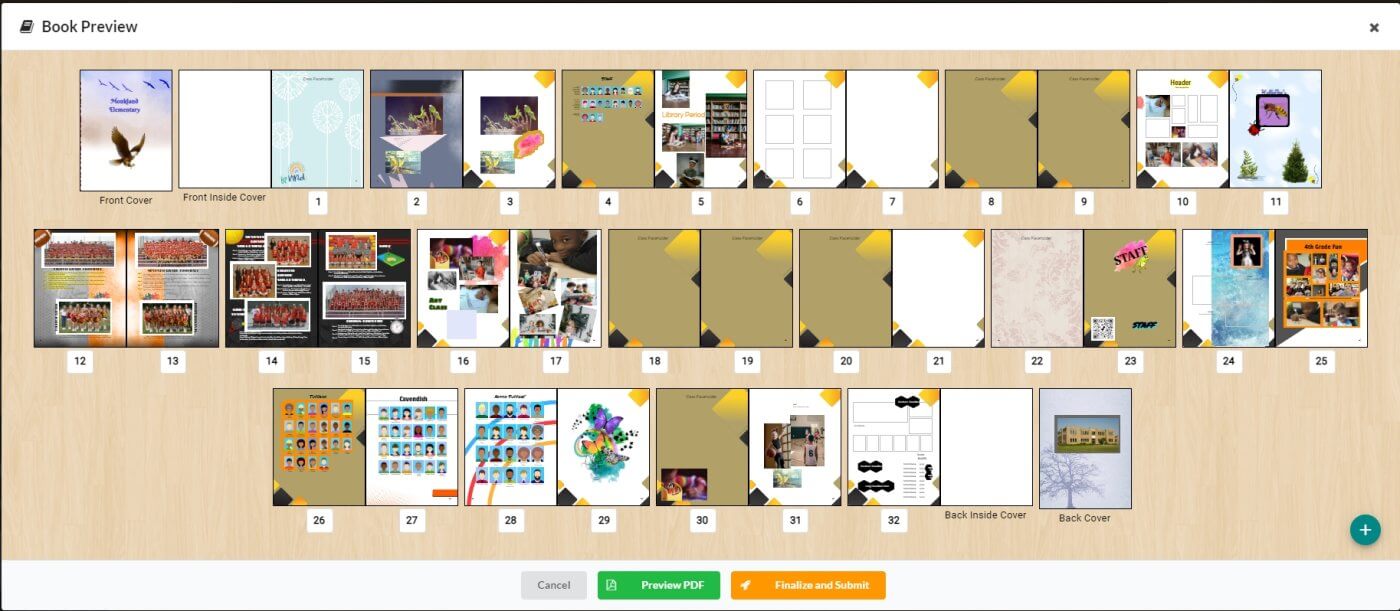
When you first start your project, the ladder will consist of blank pages representing the total allotted page count for your book. At this stage, you may label your pages, move pages around and assign pages to team members, but you cannot add or delete pages. (If your page count is not as you expected, contact your studio to request a change.)
![]()
Labelling Pages
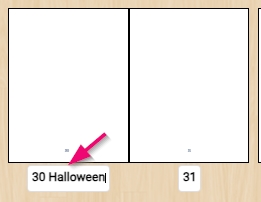
Map out your book ladder by adding page topics under each page in your book. Click next to any of the page numbers, then type your page topic name. Simply click off the tag area under the page when the page topic info is complete.
Ladder planning tools
- For help deciding which sections to include in your yearbook, download our PDF topic checklist.
- If you would like to plan your ladder on paper, feel free to download this printable PDF form.
Moving Pages
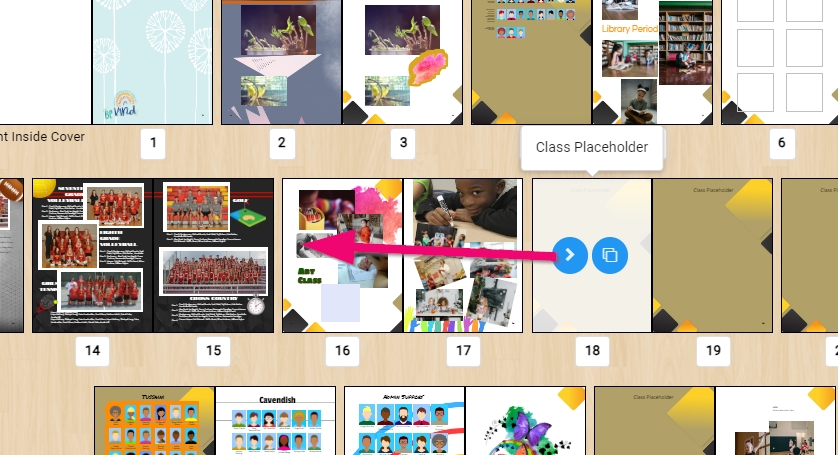
To move a page to a new location on the ladder, click down on the page and drag it into a new position. Note that pages are organized as double-page spreads, so be careful when moving pages that you don’t accidentally break up two facing pages that share a theme or common background.
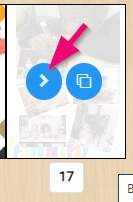
Launching a Page in the Editor
To launch a page in the editor, hover over it then click the > button.
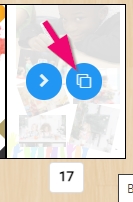
Duplicating a Page
To duplicate a page, hover over it then click the duplicate button.
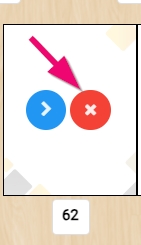
Deleting a Page
If extra pages have been generated by flowing portraits and your book is now over the allowed page limit… … you can delete an extra page by hovering over a page, then clicking the X icon.
Adding a Page
If your page count was increased by your studio or if you have condensed portrait pages, and your book is under your page limit… …click on the + icon on the bottom right side of the book preview to add an additional page.
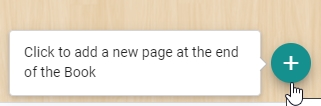
Note that you cannot add pages if you are on or over your page limit. If you need to increase the book page count, contact your studio to request this change.
Assigning users to pages
Users may be assigned to work on selected pages in the yearbook. User assignment does not occur in the editor, but in the Plic Dashboard’s Users tab. To learn more, consult the Managing User Accounts article.
Understanding Page Dimensions & Margins
Page dimensions (length, width) are automatically preset based on the book type. While your book will be trimmed to a standard size (8.5″×11″) , the editor will display a slightly larger canvas.
When designing your pages in Plic’s editor, respect the margins around your page edges to ensure that no important content will be clipped and background elements will reach the edges of the pages with no gaps.
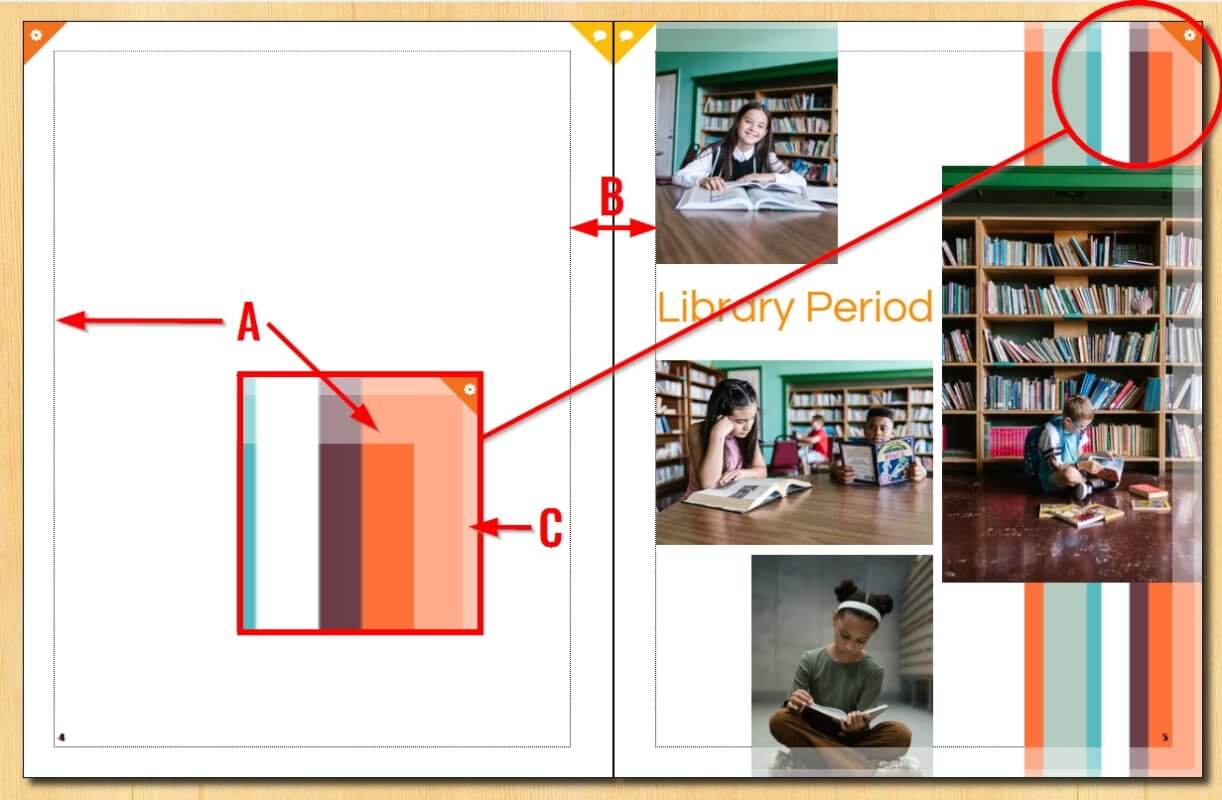
- A. Safe Margins – Keep all text and faces within these guidelines. Placing feature elements beyond this area may result in them being clipped or obscured in the middle of the book.
- B. Gutter – this is the between facing pages; images and text should not be placed in the gutter area, as they may be obscured inside the fold.
- C. Bleed area – A thin margin around your page that will be trimmed off when the book is printed and bound. Backgrounds, large photos, banner and decoration that need to bleed off the edge of the page should completely cover this area.
Tip: Designing your cover outside of Plic (e.g. Photoshop, InDesign)? Learn about Cover Guidelines & Margins and how they vary depending on book type.
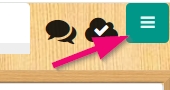
Menu Options
Use the burger menu in the top right corner to get back to your Dashboard and access other settings & features.
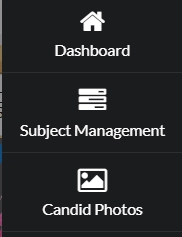
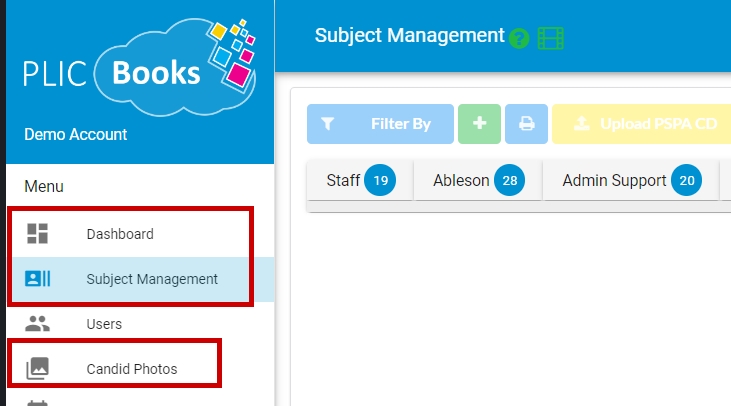
Access your Dashboard, portrait photos (Subject Management) and Candid Photos.

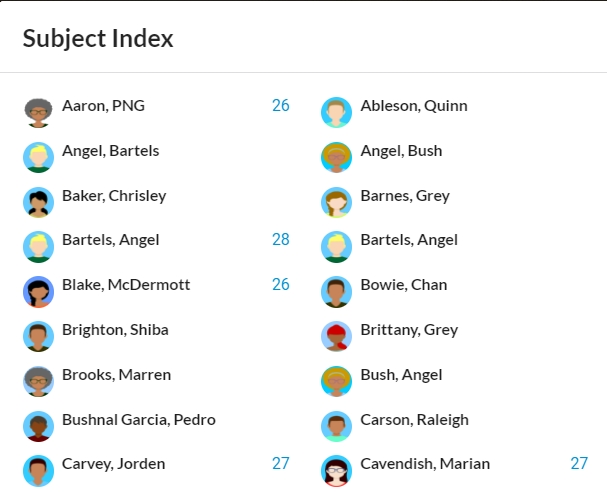
Generate a coverage list to see where people’s images are located in your book. This includes tagged candid images.
Access an overview of your book status, to see which user is assigned to particular pages to track user activity, to turn page numbering on/off, to roll back your entire book to a different save point, and to add words to your book’s dictionary.

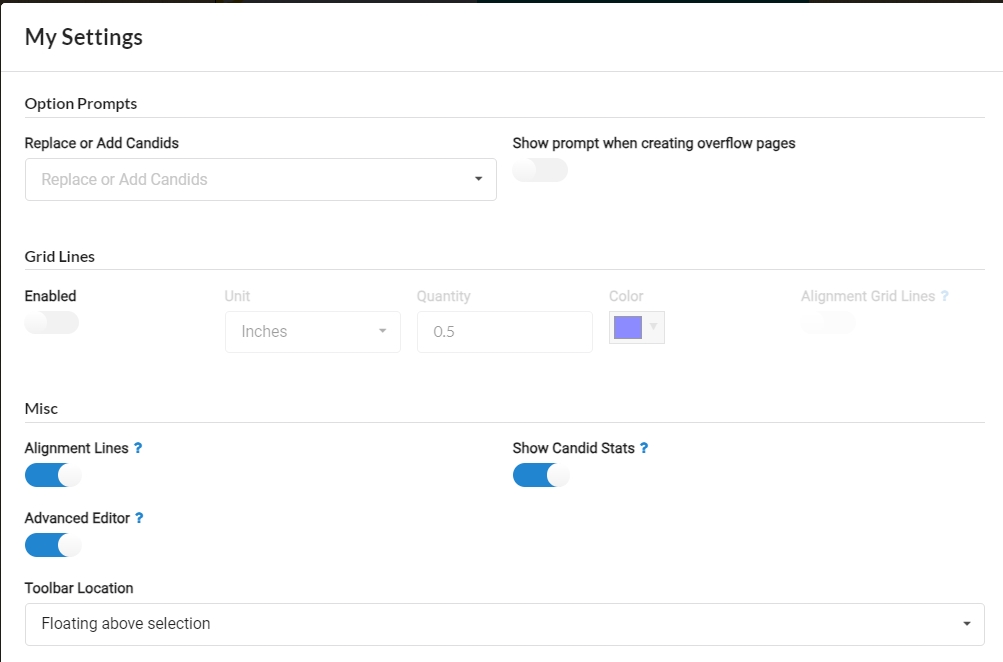
Set your preferences for certain features in your book: how candid groups are added to pages, grid line settings, alignment and editor tools, use image counter, and toolbar location.

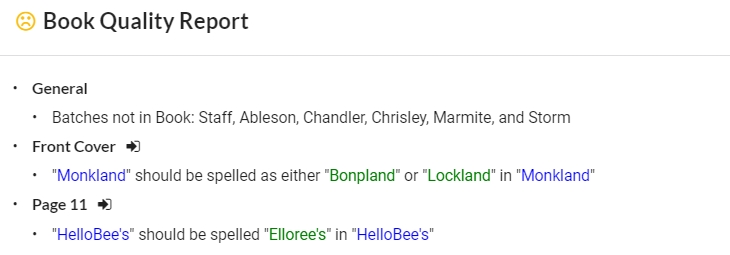
Generate a review of possible issues, including a spellcheck for your entire book.
View the Knowledge Base guides and tutorials and Download a Plic user guide, or see what features have recently been added to the software.

Log out of your book – you will return to the general login screen.

Page Numbering Options
Changing Page Number Positions
To change the position of your page numbers (bottom center or bottom outside), simply click on any page number in your book, then drag the page number to the new position. All other page numbers in your book will follow.
Changing page number styling
To change the font, color and other style attributes of your page numbers, click on a page number to access the font tool bar. Consult the Candid Page Design article to learn about text editing options. Should you only want to change the styling for a single page number, toggle the last button on this tool bar so changes will only apply to the currently selected frame.

Tip: Use a contrasting outline on your page numbers to ensure they will be visible regardless of the background color behind them.
Disabling/Enabling page numbering
- Click on the top right menu icon
- Choose Project Management.
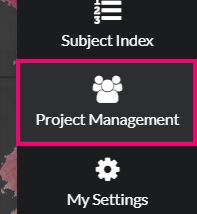
- Under the Project Settings tab, use the Hide page numbers toggle to turn page numbering on/off, then save your selection.
