Candid Photo Management
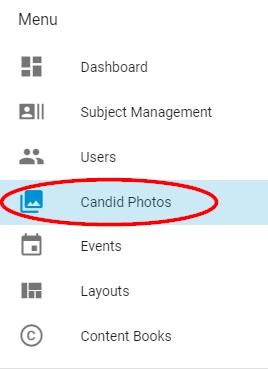
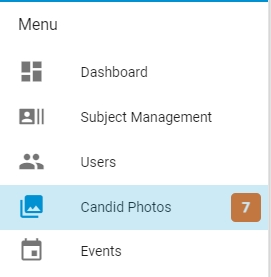
Upload candid photos into albums via the Plic Dashboard. Click Candid Photos in the menu to get started.
NOTE: Photo management is only available to persons with the role of School Adviser and Photographer. Other users may submit photos for consideration using the Guest URL uploader (details in the Uploading images from your school community section below).
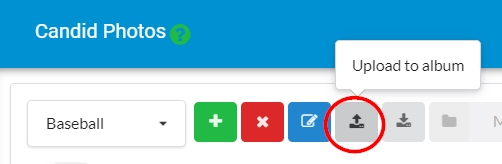
Creating Albums and Adding Photos
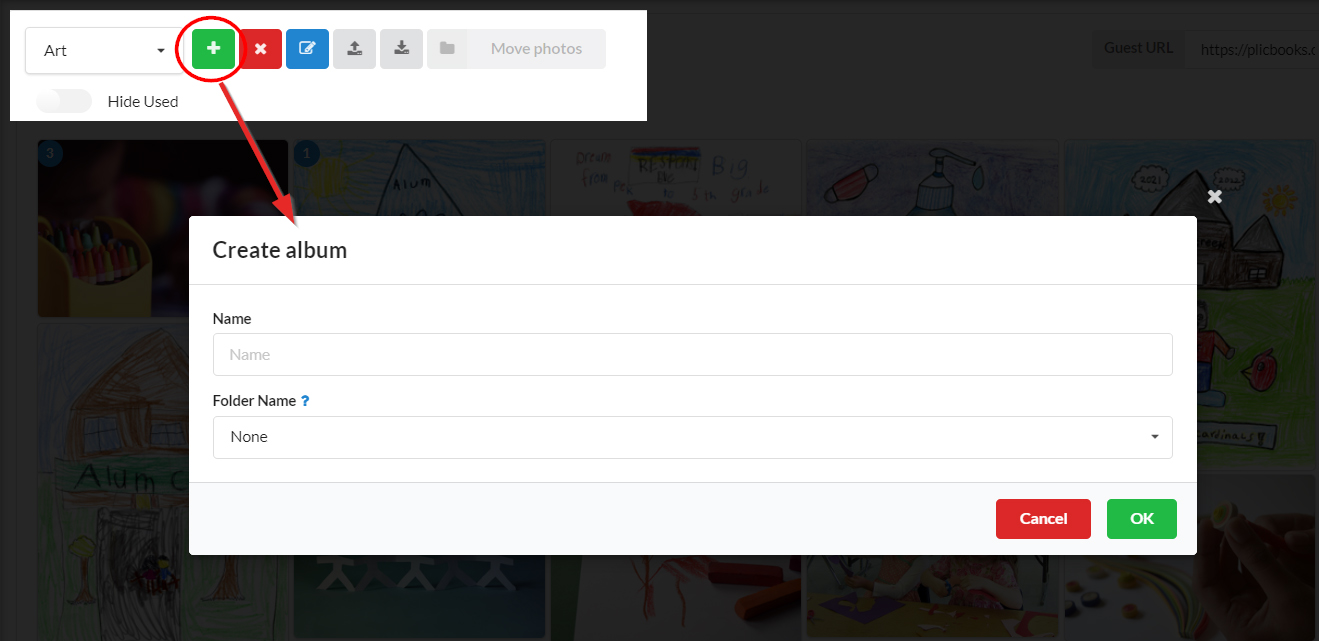
Create a new album: Click on the green + button, then type a name for the album. Click OK to complete the album setup.
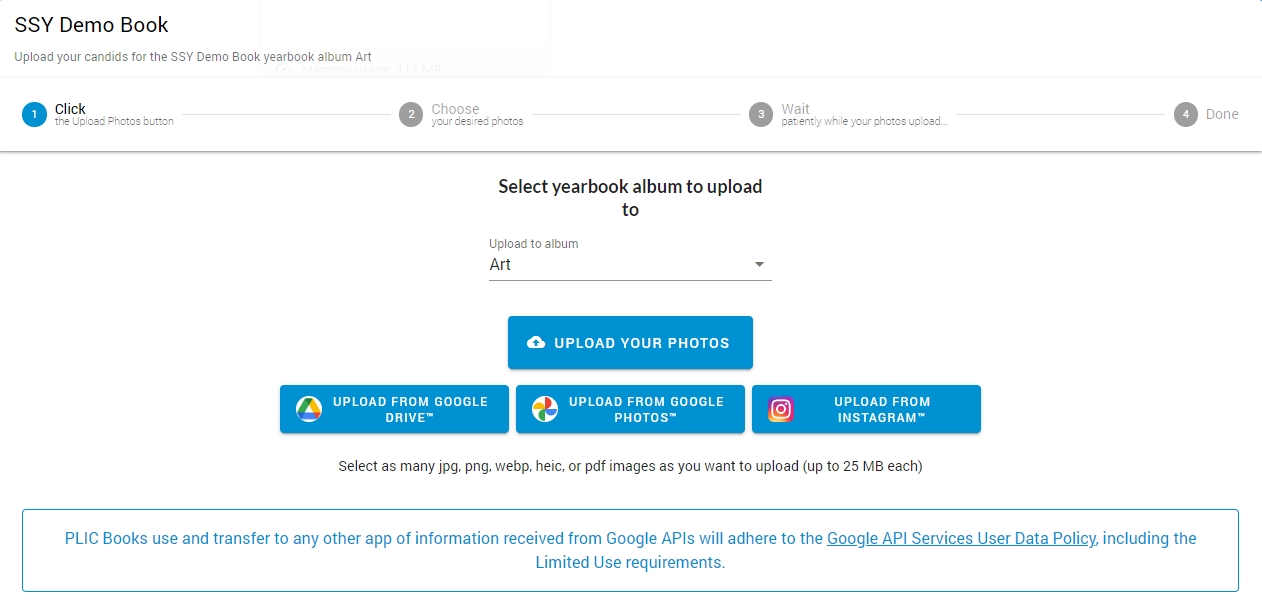
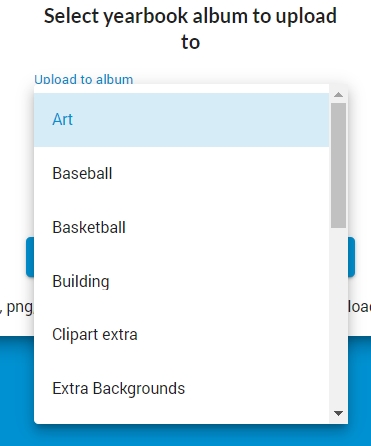
Add photos to an album: click on the Upload to Album button on the menu.
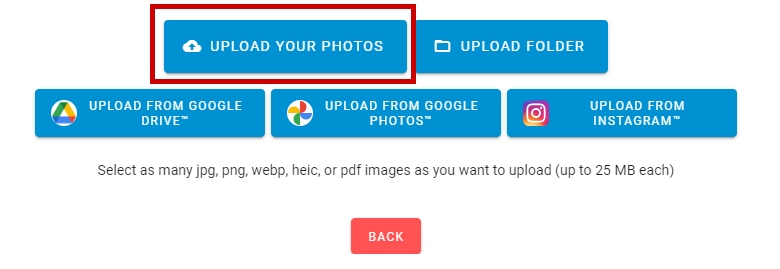
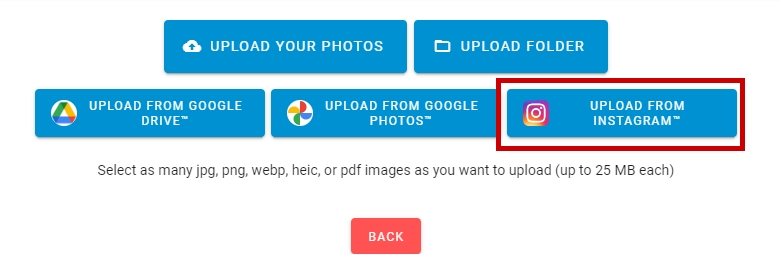
Uploading images from your computer individually
Click on the Upload your photos button. Navigate to a folder with candid images on your computer. Select photos individually from within this folder to add a single image, or, to upload multiple photographs from the folder, hold Ctrl (Windows) / Cmd (Mac) on your keyboard then then click on all the images that you want to upload. Once the selection is complete, click Open to start the upload into the selected album folder.
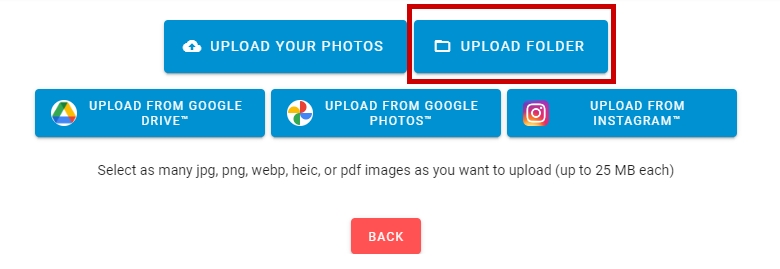
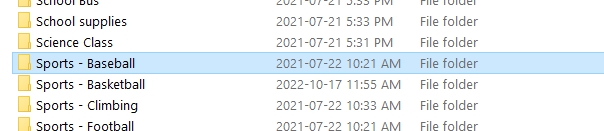
Uploading an entire folder from your computer
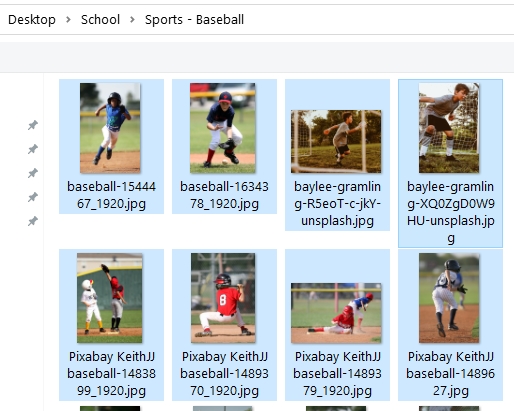
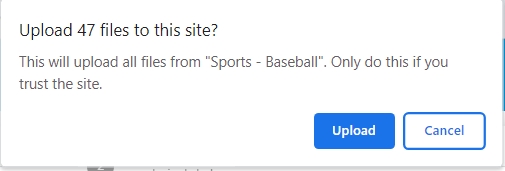
To load all of the images in a folder: Choose Upload Folder to select an entire folder on your computer. Navigate to the folder you want to upload, select it, then click open.
Confirm that you do want to upload all photos within the selected folder to begin the upload.
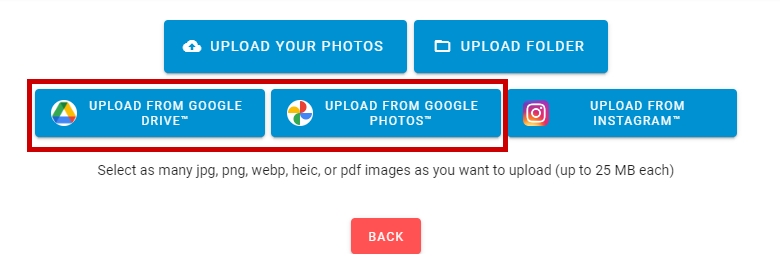
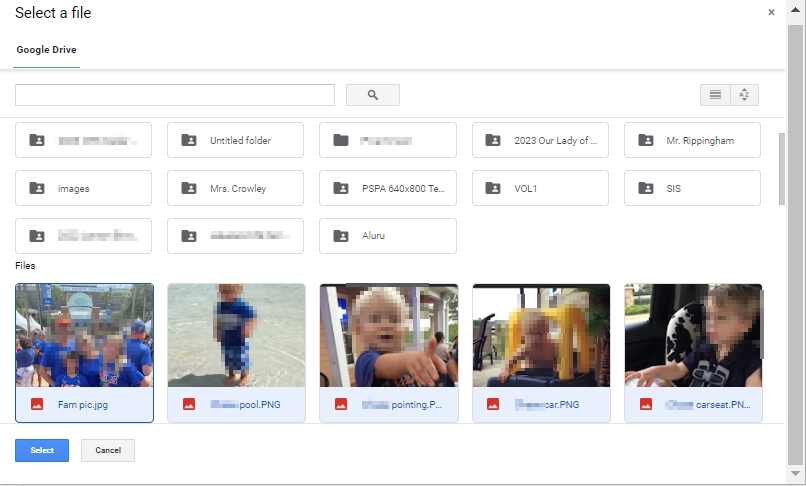
Uploading from Google Drive / Google Photo
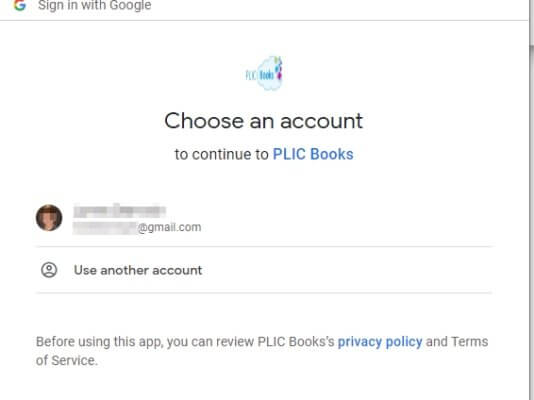
To upload photos a Google storage service: Choose the Google Drive or Google Photo button to log into your Google Drive account, then navigate to the folder where your photos are contained, and choose images to upload to a candid album.
To select photos, simply click on the ones you wish to upload to your album. Click the blue Select button at the bottom of the window to start the upload process.
Note that the Google login will be available only during your particular session. No other user may access your Google account, and you will need to log in again the next time you access your Plic yearbook and wish to upload more photos.
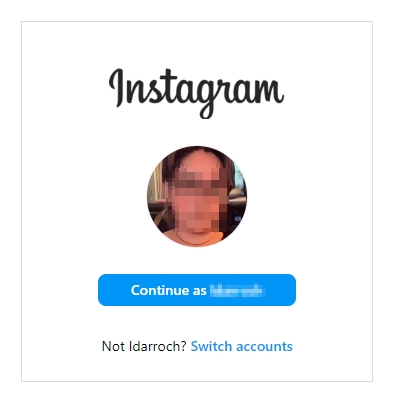
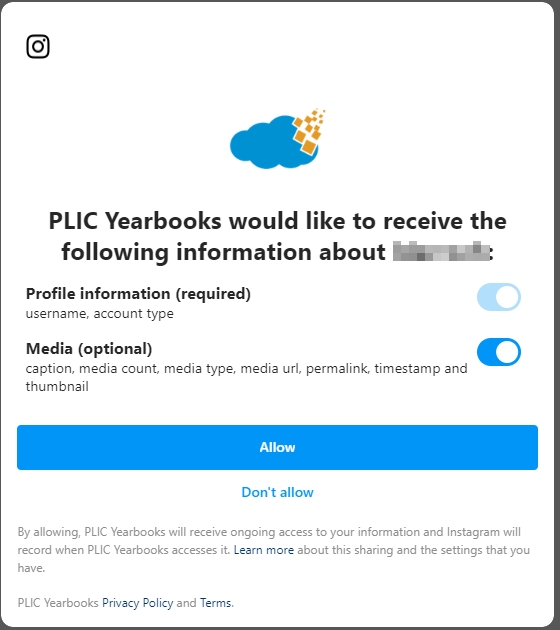
Uploading from Instagram
Choose Instagram to upload photos from your Instagram feed. First, log into your Instagram account, and accept the permission warnings/notifications follow. Next, scroll through your image feed, adding checkmarks to the top right corner of any photo you wish to upload.
Move to the next page of images via the navigation tools in the bottom right corner to continue your selection.
After making your selection, click Continue at the bottom of the screen to start the upload to your candid folder.

Receiving images from your school community
To receive photos from members of your school community who are not part of your yearbook tea, use the photo uploader service.

Share the Guest URL, located on the top menu of the Candid Photo area, to receive photos into your candid collection. Click the green copy button then paste the URL into an email, direct message or other communication to invite teachers, parents and/or students to submit photos to the yearbook.
If you want the photo contributors to choose among all albums, keep Allow changing selected album box checked. If you only want to share a single album, turn this checkbox off.
Using the photo uploader site
Photo contributors may access the photo uploaded site from any internet connected device – computer, tablet or phone. They may upload photos stored locally, from Google Drive or Phto, or from their Instagram account.
Note they won’t be able to see which images have been uploaded to the yearbook, only the images they are uploading in that particular session.
If allowed, the photo contributor may select a folder prior to uploading their images.
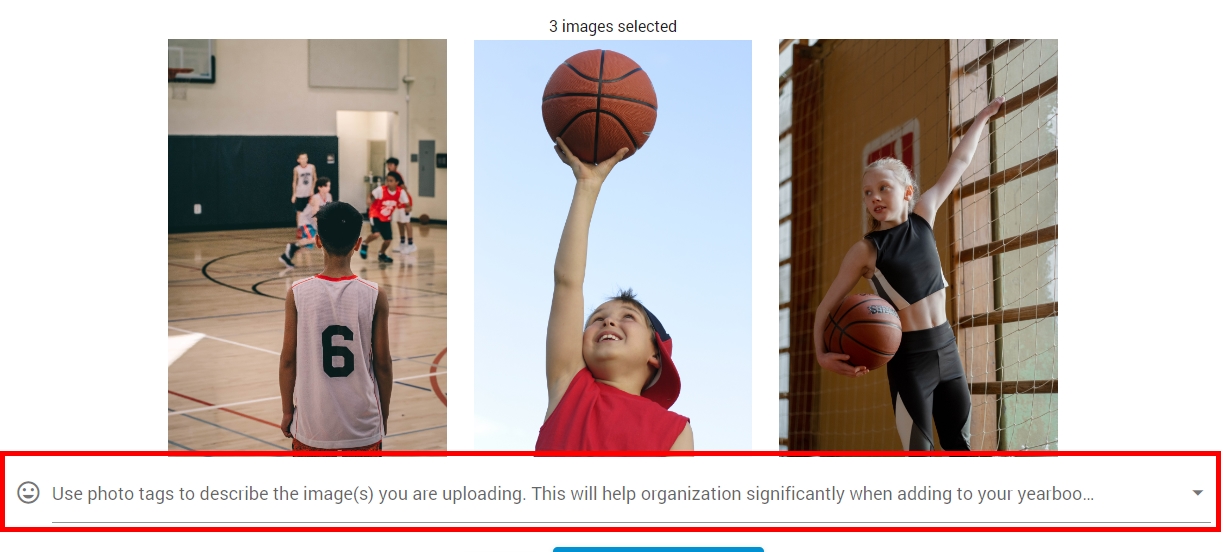
After uploading, they will be invited to tag the photos, to help the yearbook team place them on the correct page or caption them with more information.
Approving or denying community uploaded images
Following new community uploads, advisors will see a notification to indicate there are images available for review in the Candid Photos area.
Click into the Candid Photos area, then click the Awaiting Approval button to review the photo contributions. Until approved, the images will not be visible to the yearbook design team.

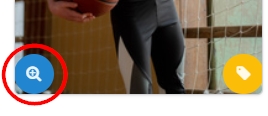
To view a larger preview of the photo by clicking on the magnifying icon.
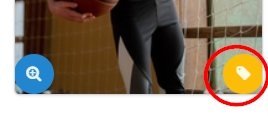
Click on the tag icon to view and edit information about the photo.
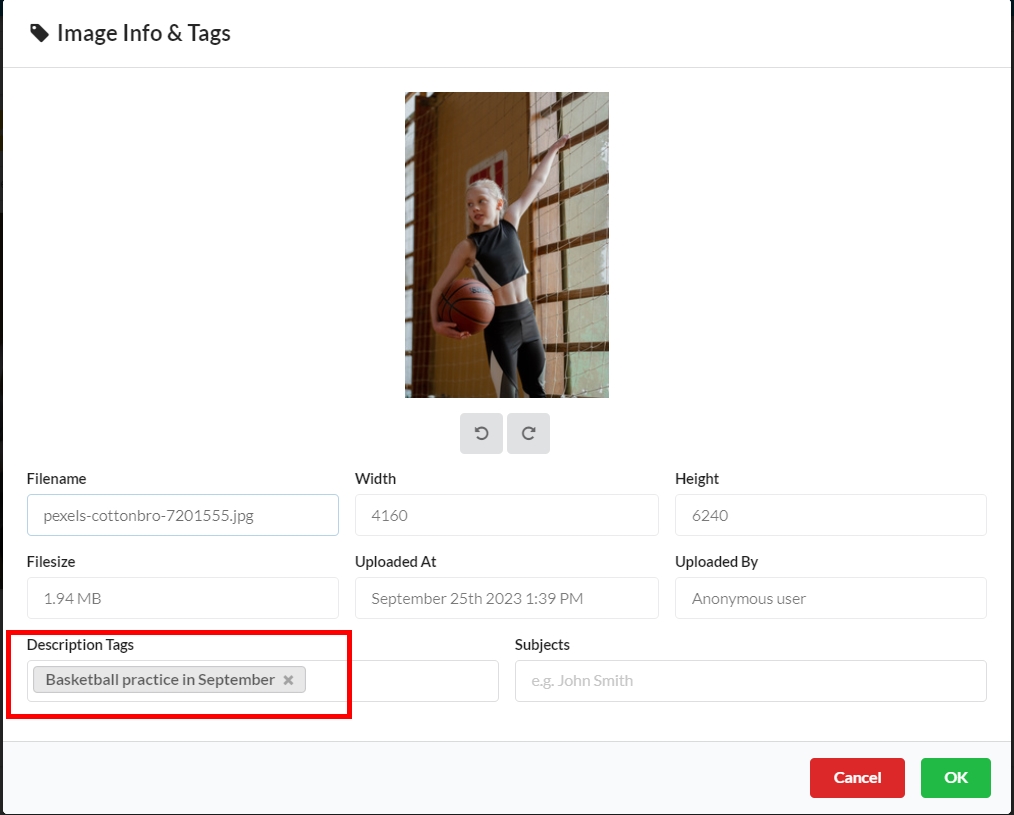
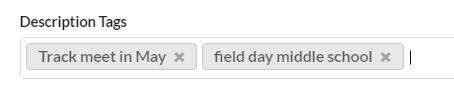
Click on the Description tags to remove or add additional tags to describe the photo.
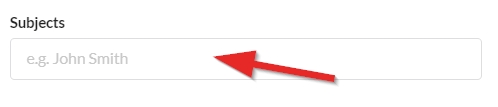
Click into Subjects to add the names of the person(s) in the photo. Note that this will pull up the list of names of persons uploaded to the Portraits folder.
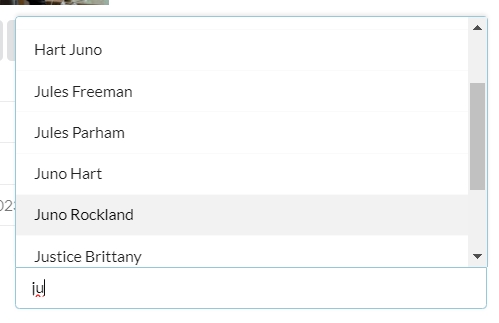
Start typing the name of the person to locate them in your school roster.
To make images available to add to your book, select them individually then click Approve for Album button.
To deny a contribution, either click the Deny Candid button, or click the X on the top corner of any image. The photo will vanish from the collection.

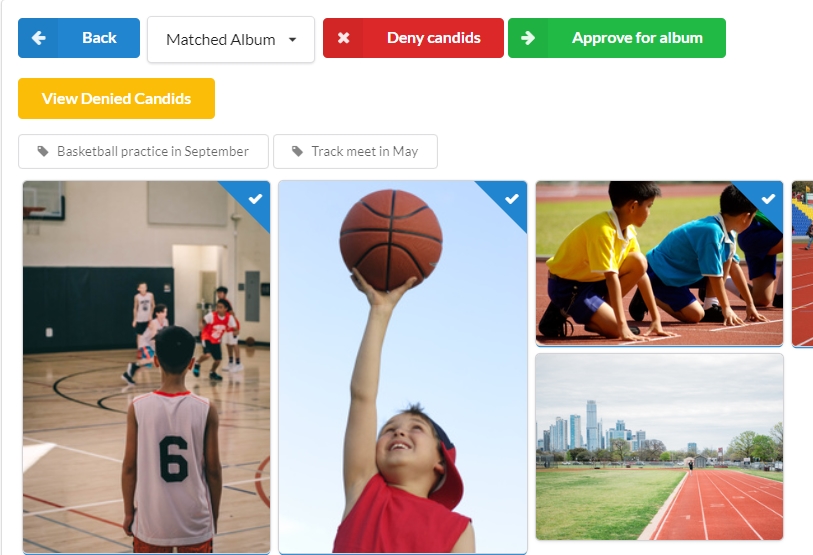

If you accidentally deny a photo contribution, click the View Denied Candids button over the preview area. You can undo the denied candid, and reapprove it for use in the yearbook.

Managing Candid Albums & Photos
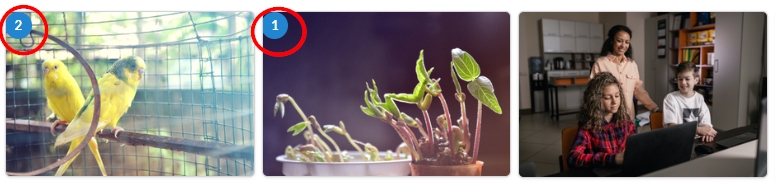
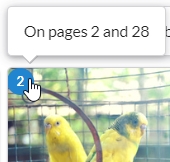
Used Image Indicator
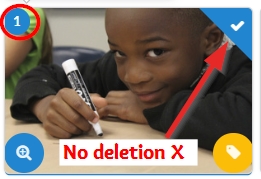
Images used on a page in the yearbook will be indicated by a counter showing the number of times it appears in the book.
Hover over this number to see what pages the image is placed on.
Deleting Albums and Images
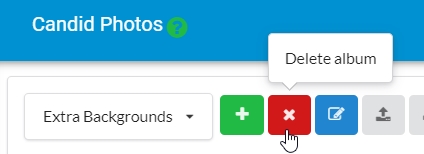
To delete an album, first choose the album on the top menu, then click the Delete button. The album and all the photos within it will be deleted.
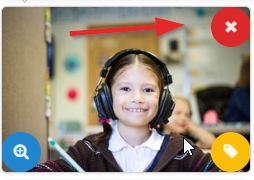
To delete an image, hover over it, then click on the red X in the top corner of the photo.
Images that have been placed in your book will not show a red X icon, and may not be deleted until they are removed from the page.
Moving Images Between Albums
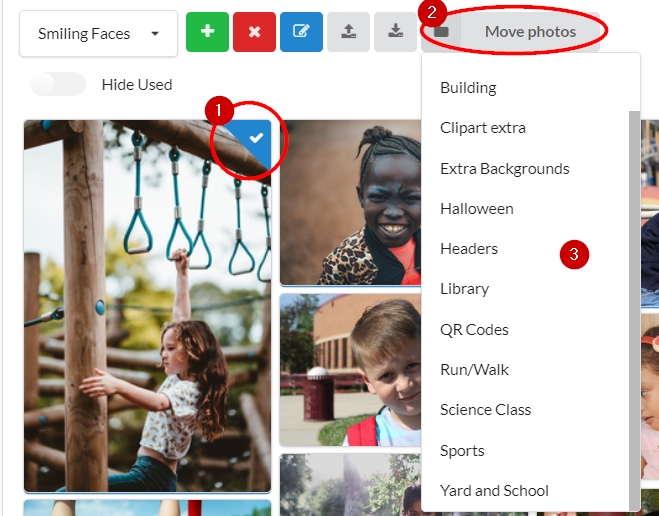
To move images between albums, select one or more image, then click Move Photos on the top menu. Choose the new destination album.
The images will move immediately to the selected album.
Updating an Album Name
To update an album name, first navigate to the selected album, then click the blue Edit Album Details button. A window will open where you can change the folder name.

Viewing and Updating Image Information
To view info about an image, hover over it to access its yellow tag icon. A larger preview image accompanied by file information, descriptive tags and a subject list will appear.
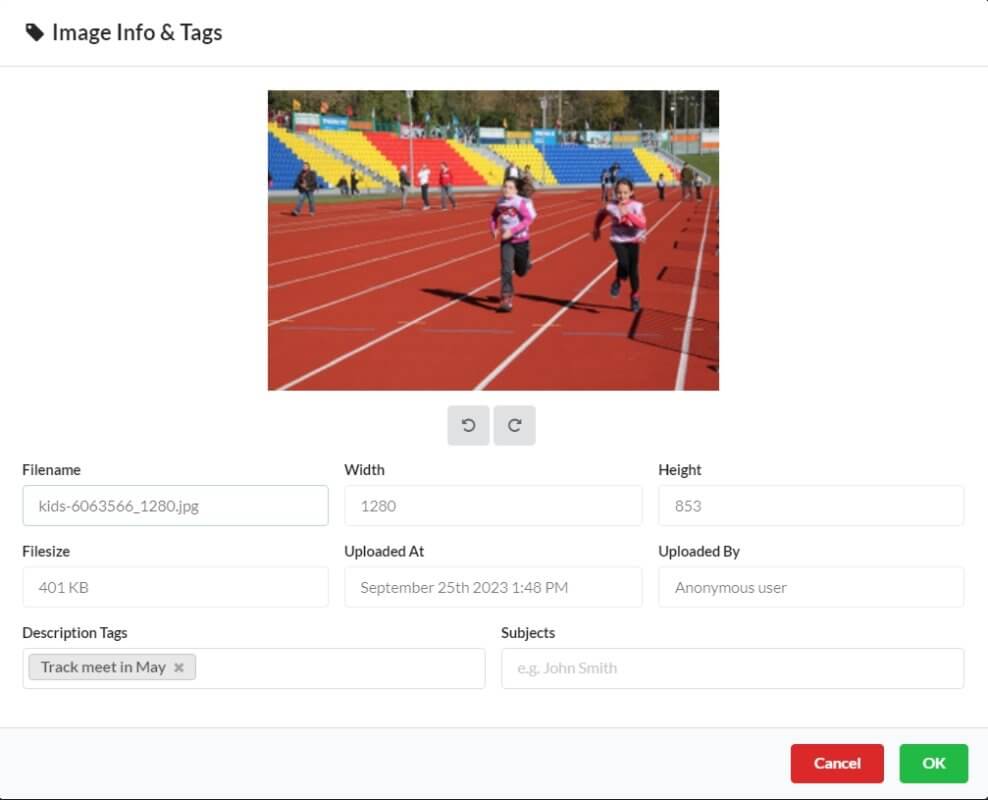
Descriptive tags may be deleted (click the X to do so) and added (type a new description, then hit Enter).
Click into the Subjects field to search for the name of a person in the photo. All names of people attached to your portrait photos will be offered. Use this feature to generate an index in your book.
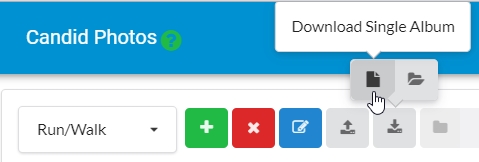
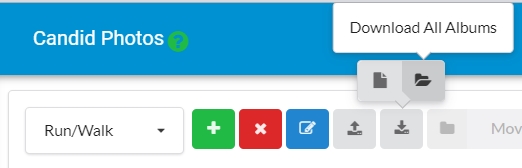
Downloading Candid Images
Advisers may download images from the candid photo albums.
Choose to download a single folder, or the entire collection of images.