Portrait Page Design
Portrait pages feature labeled photo grids organized by grade, classroom, or staff groups. Creating these pages in Plic is as easy as dragging and dropping a grade or classroom group onto your page, then customizing it as you like.
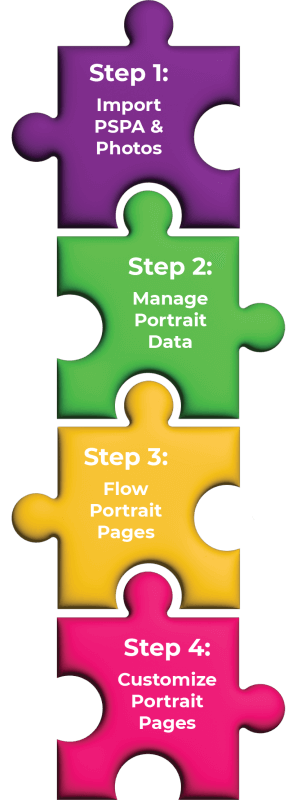
Portrait Page Workflow
Follow these steps to design your portrait pages:
- Import your portrait package into Plic by following the steps in the Portrait Import & Management article.
- Review and correct to your portrait database by following the steps in the Managing Portrait Data section.
- Launch the Plic page editor, choose a page, then flow a portrait group onto the page following the instructions below.
- Customize your portrait page grids to your liking – change size, arrangements and other features.
Portrait Page Structure
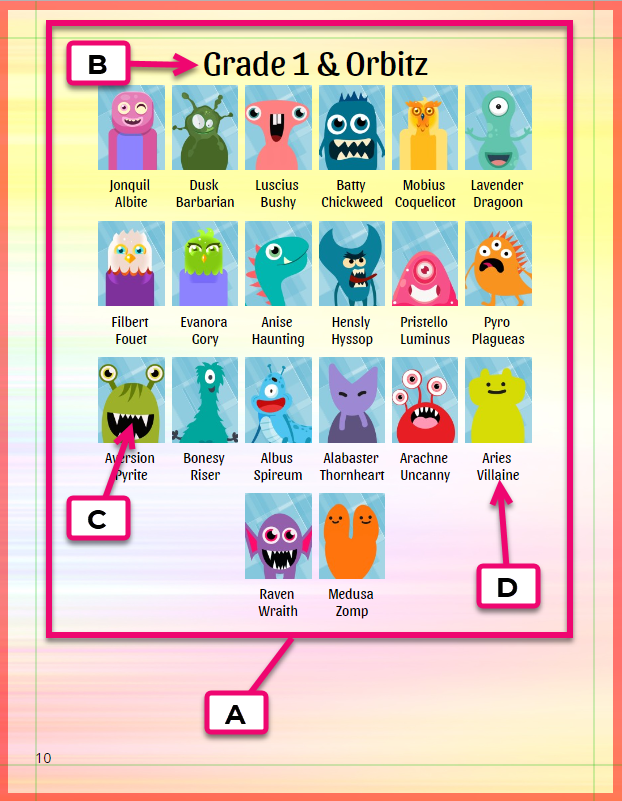
- A. Portrait Grid – the arrangement of all elements on the page
- B. Page Title – can contain auto-generated text or custom text
- C. Portrait Images – added to the grid using the Portrait Wizard
- D. Labels – display the name, salutation or job role of a person and are placed below the portraits or to the side of the grid
Plic refers to individual portrait records as subjects. Portrait records & images are edited under the Subject Management option of the Plic dashboard. To get to this area from the page editor, click on the top menu icon.
Learn more about subject management in the Portrait Import & Management article.
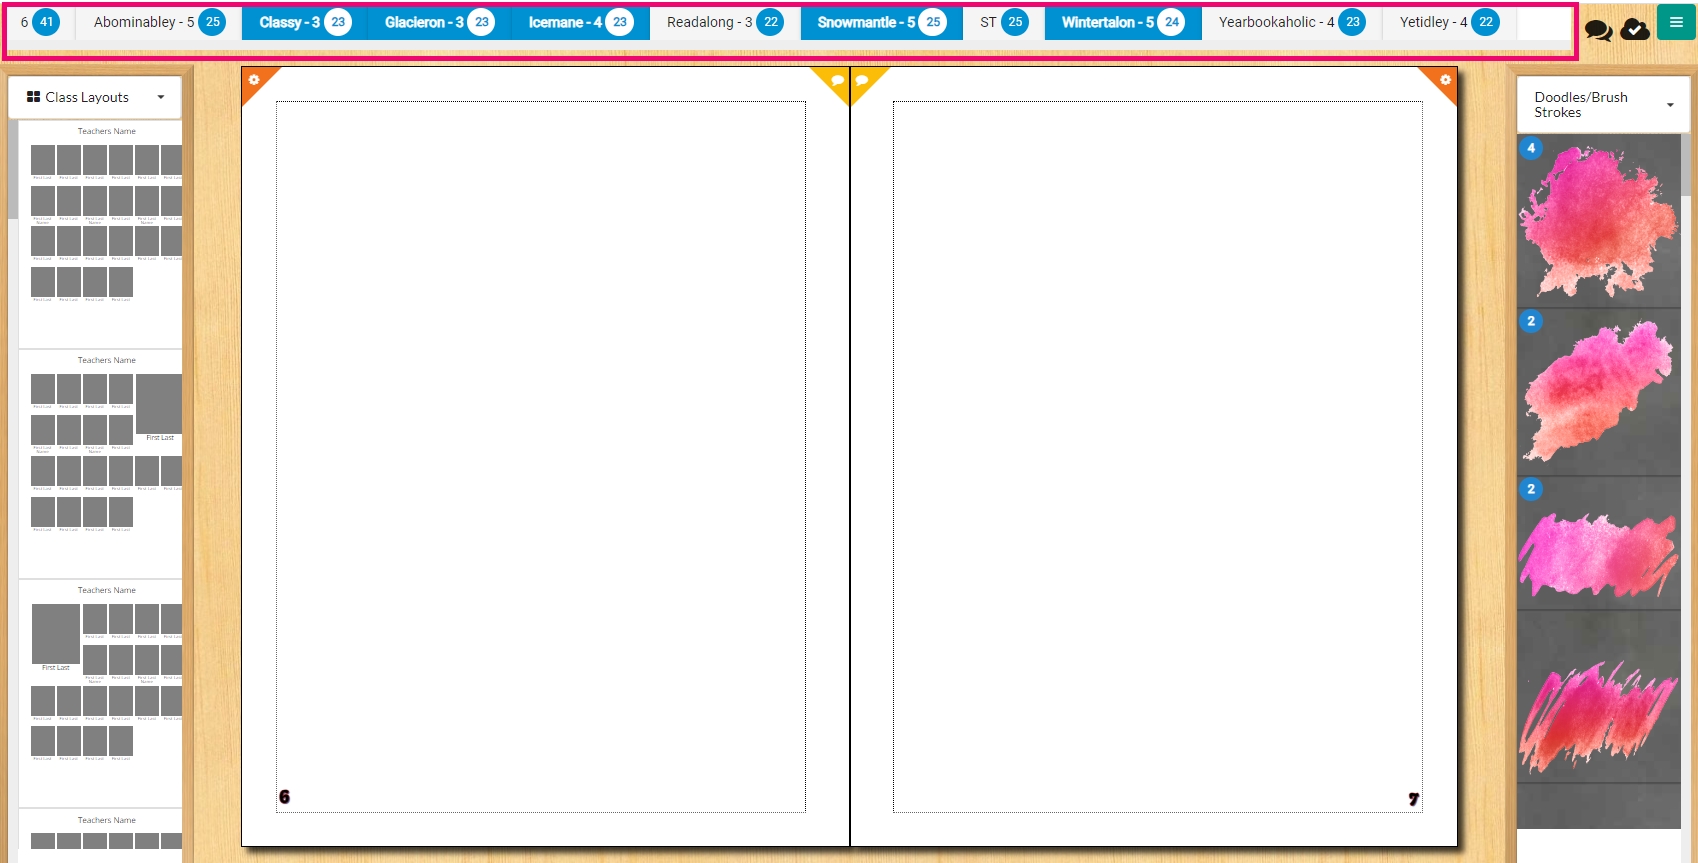
Plic uses the term batches to refer to group of portraits. Portraits may be batched by grade, by classroom, or a combination of both. Batches are created under the Filter option in the Subject Management area of the Plic dashboard, and displayed at the top of the page editor.
Learn how to use the filter tool to create your batches in the Portrait Import and management article.
Adding a Portrait Grid to a Page
After importing your portraits and managing the data as described above in Steps 1 & 2, you may flow batches (groups) individually to your pages.
- Navigate to a page where you want to add a portrait grid.
- Drag your selected batch directly from the top of the editor onto the page.
- Confirm that you want to add the batch to the current page. A portrait grid in the default size will appear on the page, flowing onto additional pages if required.
If you choose to add each group to a new page, simply continue to drag the batches from the top of the page onto new pages. You can, however, choose to start the next group on the next line of the same page.
- To add the next group on the same page, drag another batch to the bottom of the page.
- Confirm that you want the new batch to begin right after the first batch. The new group will flow on the next line following the first group.
Note that portraits are automatically added to pages in alphabetical order by last name. Break this rule to put teachers at the top of their classroom page and/or the principal & vice-principal on top of the staff page. See below for instructions.
Removing a Portrait Grid
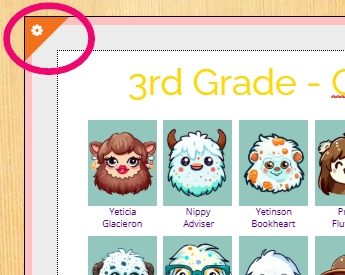
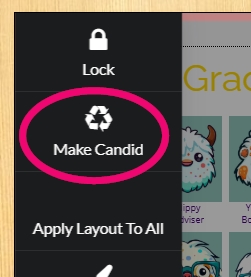
To delete a portrait grid from a page, click on the page gear wheel then choose Make Candid from the menu options. The grid will vanish, and the batch (portrait group) that was on the page will appear as unused at the top of the page.
Portrait Grid Customization
Grid Size Presets
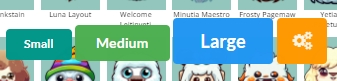
Hover over the portrait grid to choose a preset size option – small, medium or large portrait images. Click on the gear icon to set a custom arrangement of rows & columns.
Portrait Frame Shape
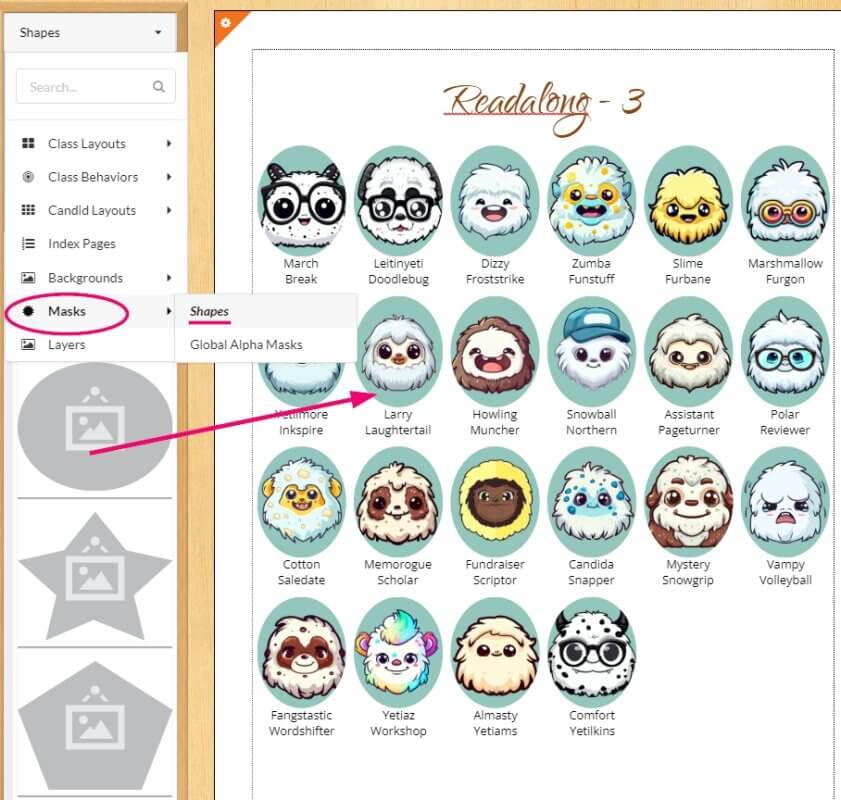
Portraits appear in a standard rectangle shape by default. To change the shape of all portrait frames on a page, access Masks > Shapes on the left-side preview pane.
Drag one of the shapes onto a portrait image; the entire portrait set will update to the new shape.
Class Layout Options
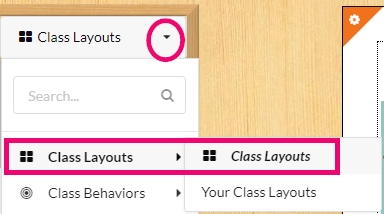
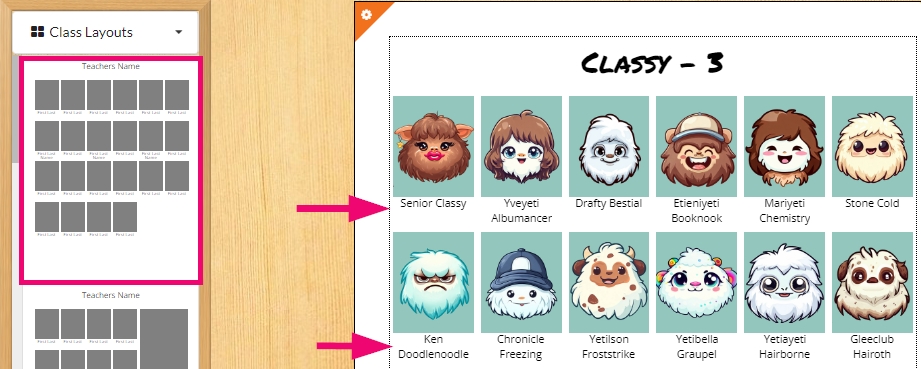
Plic offers preformatted portrait layouts on the right side pane under Class Layouts. Layouts may be dragged onto a page before or after the portraits have been flowed onto the page.
Scroll down the available layout presets to locate a style to try on your portrait page by dragging one onto your page. You can always undo the application or try another layout style if you don’t like the effect, or customize it further using the preset options (small, medium, large, custom).
Label Position
Class layouts include options to place labels under the portraits or next to each row. Drag your choice of class layout to align the labels on your page.

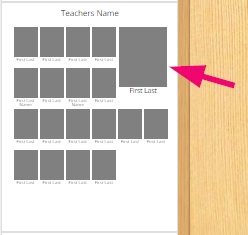
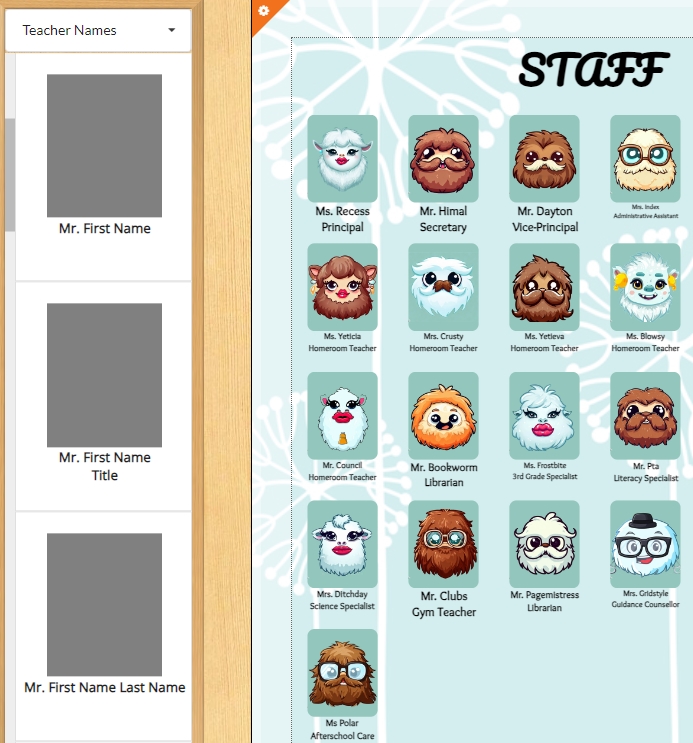
Featured Staff Portraits
Some class layout display a single larger frame at the front of their grid. These are featured frames reserved for staff portraits meant to break alphabetical order, such as homeroom teachers and senior administrators. Details are below on how to set up a featured staff portrait.
- Access the Subject Management area of the Plic dashboard.
- Ensure that the homeroom teacher’s portrait has been included in the classroom batch.
If it is not in the classroom batch… a) locate the teacher’s portrait in the Staff batch; b) drag the portrait image into to the classroom batch; c) choose Copy to the image to the classroom group without removing it from the Staff group. (You can also move the portrait if you don’t want it on the Staff page.) - Locate the teacher’s portrait in the classroom batch.
- Click Options to turn on the Staff toggle. The portrait will move to the front of the group.
Tip: If your classroom has an assistant teacher, be sure to adjust the Staff Priority under the Options area to “2”, so they will appear 2nd in the grid after the primary teacher. You can also use this option to move the Vice Principal to the second position on the staff page.
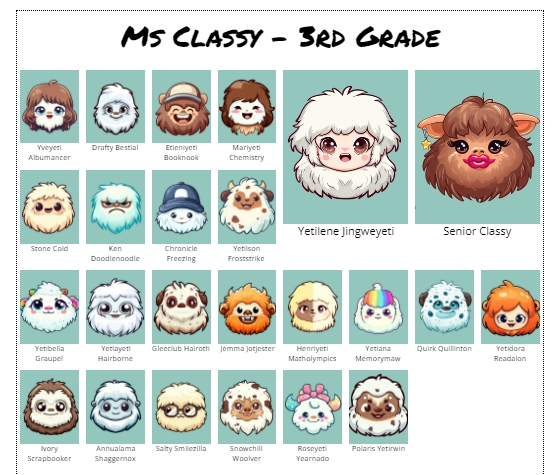
- In the editor, locate a featured teacher layout in the Class Layouts pane.
- Drag the layout onto the portrait grid.
- All staff portraits will be placed into 2×2 sized portrait frames. Portraits set with a higher priority will be featured first.
Class Behaviors
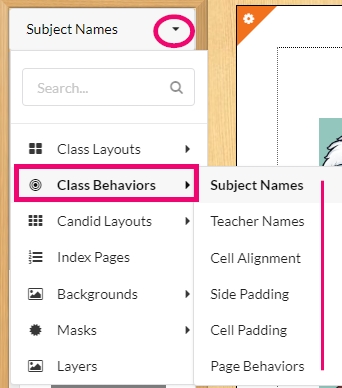
Portrait grid customization options are available in the right side pane’s Class Behaviors area.
Change the spacing, alignment and other options on your portrait grid using the drag-and-drop options in each section of this area.
Cell (Last Row) Alignment
Choose how the last row in your grid will be aligned using the Cell Alignment option. Hover over the templates to see their description: flush the last row to the outer edge, the inside edge, to the right, to the left or center the row.
Grid Side Padding
Side padding changes the spacing between the grid and the margins of your page. Choose between standard, small padding, no side padding or a custom amount (up to 0.5″).
Cell (Inter-Portrait) Spacing
Choose the amount of spacing between your portrait images – small, medium, large or custom using the cell spacing option.
Page Numbering and Color Settings
Choose the Page Behaviors option to access two options:
> Turn page numbers on or off on the selected portrait page
> Convert the portrait images to greyscale (black & white), or restore them to full color.
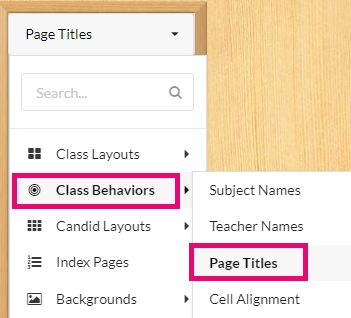
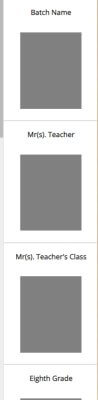
Page Title Options
The page title displays the batch (group) name by default.
Page title preset options are available in the Class Behaviors option in the right side page. Drag a preset to customize your title using information directly from the portrait database itself. Pages may be titled with the batch (group) name, the teacher and grade information in a variety of configurations. To remove the page title entirely, choose the last blank option from the list of presets.
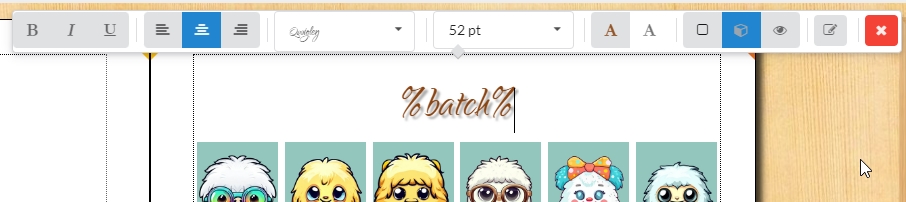
Click directly onto the page title to customize it. Change the font properties in the same manner as any other text frame.
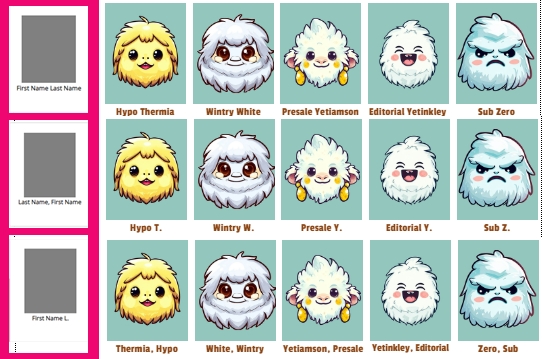
Portrait Label Options
Click onto any label to change its font properties, in the same manner as a regular text frame. Font size may be changed by percentages from the default rather than point. Apply the changes to one label, and all labels on the page will update.

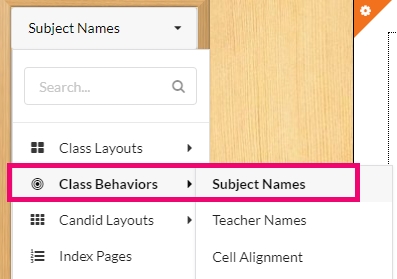
Access Subject Names under the Class Behaviors option (the left-side pane menu) to choose how names will be displayed in labels – single line or two lines, first and last name order, overflow options, job title/grade and custom options are available.
Job titles may be included on the staff page, providing that the information has been added in the Subject Management area. To learn more about setting up staff pages with priorities and titles, consult the Portrait Import & Management section.
Additional name options for teachers/staff may be found under the Class behaviors options.

Applying Portrait Settings to Other Pages
If you have set up a portrait page with settings you wish to copy to other portrait pages, click on the page menu gear to access the Apply Layout to All option. Select the group/batches, click OK, and all portrait settings will be copied to the selected pages.
Decorating Portrait Pages
Like any other page, portrait pages may have a background, but try to keep the design simple to ensure that labels are readable.
Candids and clip art may also be added. Note that images placed on top of a flowed portrait page will “run away” to clear space for the decoration. Send the image to the back layer of the page if you don’t want to create spaces in your grid.