Candid Photo Management
Candid photos bring your yearbook memories to life. Easily organize all of your candid photos with Pixami’s built-in management system.
Image Formats
Pixami supports jpg, heic, and png file types. Generally, jpg and heic should be used for photos and backgrounds. Since png files support transparency, they are used primarily for clipart embellishments. The maximum image file size is 20 megabytes.
Note: You cannot change the file name extension to convert an image file from one format to another (eg. do not rename a file from Filename.pdf to Filename.jpg). You’ll need to convert the image by resaving it in an image editing software.
Tip: Information on converting file types can be found in FAQs at the bottom of this page.
The Dos and Don’ts of Photo Management
Before you begin uploading just any photo to the Candid or Photo Post tabs, review the tips below to be sure you choose the best photos and make the most of your time designing your yearbook.
| PHOTO MANAGEMENT DOs | PHOTO MANAGEMENT DON’Ts |
| Create several folders based on your sections or page themes. Less photos per album are easier to sort and select. | Don’t create folders for specific people or by date, or use only one album for all photos. Sorting and selection will be very difficult. |
| Upload or transfer only the best photos – ones that are good candidates for use in the book. | Don’t “camera dump” all images from an event. Weed out badly cropped, out-of-focus or redundant images to make page building a breeze. |
| Be selective when adding images to a page: fewer, better quality images tell a story. | Don’t overcrowd your page with dozens of photos – unless you include a free magnifying glass with your yearbook! |
| Assign photographers to cover events early in the season or recruit event organizers to provide images. Plan ahead to get the book done efficiently. | Avoid downloading photos from your school website, as these are often downsized to make web page loading faster. Get your photos from their photographer for best resolution. |
| Use original high quality photos take on phones and cameras. Photos should be transferred directly from the camera roll to the yearbook. | If a photo appears banded by large black or white areas, the image is most likely a low quality screenshot. Get the original image to ensure good quality. |
| Include general photos taken around your school to decorate your book – the classrooms, the tech, the facilities, the grounds. Schools change over time, so document it today. | Only use images from your school community, your studio, or the Studio Source content catalog. Do not download images found in a general web search – avoid copyright and resolution issues. |
Candid Photos
The Candids tab on the Photos Page contains all non-portrait photos to be used in your yearbook. These can include classroom group photos, team & club photos, and general photos of the school grounds. Background images downloaded from the Studio Source content catalog or designed by a member of your team should also be uploaded to a Candid folder.
Candids are organized into folders. For each section that created on the yearbook ladder, a corresponding folder was automatically added on the Candids tab. (If these folders aren’t needed, you can delete them of course!). Additional folders may be added too. For instance, if you have a single section for sports activities on your ladder, you may want to set up individual folders for each team or sports type.
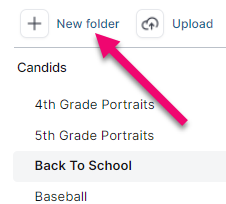
Creating a Folder
To create a new folder:
- Go to the Photos Page
- Click the Candids tab
- Click New Folder
- Enter a folder name
- Click OK
Adding Photos to a Candids Folder
Photos may be added to a folder on the Photos page or in the Page Editor directly in their candid folder.
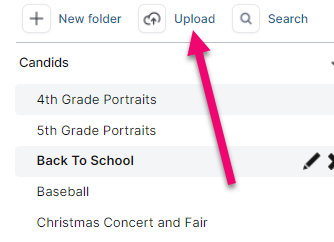
To add photos to a folder:
- Select the folder
- Click Upload
- Click Add Files
- Select the specific photos you want to upload
- Click Open
Copying Photos to Another Candid Folder
To copy to another folder:
- Select the photo
- Click the Checkbox below the photo, or
- Click Select to Select All, Select Used, or Select Unused
- Click Copy
- Select a Folder from the dropdown menu
- Click OK
Moving Photos to Another Candid Folder
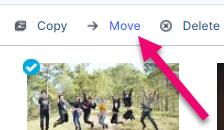
To move photos to another candid folder:
- Select the photo
- Click Move
- Select a Folder from the dropdown menu
- Click OK
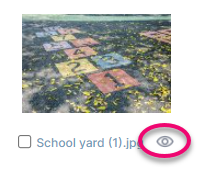
Previewing a Candid & Editing the Name
To preview a candid & edit the name:
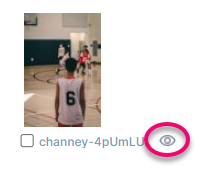
- Click the Preview/Info icon at the bottom right of the photo
- A preview of the candid will be shown
- Type a new name in the caption field
- Click the X to close the preview
Used Image Indicator
Once a photo has been used on a page, it will display a Used Image Indicator both in its folder on the Photos Page and on the Page Editor’s Candid tab.
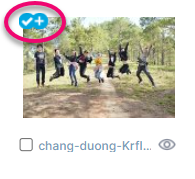
A Checkmark on a photo thumbnail indicates that the photo has already been used in the book. Hover on the checkmark to see on which page(s) the image has been used.
A + indicates that the photo has been used more than once in the book.
Tip: Hover on the checkmark to see on which page(s) the image has been used.
Importing Photos from Google Drive
Google drive access is available directly from the Candid image menu bar.
![]()
Click on the Google Drive link to log into your account, then select one or more image files from any folder on your drive to upload to your Pixami image collection.
Tagging Candids for an Index
Pixami’s face matching technology will identify those who are in the candid photos based on the portraits that are uploaded. Learn more about face matching, coverage reports and indexing.
If the Pixami does not identify who is in the candid, you can add their name to the candid info.
To add information to a candid for an index:
- Click the Preview/Info icon at the bottom right of the photo
- Type the name of a person in the photo into the boxes on the right side of the Preview window. If the person appears in the portrait index, their name will appear to select. If the name does not appear in the portrait index, continue type their lastname, then a comma, and their first name.
Type a separate name into each field for each person in the photo. Click Add more… if you need to add more names.
All names entered for photos will be referenced in the Index, once generated in the editor, with the appropriate page number to indicate where that person is pictured in the book.
Click the Left and Right arrows to scroll through all of the photos in the current folder.

Tip: To learn how to build an index, check out the Additional Design Elements article.
Editing Photos
Make corrections to your photos, and add fun and creative filters and effects if you like!
To edit a photo in the photo manager:
- Select the photo
- Click Edit
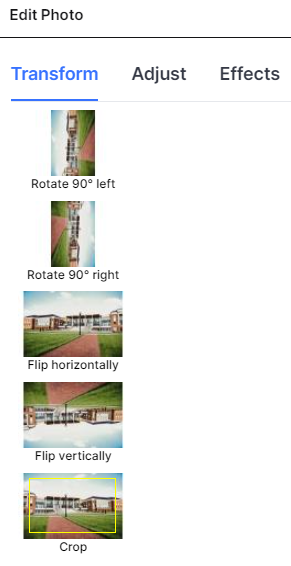
- Choose from:
- Transform – Rotate, Flip, or Crop
- Adjust – Brightness and Contrast, Auto-Fix, & Sharpen
- Effects – Duotone, Blur, Pixellate, & Posterize
- Click Save to save a duplicate of the photo with your changes
Tip: To learn more about Image Effects, check out the Shape, Text, & Image Frames article.
Receiving Photos from Your School Community
Photo Post allows students, staff, and parents to submit photos to your yearbook without logging into the software. You will be able to review submitted photos then transfer only the ones you want to use to your Candid or Portrait collections for use in your book. Parents can use any internet connected device to upload their photos.
Learn more about this feature in the Collecting Photos from the School Community article.
FAQs
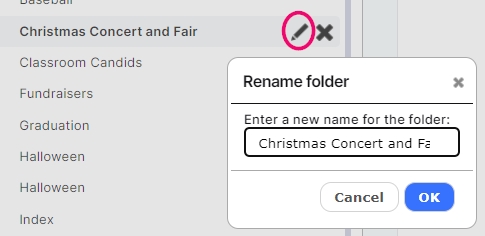
To rename a folder, select the folder and click the pencil icon. Enter the new name and click OK.
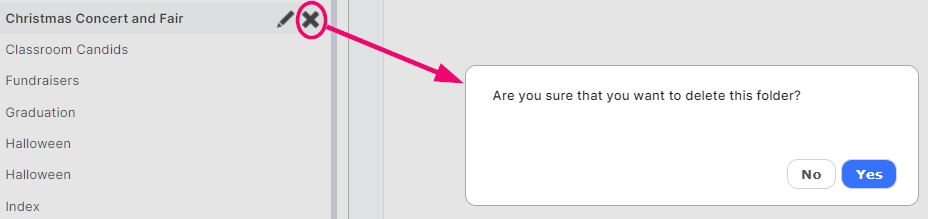
To delete a folder, select the folder and click the X icon.
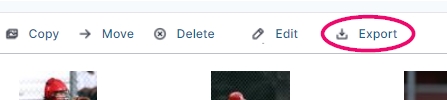
To download photos, select one or more photos and click Export. After the ZIP file is renderred, click the provided link to download.
If an image fails to upload it may be due to the file size, type or color profile. Pixami will offer a general error message to indicate what the issue might be. Check your image to ensure that it is a jpg, png, or heic file under 20 MB, saved to as to a sRGB color profile.
If you wish to upload a non-supported image file type and do not have access to an image editing software (such as Photoshop), look for a free online image converter. The SSY support team informally recommends CloudConvert.com as a useful tool.
Note: Studio Source Yearbooks is not connected to this tool and does not provide support services for its use. Also note that if you convert a PNG with a transparency around into a JPG, you will lose the transparency, but converting a JPG to a PNG will not create transparency around the image.