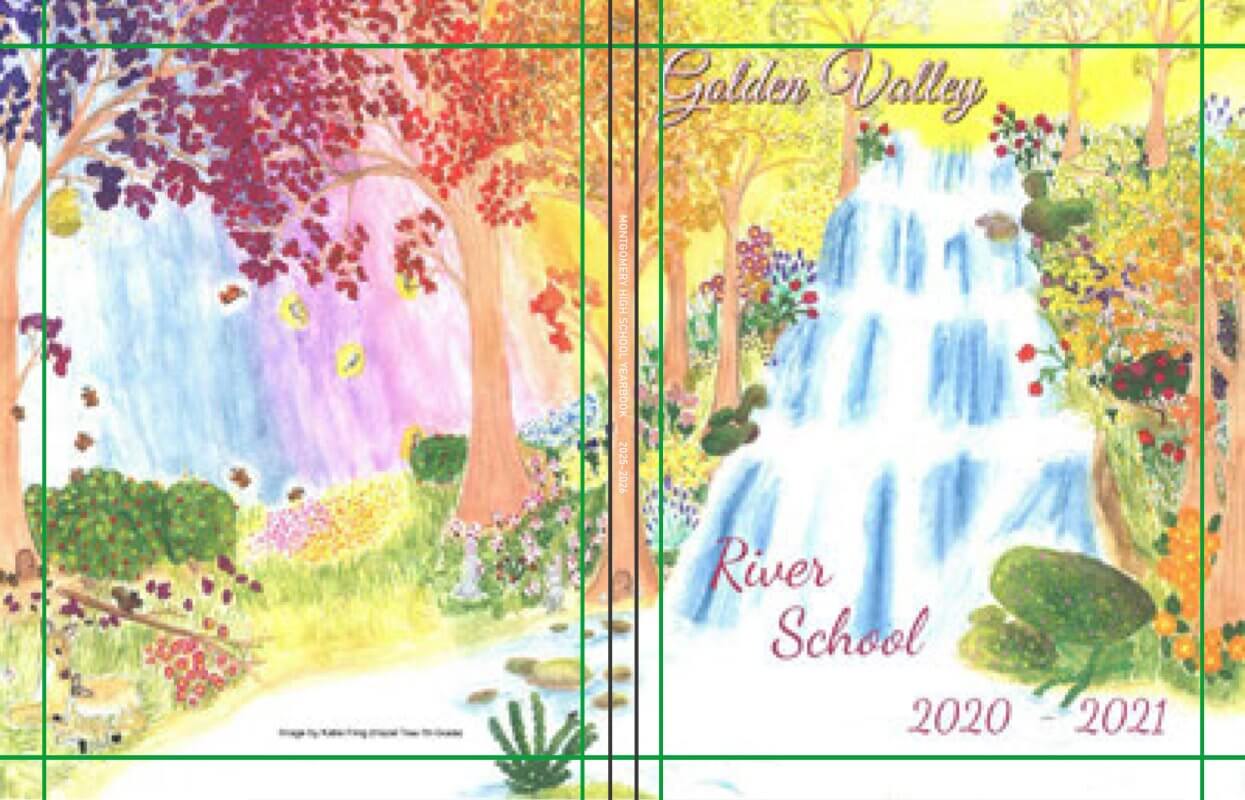
Student Art Covers
Cover Contests
If your school runs a student art cover context, consult the recommendations below to get best results.
- Follow the page/canvas size directions appropriate for the medium (drawing versus digital) listed below.
- Provide your artists with directions: a theme to explore, colors to use, a mascot to include, and/or particular text that must be featured in the artwork.
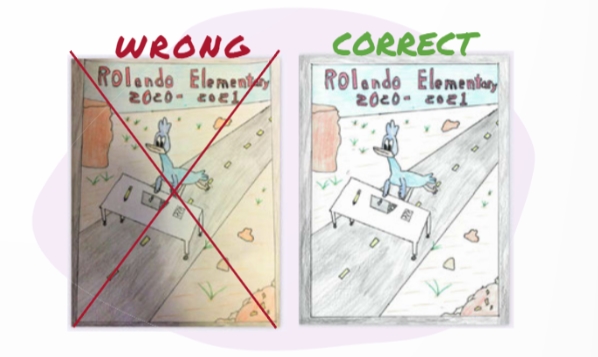
- If the artwork includes the school name and year, ensure that there are no spelling mistakes. (eg. the word “elementary” is misspelled frequently by students!)
Including text on student art
Keep the following in mind when deciding what to include or exclude on cover art with regards to text.
- Students are more likely to make spelling mistakes on artwork, which is difficult to correct.
- Hand-drawn lettering is often small and difficult to read.
- Digital lettering must be added to a canvas that is set to the proper dimensions, as it may be very pixelated.
- Artwork that includes writing will have less options for placement on the cover. Lettering near the page edges means that the drawing must be inset in the middle of the front (or back) cover with a large background area bordering it.
Download a student cover art contest flyer, available as a customizable Word document.
Student Drawings
If your yearbook will feature student art created with traditional media (paint, pencil, markers, crayons, etc.), follow the recommendations below for best results.
- Use standard 8.5×11 letter-sized paper for a feature front cover artwork.
- Ask your artist to keep all important content — the school name, the year, other text, feature illustration components — at least a thumb’s width from the edge of the page. This will make cropping and positioning the image on the cover easier.
- Background color should go right to the edge of the page, if applicable.
- Keep the art as clean as possible, removing sketch lines, erasure marks and smudges.
- If the drawing includes the school name and year, ensure that there are no spelling mistakes. (eg. the word “elementary” is misspelled frequently by students!)
Digitizing Artwork
When the cover design has been selected, it is time to digitize the artwork.
- Ensure the artwork is as flat as possible, free of smudges, erasure marks and creases.
- Proof-read all text elements, ensuring that the school name is spelled correctly. (Eg. “elementary” is often misspelled by younger artists!)
- Use a flatbed scanner to scan the artwork at 300 dpi and save it as a jpg. Do not photograph the art, as it is nearly impossible to get a perfectly straight angle with no glare spots, shadows or wrinkles.
- Upload the jpg file to your yearbook software into a candid image folder.
- Open your cover in your yearbook software and add it to the canvas in the same manner you would a photo.
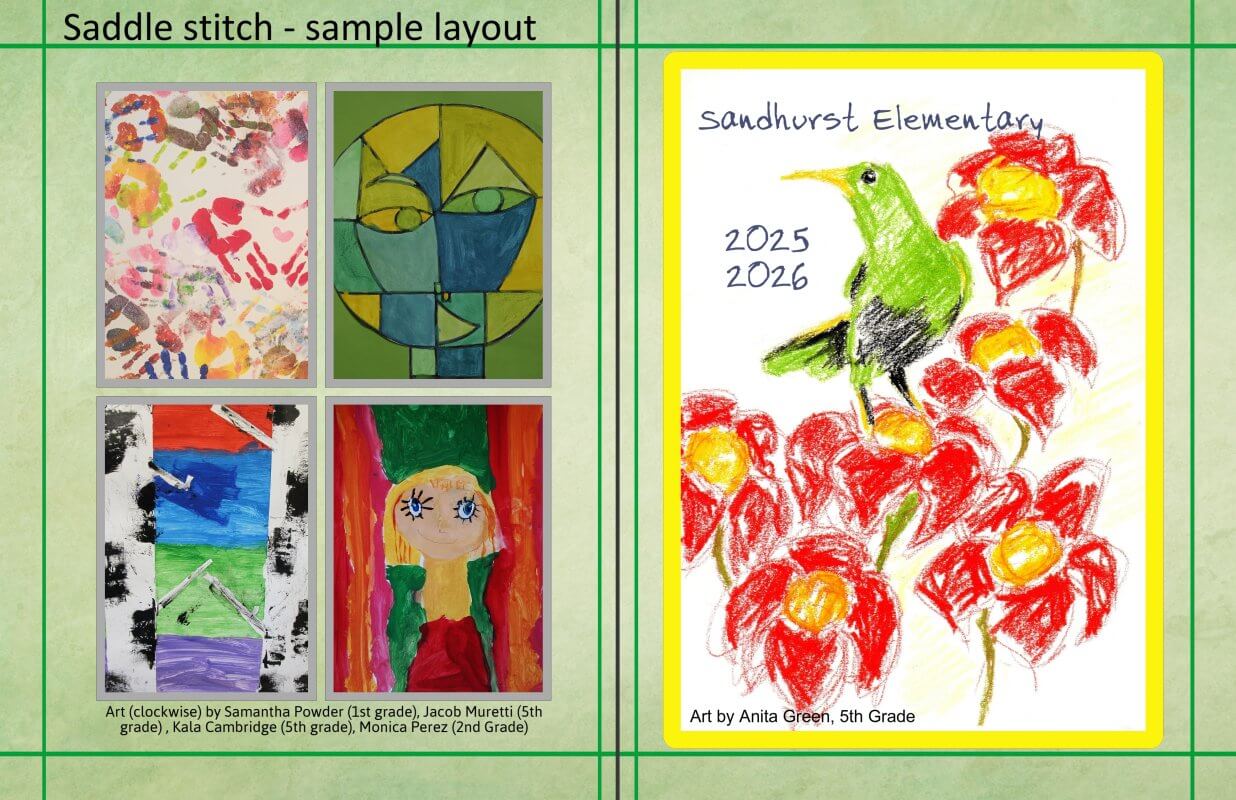
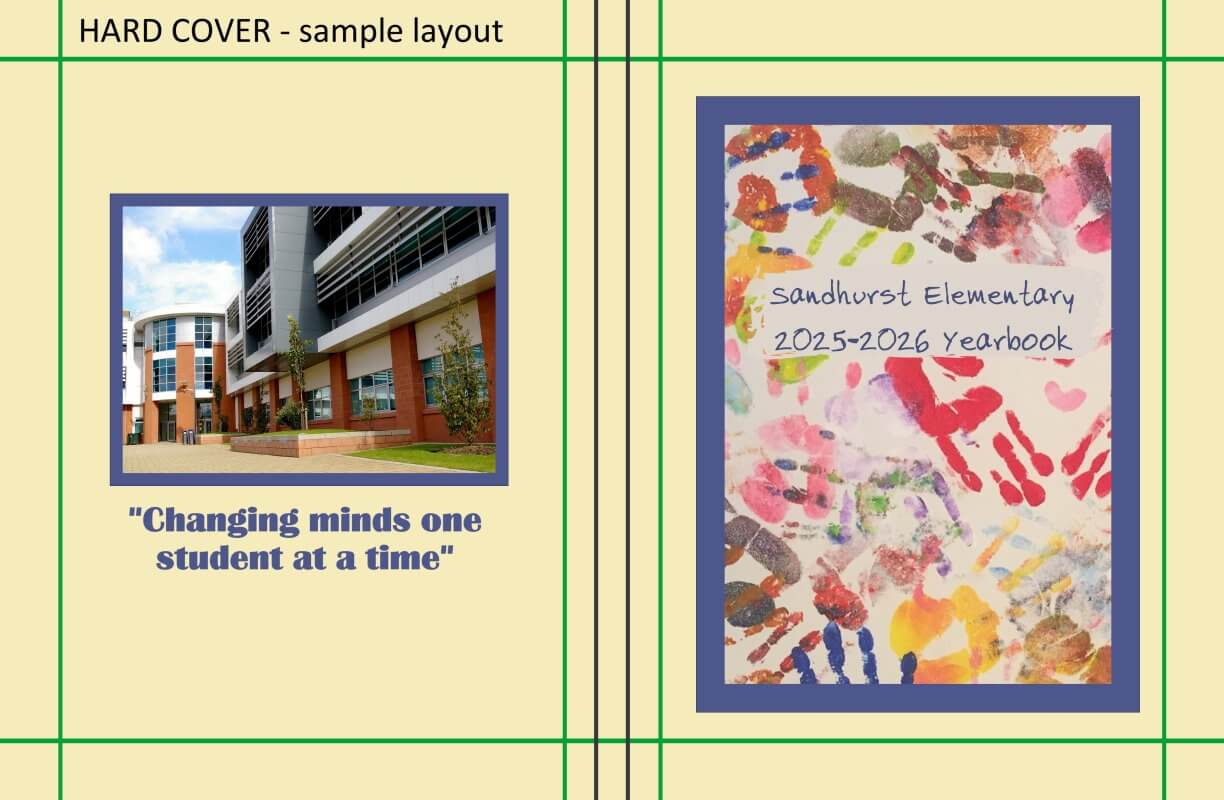
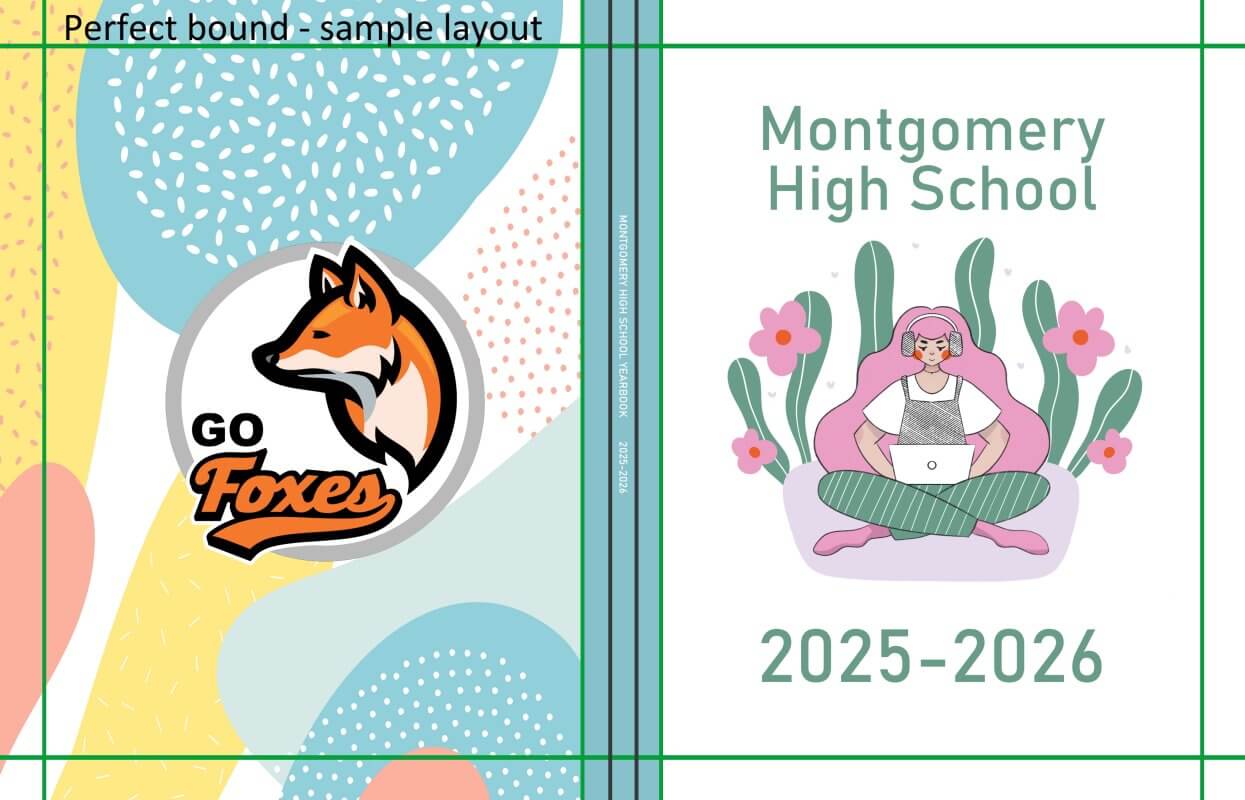
Cover Art Placement
Most artwork works best when inset with the safe margins of your front and back covers, keeping it away from your spine guidelines (0.5″ for hard cover, 0.25″ for soft cover). Optionally, add a border around the artwork to set it off nicely on the background, like a matted work of art.
Additional drawings or other design elements (photos, logos, text) may be added to the back cover, also placing these elements within the safe margins and away from the spine.
Pay attention to the cropping of the image, ensuring that important text or feature image content is not clipped, and that there are no black or white scanner bed lines visible at the frame’s edge.
To complete the cover design, add a complementary background color/texture that extends to the outer edges of your canvas.
If the artwork includes a lot of extra background and all feature content fits within the safe margins, then it may be placed to the canvas edges – keeping in mind that at least 1/8″ of the art will be trimmed off on a soft cover, and 3/4″ folded over the back of a hard cover.
Be careful not to align the artwork to the spine guideline — either add a shape to extend well over the spine between front and back cover like bookbinding tape, or extend the artwork onto the back cover well over the spine area to ensure a smooth transition over this area.

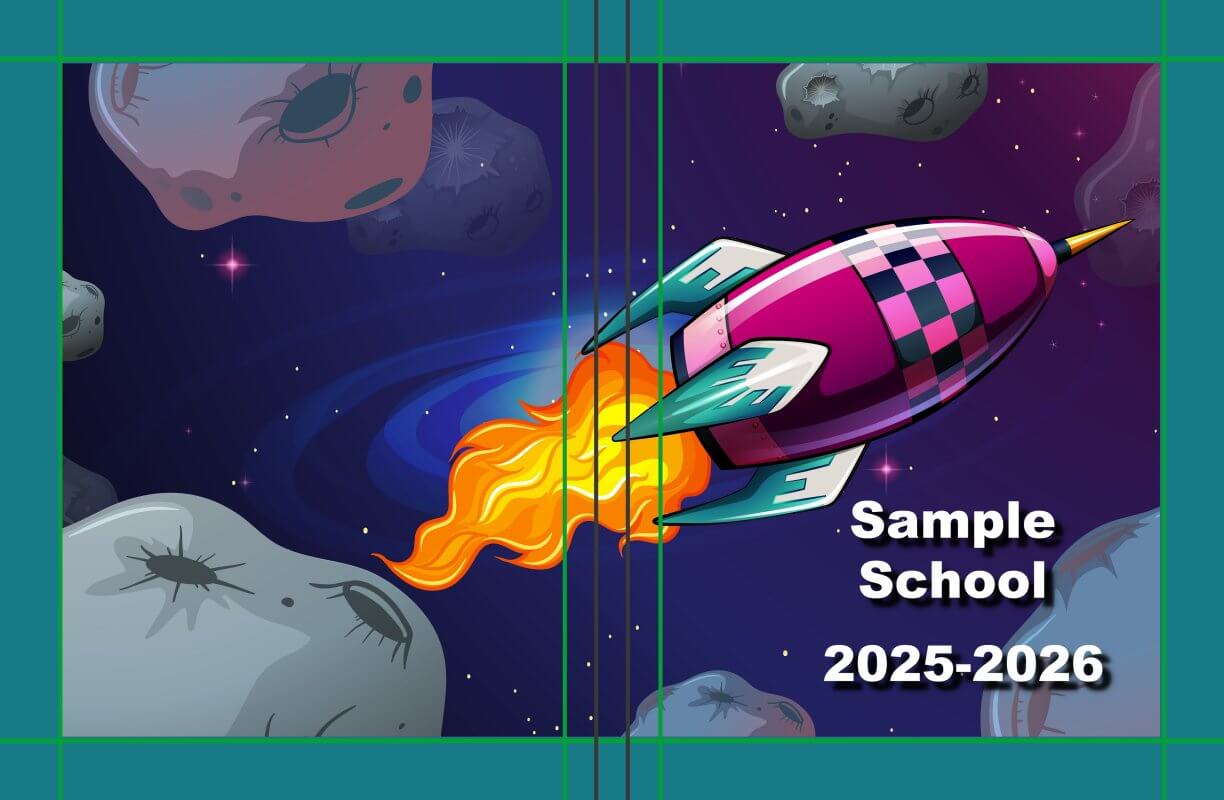
Digital Artwork
If your cover is created digitally in an editing software (eg. Photoshop, Procreate, InDesign, Canva, etc.), it is critical that the project be set up with correct dimensions and guidelines prior to the start of the design to avoid low-resolution unprintable artwork. Low resolution artwork usually may not be “up-sized” to improve quality.
Do not include spine text on your digital art. For ease of sizing and placement, it is best to add spine text directly in the yearbook software editor. Spine text may only be added to Hard Cover and Soft Cover – Perfect Bound books over 72 pages. Placement information is available here.
Do be mindful of margins and guidelines when adding text or featured images on your digital artwork. If in doubt about final placement, leave your school name and year off the artwork. You can add this element directly in your yearbook software.
IMPORTANT: When the digital artwork is complete, save it as a 300 dpi jpg file, then upload it to your yearbook software into a candid image folder (if applicable) then add to your canvas. Be sure to review the Cover Design article to place elements on your canvas for best results.

Full edge-to-edge cover design
Cover dimensions and margins must be set to correspond to your cover type and page count. Consult the Page and Cover Dimensions article to learn the exact cover dimensions & margins to use on your cover design, then use the information in Cover Design article to place elements on your canvas for best results.
Inset image – full cover
For an image that is inset to the safe margins onto the full cover, generate a 6000×3900 pixel jpg. Important: Keep text elements at least 1/2″ from the canvas edges and avoid placing text near the middle of the page. Do not add spine text to ensure that you will have flexibility when placing the image on your canvas.

Inset Image – front or back cover
Create a 2625 x 3374 pixel image saved as a jpg. A 8.5×11 image (300 dpi) will also work. Follow the same recommendations for design and placement as the student drawing information shown above.