Team Management
Member types
Team members may be set up as Regular or Administrators. Regular members can edit assigned pages in the book and contribute photos to the Community Stream. Administrators have full control over the yearbook project, and can generate sections and pages on the book ladder, add Events for candid photo management and calendar entries, add other Members, create Groups, and manage Portraits.
Adding a Member
Administrative users may add team members to the book.
Log into your book and choose your community in the top left corner.
Click on the … menu then click on the Admin button. This will launch the Community Console.

1. On the menu, click Members.
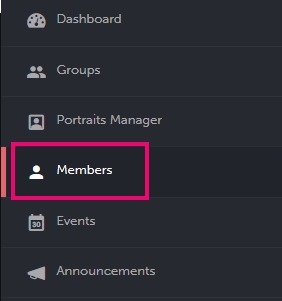
2. Click on the + sign to add a new member.

3. Choose the General invitation.
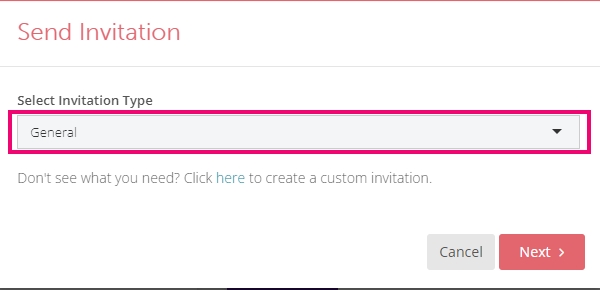
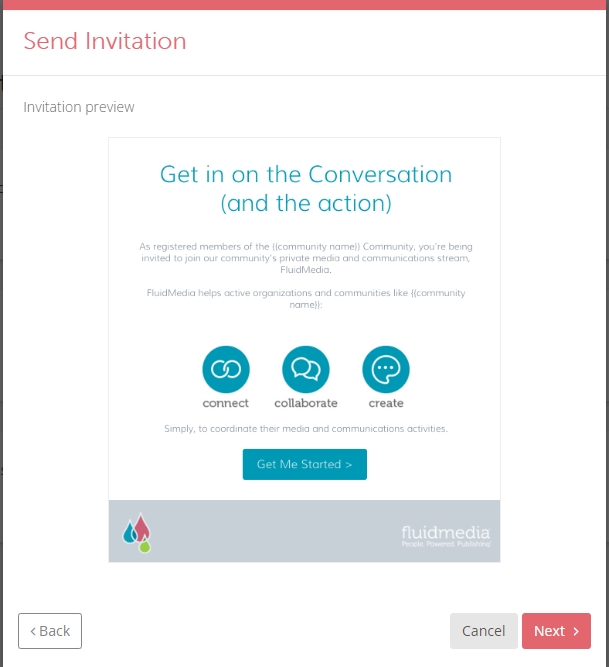
4. Move past the invitation customization screen by clicking Next.
5. Add one or more email addresses (separated by commas), then click the Invite button.
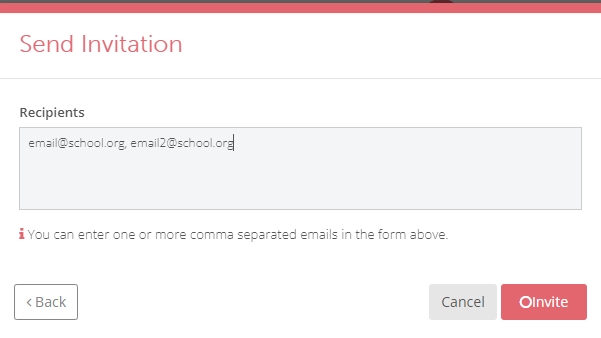
6. Your team members will receive their invitations, inviting them to complete their login. Once they have logged in, they will appear under the Members tab. Until they log in, they will appear under the Invited tab.

Changing a Regular Member to an Administrator
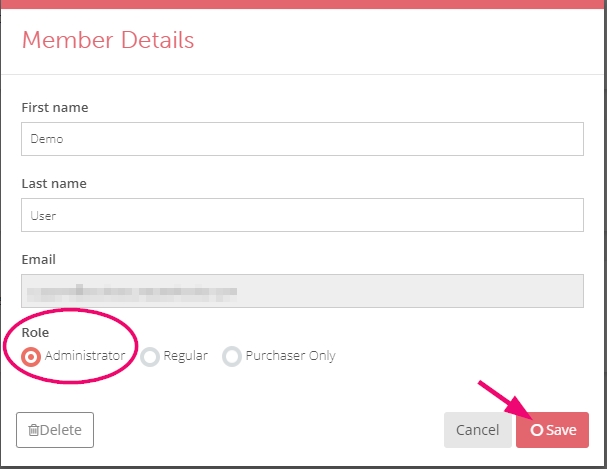
To upgrade the access level of a user, click on their user card. Change the toggle to Administrator then save the changes.
Administrators have full access to all the features in the book.
Note: if you are an adviser with an account on the Studio Source Dashboard and just logged into Stoodio for the first time, your account will be set to a regular member. Please contact the Studio Source Support team to ask for your user account to be upgraded to an Administrator account.

